 bluename
 How to Propagate Aglaonema Clusters: Division Hacks That Actually Work
If your Aglaonema has turned into a crowded, drooping mess and you're not sure whether to repot it or chop it up, you're in the right place. I've been there. The good news is that propagating Aglaonema clusters through division is one of the easiest wins in indoor gardening. You don't need rooting hormone, fancy tools, or a greenhouse. You just need a sharp knife, the right timing, and a little patience.
I've divided more Aglaonemas than I care to count over the past few years, and I've killed a few along the way too. So this isn't theory. This is what actually worked for me, including the mistakes that set me back.
Let me give you the short answer upfront. To propagate Aglaonema clusters by division, unpot the plant, gently separate the root ball into sections that each have at least two or three stems and a healthy chunk of roots, then pot each section into fresh, well-draining mix and keep it warm and lightly moist for two to three weeks. That's it. Simple in theory, but there are some real hacks and pitfalls that make or break your results.
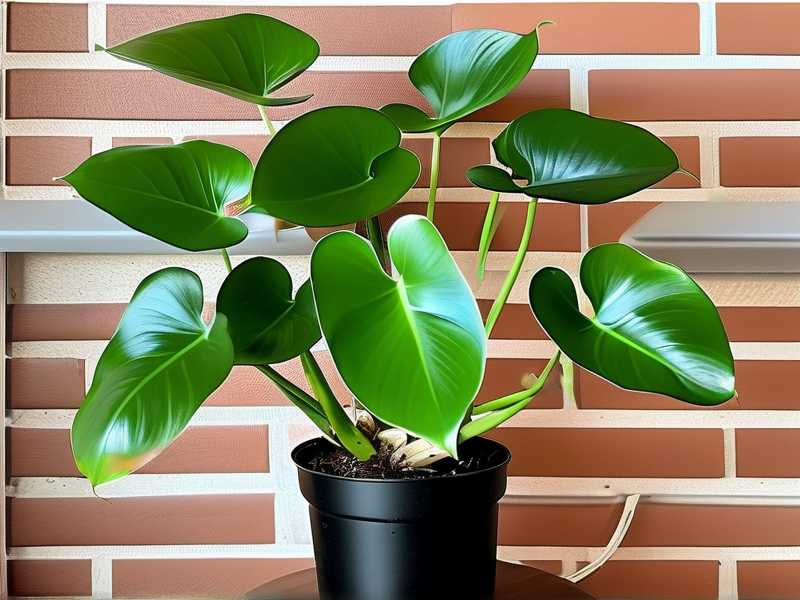
Why Division Beats Other Propagation Methods for Aglaonema
Aglaonema, or Chinese Evergreen, grows in clusters naturally. Over time, one plant becomes a dense clump of individual stems sharing a root mass. Division leans into that natural growth habit.
Stem cuttings work too, but they're slower and less reliable. I've rooted plenty of Aglaonema cuttings in water, and honestly, the success rate is hit or miss. Division, on the other hand, gives you a mature-looking plant almost immediately because you're working with established roots and stems.
The RHS notes that division is the most reliable method for clump-forming tropical perennials, and I've found that to be dead-on for Aglaonemas.
The AHS also recommends dividing crowded houseplants in spring or early summer when active growth kicks in. That timing tip alone saved me from a lot of failed attempts.
When to Divide Your Aglaonema Cluster
Timing matters more than most people realize. I tried dividing a Aglaonema in the middle of December once. Bad idea. The plant sat there sulking for six weeks before it showed any sign of new growth.
The sweet spot is late spring to early summer. Your plant is pushing new leaves, the roots are actively growing, and recovery is fast. Early fall works too if you're in a warm climate, but I'd avoid late fall and winter.
You'll also know your plant is ready when:
- The pot is packed with roots circling the drainage holes
- You see multiple distinct stems emerging from the soil
- Growth has slowed or stopped despite good care
- Water runs straight through the pot because there's more root than soil
I check for root crowding by gently lifting the plant out of its pot. If the root ball holds its shape and looks like a thick sponge, it's division time.
What You'll Need Before You Start
Honestly, you probably already have most of this at home.
- A clean, sharp knife or hori hori
- Fresh potting mix (I use a chunky aroid blend with perlite and orchid bark)
- Small pots with drainage holes
- A workspace covered with newspaper or a towel
- Gloves if you're sensitive to sap
One thing I learned the hard way: always sanitize your knife with rubbing alcohol. I skipped this once and ended up with rot in one of the divisions. Not fun.
Step-by-Step: My Actual Division Process
Here's exactly how I do it, start to finish.
Step 1: Water the Plant a Day Before
Dry roots are brittle and snap easily. Give your Aglaonema a thorough watering 24 hours before you plan to divide. The roots stay flexible and the soil holds together better.
Step 2: Unpot Gently
Lay the pot on its side and squeeze the sides if it's plastic. Slide the whole root ball out. If it's stuck, run a knife around the inner edge of the pot. Don't yank the stems.
Step 3: Loosen the Root Ball
This is where patience pays off. Use your fingers to work apart the outer roots. I've found that gently massaging the root ball under a slow stream of room-temperature water helps loosen things up without tearing.
Step 4: Find the Natural Separation Points
Aglaonema clusters usually have obvious seams where individual plants meet. Look for gaps between stems. These are your division lines.
If the roots are too tangled to pull apart by hand, that's when the knife comes in. Cut straight down through the root ball, making sure each section has at least two or three stems and a good set of roots.
I aim for sections roughly the size of my fist. Smaller divisions survive, but they take forever to fill out.
Step 5: Pot Each Division
Use fresh mix. Don't reuse the old soil, because it's depleted and may harbor pests or pathogens.
Plant each division at the same depth it was growing before. Tamp the soil gently. Water lightly to settle everything.
Step 6: Give Them a Recovery Zone
This is the part most guides skip. Newly divided Aglaonemas need a recovery period.
I keep mine in bright, indirect light, away from drafts, at around 70–75°F. No direct sun. No fertilizer for at least a month. I water sparingly for the first two weeks.
My Two-Week Observation: What Actually Happens
I divided a large Aglaonema 'Silver Bay' into three sections last spring. Here's what I saw day by day.
Days 1–3: All three divisions looked slightly droopy. This is normal. The roots are in shock. I resisted the urge to water more. That's key.
Days 4–7: Two divisions perked up. The third still looked sad. I checked the soil and realized I'd potted it too deep. I repotted it slightly higher and it recovered within a few days. Lesson learned.
Days 8–14: New growth started showing on two divisions. Tiny curled leaves pushing up from the crown. The third division didn't show new growth until week four, but it eventually caught up.
By the end of two weeks, all three plants were stable. No yellowing, no rot, no collapse. I knew I was in the clear.
The 3 Mistakes That Kill New Divisions
I've made all three of these. Learn from my pain.
1. Overwatering
This is the big one. 90% of indoor plants die from overwatering, and freshly divided Aglaonemas are especially vulnerable because their roots are already stressed.
I killed a beautiful division once because I thought it needed extra water to "help it recover." The roots rotted within ten days.
Water only when the top inch or two of soil feels dry. When in doubt, wait another day.
2. Wrong Light
New divisions can't handle direct sun. The leaves will scorch and the plant will decline fast.
But too little light is also a problem. In low light, the plant won't produce new growth and the soil stays wet longer, which invites rot.
Bright, indirect light is the goal. A spot a few feet back from a south or east window works well for me.
3. Wrong Pot Size
I used to think bigger pots were safer. They're not.
A division in a pot that's too large sits in soggy soil because the roots can't reach all the moisture. Root rot follows.
Choose a pot that's just one or two inches wider than the root ball. It'll look snug. That's correct.
Aglaonema Division Hacks I Wish I'd Known Sooner
These small tweaks made a big difference for me.
Hack 1: Let cuts callus for an hour. If you had to cut through roots, let the exposed surfaces air-dry for 30–60 minutes before potting. This reduces the risk of rot.
Hack 2: Skip fertilizer entirely for the first month. New roots burn easily. I wait until I see active new growth before feeding.
Hack 3: Use a humidity dome for the first week. A clear plastic bag with a few holes poked in it works fine. It keeps humidity high while the roots re-establish.
Hack 4: Don't repot again for at least six months. Let the division settle. I've moved plants too soon and set them back weeks.
Long-Term Care After Division
Once your divisions are established, treat them like any healthy Aglaonema.
Water when the top inch of soil dries out. Feed monthly during the growing season with a diluted balanced fertilizer. Keep them warm and away from cold drafts.
If you want fuller plants faster, you can group two or three small divisions back into one pot after they've each grown for a few months.
Frequently Asked Questions
Can I divide an Aglaonema that's root-bound but currently flowering?
Yes, but I'd wait until the flowers fade. Division stresses the plant, and flowering already takes energy. Give it a break first.
How long before new divisions look like normal plants?
In my experience, about two to three months. They'll look a little sparse at first, but they fill in quickly with good light and consistent care.
What if a division has no roots at all?
That's not a division anymore. That's a cutting. You can root it in water or moist perlite, but it's a slower process. Always make sure each section has roots attached.
Final Thoughts
Dividing Aglaonema clusters isn't complicated, but it does reward attention to detail. Get the timing right, keep the roots intact, resist overwatering, and give your divisions a proper recovery period. Do that, and you'll turn one crowded plant into several healthy ones without spending a dime.
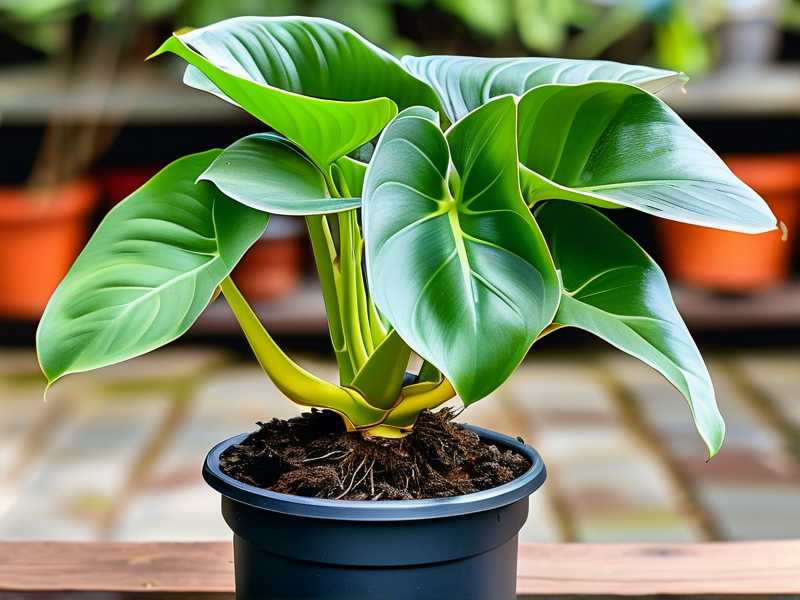
I've made every mistake in this article, and my plants still bounced back. So if you're nervous about your first division, just go for it. Your Aglaonema is tougher than you think.





