bluename
 How to Propagate Aglaonema Outdoors: Warm Zones Only
I'll be straight with you: propagating Aglaonema outdoors is absolutely doable, but only if you live somewhere that stays warm year-round. I'm talking USDA zones 10b through 12, maybe a sheltered 10a if you're lucky. I've killed my fair share of these beautiful Chinese Evergreens trying to force them into conditions they hated. So before you grab your pruning shears, let me save you the heartbreak I went through.
I've been growing Aglaonemas for about eight years now. Mostly indoors, but for the past three years, I've been experimenting with outdoor propagation in my South Florida backyard. Some experiments worked beautifully. Others... well, let's just say I learned some lessons the hard way.

If you're in a warm climate and want to multiply your Aglaonema collection without keeping everything in pots on your windowsill, this guide is for you. I'll walk you through exactly what I did, what went wrong, and what I'd do differently.
Why Aglaonema Propagation Outdoors Is Different
Let's get one thing clear. Aglaonemas aren't like pothos or monsteras that you can just chop and toss into water on your patio and forget about. These plants are picky about temperature, humidity, and light in ways that really show up when you move them outside.
The Royal Horticultural Society notes that Aglaonema species thrive in warm, humid environments with indirect light. That's the sweet spot. When you're propagating outdoors, you're basically trying to recreate tropical understory conditions in your own backyard.
I tried propagating Aglaonema outdoors for the first time in early March two years ago. Bad idea. Nighttime temps dropped to around 58°F, and within four days, my cuttings turned to mush. That was painful.
What You'll Need Before You Start
Here's my honest checklist. Nothing fancy, but skipping any of these made my life harder.
- A healthy mother plant with at least 4-5 stems
- Sharp, clean pruning shears (I use alcohol wipes between cuts)
- Small pots (4-inch works best for me) with drainage holes
- A well-draining potting mix. I use a blend of peat, perlite, and pine bark
- A sheltered spot that gets bright, indirect light
- A thermometer that tracks overnight lows
One thing I wish someone had told me earlier: don't bother starting if nighttime temperatures are dipping below 65°F. Just wait. The plant will still be there next month.
The Best Time to Propagate Aglaonema Outdoors
Late spring through early summer is ideal. I've had the best results in June and July when humidity is high and temperatures stay consistently above 70°F at night.
I tried an October propagation once in zone 10b. The cuttings rooted, but growth was painfully slow. It took almost three times as long compared to my summer attempts.
Looking at research from the University of Florida's horticulture department, Aglaonema root development slows dramatically below 65°F soil temperature. That matches exactly what I saw.
Step-by-Step: How I Propagate Aglaonema Outdoors
Step 1: Choose the Right Stems
Pick stems that are at least 6 inches long with 3-4 leaves. I made the mistake of using tiny cuttings my first time. They just couldn't support themselves.
Look for stems that have a slight bend to them. Those tend to root faster in my experience.
Step 2: Make Your Cuts
Cut just below a node at a 45-degree angle. I use clean, sharp shears. Dull blades crush the stem tissue, and that's basically an open invitation for rot.
Remove the bottom two leaves so you have a clean section of stem to bury.
Step 3: Let Them Callus
This part is important and most people skip it. Let your cuttings sit in a shady, dry spot for 2-4 hours. The cut end needs to callus over. I skipped this step once and lost three out of four cuttings to stem rot within a week.
Step 4: Pot Them Up
Use small pots. I mean it. A 4-inch pot is perfect. I once used a gallon pot thinking it would give roots more room. Big mistake. The excess soil stayed wet, and the cutting rotted.
Fill your pot with well-draining mix. Poke a hole with a pencil, insert the cutting about 2 inches deep, and firm the soil gently.
Step 5: Place Them in the Right Spot
Outdoors, you want bright shade. Under a tree canopy or on a covered porch works great. Direct sun will scorch the leaves fast. I learned that one afternoon when I left a newly potted cutting in what I thought was "filtered" sunlight. By 3 PM, the leaves were crispy.
Step 6: Water Sparingly
Here's where most people go wrong. And I mean most people. You've probably heard it before, but it's worth repeating: 90% of indoor plants die from overwatering. That number applies outdoors too, maybe even more so because rain adds moisture you're not accounting for.
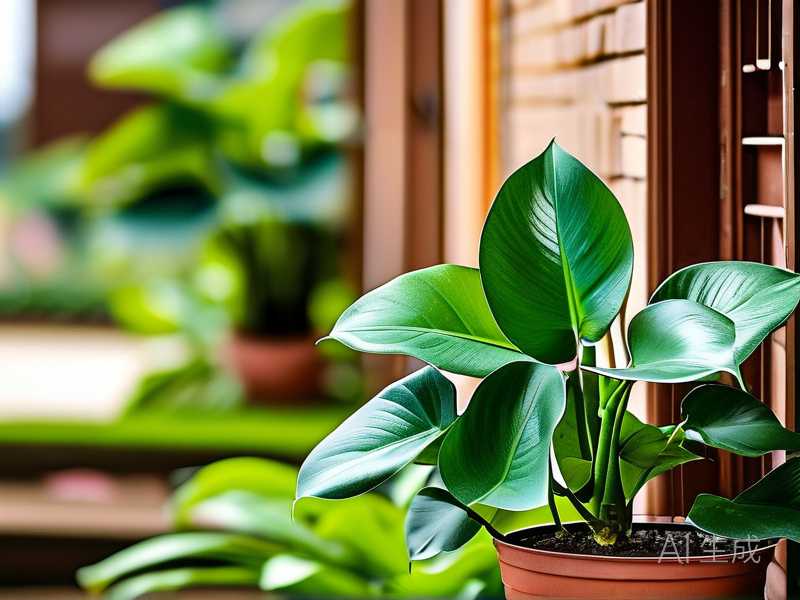
Water only when the top inch of soil feels dry. In humid outdoor conditions, that might mean watering once every 7-10 days. During rainy season, I sometimes don't water at all for two weeks.
My 2-Week Observation: What Actually Happens
I started a batch of six Aglaonema cuttings on June 3rd in my backyard. Here's what I observed over the first two weeks.
Week 1: Nothing visible. The cuttings looked exactly the same. I checked the soil moisture every other day. Kept them in bright shade with about 70% humidity. No wilting. No yellowing. That's a good sign.
Week 2: I gave a gentle tug on one cutting on day 12. It resisted slightly. That's the first sign of root formation. By day 14, two more cuttings showed the same resistance. The leaves on all six remained firm and green.
What I didn't see: any new leaf growth. That's normal. Root development comes first.
The 3 Deadly Mistakes New Growers Make
I've made all three of these. More than once.
Mistake #1: Overwatering
I mentioned this above, but it deserves its own section. Overwatering kills Aglaonema cuttings faster than anything else. The stem turns mushy, the leaves yellow, and by the time you notice, it's usually too late.
Fix: Use a moisture meter if you're unsure. Or just stick your finger in the soil. If it feels even slightly damp, wait.
Mistake #2: Wrong Light
Aglaonemas outdoors need bright, indirect light. Not full sun. Not deep shade. That sweet spot under a tree or on a covered patio.
I killed a beautiful cutting last summer because I put it where it got two hours of direct morning sun. The leaves bleached out and never recovered.
Mistake #3: Using the Wrong Pot Size
Bigger is not better. I know it feels like giving the plant more room to grow, but it actually just creates a waterlogged environment.
Small pots dry out faster, which is exactly what you want when rooting Aglaonema cuttings.
Long-Tail Tips That Made a Difference for Me
Using a humidity dome outdoors: I place a clear plastic bag over my pots for the first 10 days. It keeps humidity high without trapping too much heat. Just make sure to open it for an hour every day to prevent mold.
Bottom heat helps: I set my pots on a black plastic tray in a shaded spot. The tray absorbs ambient heat and keeps the root zone slightly warmer. Rooting was noticeably faster compared to pots sitting directly on concrete.
Don't fertilize: I made this mistake once. Fertilizer burned the new roots before they could establish. Wait until you see new leaf growth before feeding.
Aftercare Once Roots Form
After about 4-6 weeks, you'll see new leaves pushing through. That's your signal that roots are established.
At this point, I move my propagated Aglaonemas into slightly larger pots (6-inch) and gradually introduce them to more light. If you plan to keep them outdoors permanently, acclimate them slowly over a week.
If you're planning to bring them inside for cooler months, start that transition before temperatures drop below 60°F.
A Note on Indoor vs. Outdoor Propagation
Honestly, propagating Aglaonema indoors is easier for most people. You have more control over temperature and light. But outdoor propagation works beautifully in warm zones, and the plants tend to grow faster with natural humidity.
The key is knowing your limits. If you're in zone 9 or below, just do it indoors. Trust me.
Frequently Asked Questions
Can I propagate Aglaonema in water outdoors?
You can, but I don't recommend it for outdoor conditions. Water temperatures fluctuate too much outside, and algae grows quickly in warm water. Soil propagation gives you more buffer against temperature swings.
How long before my outdoor Aglaonema cuttings are ready to transplant?
I usually wait 6-8 weeks before moving them to their permanent spot. You'll know they're ready when you see at least two new leaves and roots coming out of the drainage holes.
What if nighttime temperatures drop unexpectedly?
Bring them inside. Even one night below 60°F can set back root development by weeks. I keep a cheap thermometer near my propagation area and check it every evening during shoulder seasons.
Final Thoughts
Propagating Aglaonema outdoors in warm zones is genuinely rewarding. It's not complicated, but it does demand attention to temperature, water, and light. Get those three right, and you'll have more Chinese Evergreens than you know what to do with.
I've gone from killing every cutting I touched to having a backyard full of healthy, rooted Aglaonemas. If I can do it, you can too. Just don't rush it, and for goodness sake, go easy on the watering.