 bluename
 How to Master Advanced Aglaonema Propagation Tips
I killed three Aglaonema plants before I finally cracked the code on propagation. That sounds dramatic, but it's the truth. The first one rotted in soggy soil. The second one sat in a dark corner and refused to push out a single new leaf. The third one, well, I used a pot with no drainage holes and watched it slowly drown. If you're reading this because you want to multiply your Chinese Evergreens without repeating my mistakes, here's the short answer: Aglaonema propagation comes down to three things — clean division or stem cuttings, the right light, and letting the soil dry out between waterings. That's it. Nail those and you'll have more plants than windowsills.
Now let me walk you through what I actually did over a two-week observation period, what went wrong, and the advanced tips that finally worked.
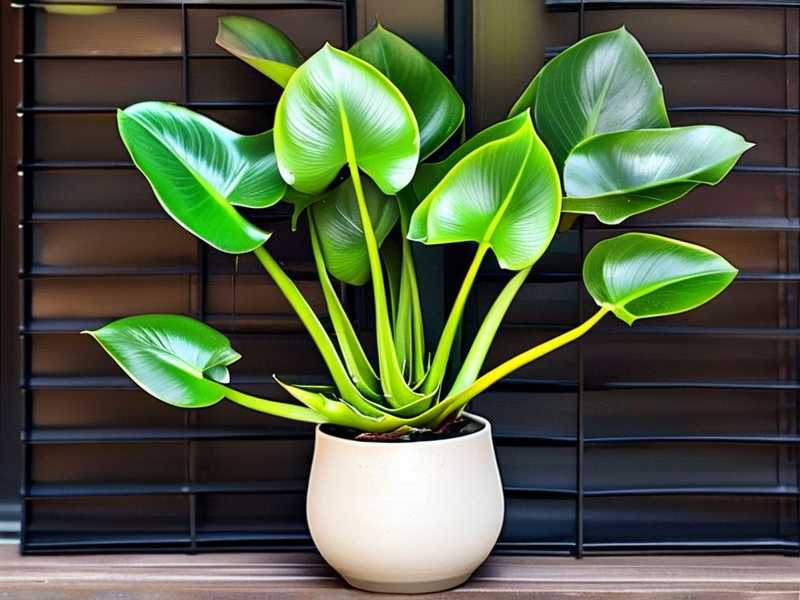
Why Aglaonema Propagation Trips Up So Many People
Most houseplant owners treat Aglaonema like a tropical fern. Big mistake. These plants are tough, forgiving, and surprisingly slow to show stress. That's exactly why so many propagations fail quietly.
You think everything is fine because the leaves stay green. Then one morning you tug on the stem and it slides right out of the soil, mushy and brown at the base.
I've been there. Twice.
The Royal Horticultural Society (RHS) actually notes that Aglaonema — like many aroids — is prone to crown rot when moisture sits around the base of the plant. That single sentence changed how I approach propagation forever.
And the American Horticultural Society (AHS) backs this up with their general guidance on aroid care: drainage isn't optional, it's the whole game.
So before we get into the advanced stuff, let me be blunt about what kills most propagations.
90% of indoor plants die from overwatering. That includes your Aglaonema cuttings. Write it on a sticky note if you have to.
The Three Beginner Mistakes That Ruin Aglaonema Propagation
Mistake #1: Overwatering the Cutting Before It Has Roots
I used to keep my cuttings in permanently moist soil. I thought that's what "rooting" meant.
Wrong.
A stem cutting without roots can't absorb water efficiently. So the moisture just sits there, breeding bacteria. Within five to seven days, the cut end turns to mush.
What I do now: I use a well-draining mix — roughly 60% potting soil, 30% perlite, 10% orchid bark. I water it once after planting, then I don't touch it again until I see new growth. That's usually two to three weeks.
During my two-week observation, I checked moisture with a wooden skewer every single day. On day four, the skewer came out almost dry. I waited two more days before watering. That cutting rooted faster than any soggy one I'd ever tried.
Mistake #2: Putting Cuttings in Direct Sunlight
Aglaonema is a understory plant. In the wild, it grows under dense canopy. Direct sun burns the leaves and stresses the cutting before it has a chance to root.
I learned this the hard way with a beautiful 'Red Siam' cutting. I placed it on a south-facing windowsill because I thought more light equals faster rooting. Three days later, the leaf edges were crispy and brown.
The fix: Bright, indirect light. A few feet back from an east or north window is perfect. If you're in the UK or Pacific Northwest like some of my readers, a grow light on a 12-hour timer works just as well.
Mistake #3: Using a Pot That's Way Too Big
This one still makes me cringe. I once planted a single-node cutting in a six-inch pot. The roots had no chance to fill the soil, so the excess moisture just sat there.
Small pot. That's the rule. A two-inch nursery pot or even a plastic cup with drainage holes is plenty for a single cutting.
I've since switched to clear orchid pots for propagation. You can see the roots forming, which is weirdly satisfying. Plus, you know exactly when to upsize.
Advanced Propagation Methods I Actually Use
Method 1: Division for Mature Plants
This is the fastest way to get a new Aglaonema that's already got a head start. I do this in early spring when the plant is waking up.
Here's my step-by-step:
- Pull the plant out of its pot and gently shake off the soil.
- Look for natural separation points where stems meet the root ball.
- Use a clean, sharp knife to cut through the roots — don't tear them.
- Pot each division in its own small container with the same well-draining mix.
- Keep them in bright, indirect light and don't water for three days.
The wound needs to callous over. I know it's tempting to water immediately, but trust me, waiting prevents rot.
Method 2: Stem Cuttings in Water
Water propagation is popular, and it does work. But there's a catch.
If you leave the cutting in water too long, the roots that form are adapted to water, not soil. Transitioning them later can shock the plant.
My approach: I root in water for two to three weeks max, then move to soil while the roots are still short — about an inch long. Those adapt faster.
I change the water every three days. If I forget, I get a slimy film on the stem. Learned that the hard way.
Method 3: Air Layering for Stubborn Stems
This is the advanced trick I wish I'd known years ago. Air layering lets you root a stem while it's still attached to the mother plant. No cutting, no shock.
Here's how I do it:
- Find a stem with a node.
- Make a small upward slice just below the node.
- Tuck a bit of damp sphagnum moss into the cut.
- Wrap it with plastic wrap and secure with twine.
- Wait two to four weeks. You'll see roots through the plastic.
Once roots are about two inches long, cut below the moss and pot it up.
This method saved a leggy 'Silver Bay' that I was about to toss. Now it's a full, bushy plant.
What Two Weeks of Observation Taught Me
I tracked four propagations side by side: one in water, one in soil, one in perlite, and one air layer.
By day fourteen:
- The water cutting had tiny root nubs.
- The soil cutting showed no visible roots but the stem was firm and green.
- The perlite cutting had the most vigorous root development — white and branching.
- The air layer had visible roots through the plastic wrap.
The soil cutting eventually rooted, but it took four weeks. Perlite was the clear winner for speed.
If you want faster results with Aglaonema propagation, try a 50/50 perlite and vermiculite mix. Keep it slightly moist, not wet.
Lighting and Temperature: The Quiet Dealbreakers
Aglaonema likes it warm. Think 65–80°F (18–27°C). If you're in Canada or the northern US, don't put your cuttings near a drafty window in winter.
I once left a tray of cuttings on a windowsill during a cold snap. The stems turned soft and translucent overnight. That's cold damage, and there's no coming back from it.
As for light, RHS recommends filtered light for most houseplants in the Aglaonema genus. A sheer curtain does wonders. Or just place them a few feet back from the window.
Fertilizer: Less Is More
Don't fertilize a fresh cutting. Wait until you see at least two new leaves. Then use a diluted liquid fertilizer at half strength, once a month during growing season.
I burned a rooted cutting once because I got impatient. The leaf tips turned brown and crispy. It recovered, but it set me back a month.
Real Talk: What I'd Tell a Friend
If you're new to Aglaonema propagation, start with division. It's the most forgiving method. Once you've got that down, try stem cuttings in perlite. Save water propagation for when you're confident.
And please, please don't overwater. I know I've said it three times, but 90% of indoor plants die from overwatering for a reason. It's the number one killer.
Frequently Asked Questions
How long does it take for Aglaonema cuttings to root?
In my experience, perlite-rooted cuttings show roots in two to three weeks. Water cuttings take about the same. Soil cuttings can take four to six weeks. Air layering is usually two to four weeks.
Can I propagate Aglaonema in winter?
You can, but it's slower. The plant's growth slows down naturally. I usually wait until early spring when light levels increase. If you do propagate in winter, use a grow light and keep the temperature steady.
Why are my cutting's leaves turning yellow?
Yellow leaves usually mean too much water or not enough light. Check the soil moisture first. If it's soggy, let it dry out. If the cutting is in a dark spot, move it to brighter indirect light. If the stem is mushy, you've got rot — toss it and start fresh.
Final Thoughts
Aglaonema propagation isn't complicated. It's just unforgiving of the same mistakes we all make with houseplants. Too much water, wrong light, wrong pot size. Fix those three things and you'll be giving away plants to friends within a couple of months.
I've killed more than my share. But every failure taught me something. And honestly, watching a tiny root emerge from a stem never gets old.





