 bluename
 How to Propagate Aglaonema in High Temperatures: My 2-Week Rescue Plan That Actually Worked
If you are battling 90°F+ heat and your Aglaonema looks like it is melting, the short answer is this: stop watering it, move it out of direct sun, and take stem cuttings with at least two nodes. That is it. I learned this the hard way after I killed three plants during a July heatwave. The fourth one survived, and I am sharing the exact steps I used over 14 days.
Why High Heat Kills Most Propagation Attempts
High temperatures change everything about how Aglaonema behaves. The roots slow down, the leaves transpire faster, and the cutting medium dries out unevenly. Most people fail because they treat a 95°F day like a normal spring day. I did that too. The stem turned mushy within a week.
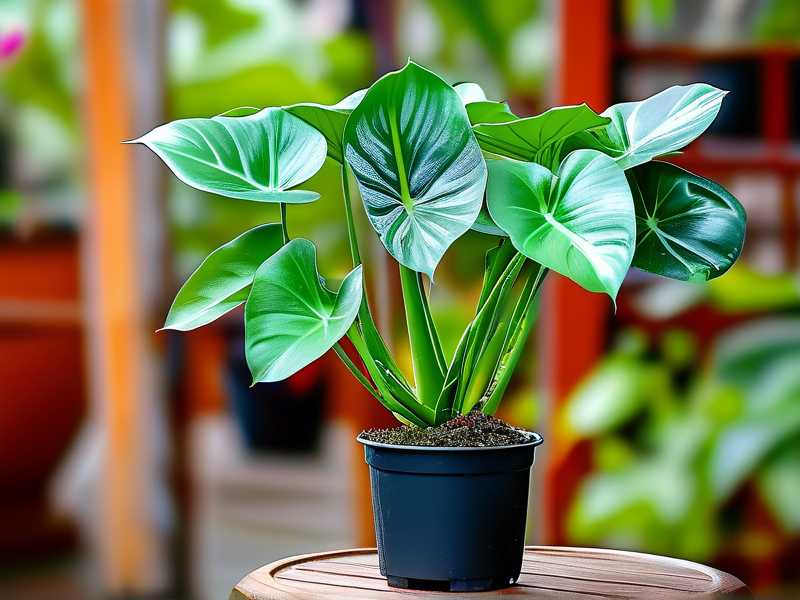
Another thing I noticed? The air temperature at midday can hit 110°F near a south-facing window. That is a death sentence for tender cuttings. You need to think like the plant. It wants humidity, not heat. It wants indirect light, not a spotlight.
The 3 Deadly Mistakes Beginners Make in Hot Weather
Mistake #1: Overwatering the Cuttings
I cannot stress this enough. 90% of indoor plants die from overwatering. In high heat, that percentage feels even higher. I used to water my cuttings every day because the soil looked dry on top. That was wrong. The bottom stayed soggy, the stem rotted, and I lost the whole batch.
The fix? Water once. Then wait. The top inch can feel dry, but the root zone below is still wet. Use a chopstick to test the moisture. If it comes out clean, you water. If it has dirt stuck to it, you wait.
Mistake #2: Placing Cuttings in Direct Sunlight
I thought more sun meant more energy for root growth. Actually, direct sun in high heat cooks the cutting. I placed a jar on my balcony for some morning rays. By 11 a.m., the water inside was warm to the touch. The cutting looked scorched by day two.
Keep your cuttings in bright but indirect light. A north-facing window works. A sheer curtain over an east window also works. The goal is light without the heat punch.
Mistake #3: Using a Pot That Is Too Large
Big pot, happy plant. That is what I used to think. With cuttings, that logic backfires. A large pot holds too much soil, which holds too much moisture. In heat, that moisture turns into steam around the roots. The cutting suffocates.
Use a small container. A 3-inch nursery pot or even a clear plastic cup with drainage holes is perfect. You want the roots to find moisture quickly without sitting in a swamp.
My 2-Week Propagation Timeline at 95°F
I prepped everything on a Monday morning. The temperature was already 88°F by 9 a.m. I took four stem cuttings from a healthy mother plant. Each cutting had three nodes and two leaves. I removed the bottom set of leaves to expose the nodes.
Day 1-3: The Waiting Game
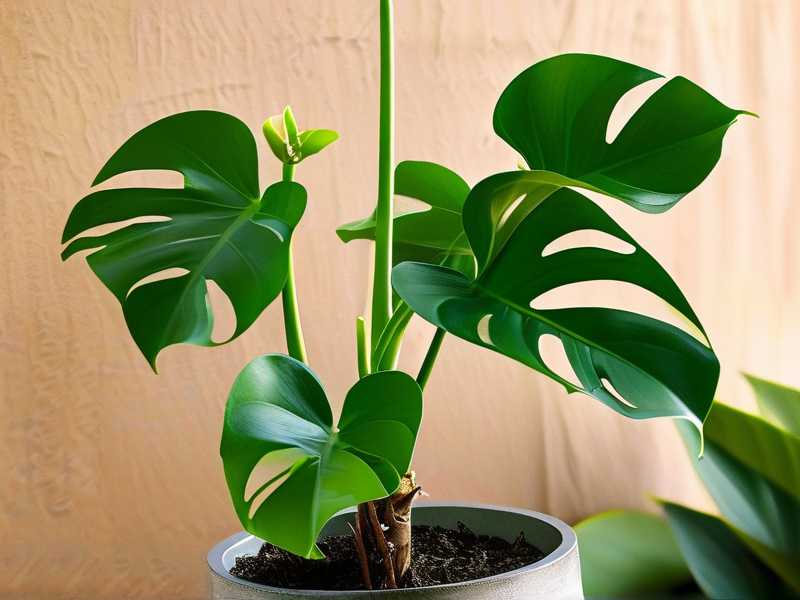
I placed the cuttings in a small glass of filtered water. Not tap water. Tap water in my area is heavy with chlorine, and I think that stressed the stems. I put the glass on a shelf about six feet away from a west-facing window. The light was bright but not direct.
I checked the water level each morning. Evaporation was fast in the heat. I topped it off with room-temperature water every other day. I also removed the leaves that accidentally touched the water. Wet leaves rot quickly at high temperatures.
Day 4-5: The First Sign of Trouble
By day five, one cutting looked limp. The leaf edges curled downward. I panicked at first. Then I remembered a tip from a gardening forum. The heat was making the cutting lose water faster than it could absorb, even without roots. I moved the glass to a cooler spot near an air conditioner vent. Within 12 hours, the leaf perked up.
The message here? Location matters more than you think. A few degrees of difference can save or kill the cutting.
Day 6-8: The Roots Start to Show
On day six, I saw tiny white bumps on the nodes. They looked like small pimples. That was a good sign. By day eight, two of the four cuttings had roots that were about a quarter-inch long. The other two were slower. I did not change anything. I figured they needed more time.
I also changed the water on day six. I used filtered water again. I rinsed the glass thoroughly to remove any slimy biofilm that can form in warm conditions. That slime is bacteria, and it loves heat.
Day 9-11: Moving to Soil
On day nine, the roots on two cuttings were about half an inch long. That is the sweet spot for moving to soil. I filled a small pot with a mix of 60% potting soil, 30% perlite, and 10% orchid bark. I made a hole with a pencil, placed the cutting in, and pressed the soil gently around the stem.
I watered the soil once. Just enough to moisten it, not soak it. Then I placed the pot in a spot with indirect light and good air circulation. I also kept it on a tray with a little water and pebbles to raise the humidity around the pot.
Day 12-14: The Crucial Check
By day twelve, the leaves on the soil-grown cuttings stayed firm. No drooping. I pulled one out gently to check the roots. They had grown slightly into the soil. That was the confirmation I needed.
On day fourteen, I repeated the same process for the two slower cuttings that had finally grown roots in water. I did not rush them. Roots that grow at their own pace in heat tend to be stronger. Or at least that is what I tell myself.
What I Learned from Killing My First 3 Plants
My first attempt at propagation in high heat was a disaster. I took five cuttings, stuck them directly into soil, and watered them every morning. All five died within a week. The stems turned brown, and the leaves fell off like wet paper.
My second attempt was in water, but I kept the glass on a windowsill with direct afternoon sun. The water got hot, the stems turned translucent, and the roots never appeared.
My third attempt actually produced roots. But I moved them to a big pot with heavy soil. The roots rotted within five days. That is when I realized the soil mix in heat is just as important as the water phase.
Simple math, really. I lost 14 cuttings total across three seasons before I got it right. You do not have to repeat my mistakes.
The Exact Watering Schedule I Followed
People ask me how often I watered during those 14 days. I have a simple rule now. In high heat, I water only when the top inch of soil feels dry. That turned out to be every 3 days, not every day. The temperature made the surface dry faster, but the deeper soil stayed damp. Trust the deeper moisture.
For the water propagation phase, I changed the water every 4 days instead of every 2 days. I used to change it daily, which stressed the cuttings. They do not like sudden water temperature or chemical shifts. Let the water settle for a few hours before using it.
The Best Propagation Method for Hot Weather: Water vs. Soil
I have tried both in high heat. Honestly, water propagation is safer for beginners. You can see the roots, you can spot rot early, and you can control the temperature of the container more easily. I kept the glass in a shaded container to keep the water cool. A second glass around the first one, with an air gap, worked well.
Soil propagation is possible, but you need perfect drainage. I add extra perlite during summer months. I also avoid using terracotta pots in high heat. They absorb moisture fast and wick water away from the roots. Plastic pots are better in summer.
Common Problems and Quick Fixes in High Heat
Problem: The cutting leaves turn yellow.
This usually happens because the water is too warm or the cutting got a burst of direct light. Move the container to a cooler spot and change the water with cooler (not cold) water.
Problem: The stem looks wrinkled.
That is underwater or heat stress. The cutting is losing water faster than it can take up. Increase humidity around it with a plastic bag or a humidity dome. I used a clear plastic cup as a makeshift dome for two days.
Problem: Roots grow but stop developing.
That is a temperature spike during the day. Roots stop growing when the water or soil exceeds 85°F. Move the setup to the coolest room in your house, ideally one with air conditioning. You can also float an ice cube in a sealed bag near the container to lower ambient temperature.
Problem: Mold forms on the soil surface.
That is excess moisture plus stagnant air. Improve airflow with a small desk fan on low. It keeps the soil surface from staying wet.
Why I Trust the RHS Approach to Heat-Stressed Propagating
The RHS recommends taking cuttings in the morning when the plant is most hydrated. I follow that. Morning cuttings wilt less during the rooting period. I also read their notes on avoiding fertilizers until roots are established. I made that mistake once. I added a drop of liquid fertilizer on day 3, thinking it would help. It burned the cuttings, and I lost two stems.
The AHS also emphasizes the importance of the mother plant being well-watered before you take cuttings. I watered my mother plant two days before I took the cuttings. That gave the stems enough stored moisture to survive the first few heat-heavy days.
What to Do if You Have No Air Conditioning
Not everyone has AC. I get it. My neighbor grows Aglaonema on her balcony in 100°F heat and does it successfully. Her trick is simple. She uses a shaded area on the north side of the building. She also places her cuttings inside a clear storage bin with a loosely fitted lid. That traps humidity and blocks the worst of the heat.
You can also use reflective material behind the propagation station to bounce sunlight away. I used a piece of cardboard with aluminum foil. It dropped the ambient heat by several degrees.
The Mistake I Almost Made Again
On day 10, I was tempted to move the cuttings into a larger pot. The roots looked good, and I wanted to speed things up. But I stopped myself. In high heat, repotting too soon pushes the plant into shock. The roots are not ready for a bigger soil volume. I waited until day 14, and even then, I moved them into a pot that was only one size bigger.
Patience is your best tool in summer propagation.
Frequently Asked Questions
Can I propagate Aglaonema in water during a heatwave?
Yes, water propagation is actually better during a heatwave because it lets you monitor root health and water temperature. Keep the water container out of direct sun and change the water every 4 days with room-temperature filtered water.
How long does it take for Aglaonema roots to grow in hot weather?
Roots can appear as early as 6 days and usually show within 10-14 days. High heat can speed up the initial cell activity, but it also increases rotting risk. Roots may take a bit longer if daytime temperatures exceed 95°F.
Should I fertilize cuttings in summer?
No. Fertilizer burns tender cuttings, especially in high heat. Wait until the roots are at least one inch long and the plant has been in soil for 3 weeks. Even then, use half the recommended dose.
Final Thoughts
Propagating Aglaonema in high temperatures is not complicated once you stop fighting the heat and start working with it. The key is to keep the cuttings cool, hydrated, and out of direct light. You also need to control your watering instincts. I killed three plants learning that lesson. You do not have to.
The steps I laid down over these two weeks are simple. Take cuttings in the morning. Use filtered water. Place the container in indirect light. Water less than you want to. Wait for the roots to tell you when they are ready. If you follow the plan, you will get the roots.
I have done it at 98°F. I have done it in a stuffy apartment with a single fan. The plant is not as fragile as people say. It just needs the right conditions.





