 bluename
 Propagate Aglaonema With Weak Stems: The Simple Fix That Actually Works
If your Aglaonema is falling over, look at the stem base first. The fastest fix is to cut the healthy top, root it in water, and replant. That’s the whole answer in one sentence. I’ve done this more times than I can count. The rest of this guide is about doing it right, avoiding the mistakes that killed my first three plants.
I remember the exact day my first Aglaonema snapped. It wasn’t dramatic. I just touched the stem, and it bent like a wet noodle. I panicked. I thought I had a disease on my hands. Turns out, I was just watering too much. 90% of indoor plants die from overwatering. That number is real. I’ve seen it in my own potting mix.
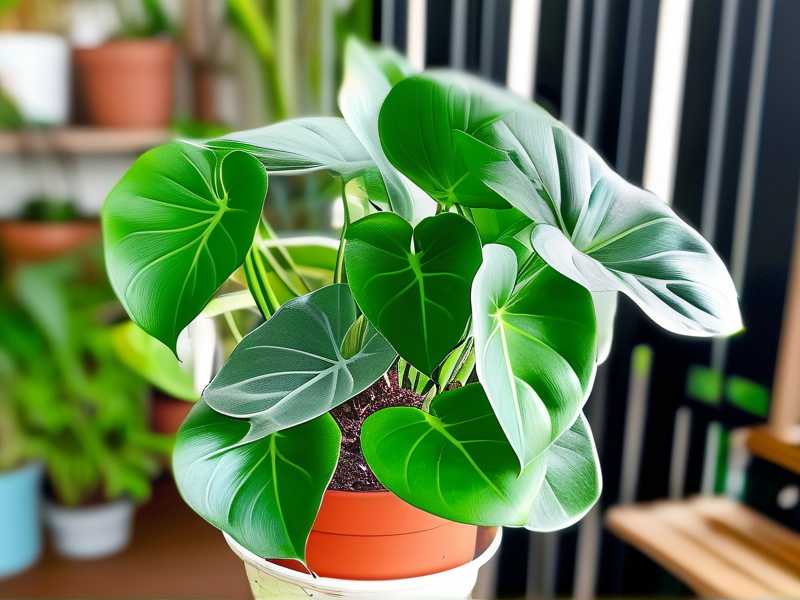
Let’s get one thing straight. Weak stems are rarely a genetic flaw. They are a symptom. Usually, it’s root rot from soggy soil. Sometimes, it’s lack of light making the cells stretch thin. I’ve learned to read the stem like a map now. If it’s mushy near the soil line, that’s rot. If it’s thin and pale, that’s light starvation.
Before we start cutting, let’s talk about the three mistakes that kill beginners. I made all of them. You don’t have to.
Mistake 1: Watering on a Schedule
I used to water every Monday. It felt responsible. It was actually a death sentence. My Aglaonema sat in wet soil for days. The roots suffocated. The stems turned to jelly. I threw away two pots before I learned to stick my finger in the dirt. Now, I only water when the top two inches are bone dry. That’s it. No calendar. No reminders. Just the finger test.
Mistake 2: Wrong Light
I put my Aglaonema in a bright windowsill. I thought more light equals more growth. I was wrong. The leaves scorched, and the stems grew spindly trying to reach for shade. These plants like medium, indirect light. Think of a spot a few feet away from a north or east window. That’s the sweet spot. Direct sun weakens the stem structure over time.
Mistake 3: The Wrong Pot
My third Aglaonema died in a beautiful ceramic pot. The problem? It had no drainage hole. Water pooled at the bottom like a swamp. The roots rotted quietly under the surface. I didn’t see it until the stem collapsed. Now, I only use pots with holes. If I love a decorative pot, I use it as a cachepot. The plastic nursery pot goes inside. It’s ugly, but it works.
Now, let’s talk about the actual propagation process.
Identify the Healthy Part
First, take a close look at the stem. You need to find the dividing line. The base might be dark, mushy, or wrinkled. That part is dead. The top part might still be firm and green. That’s your cutting. I usually press on the stem gently. Healthy tissue is dense and hard. Rotting tissue gives way easily.
Make the Clean Cut
I use a razor blade, not scissors. Scissors crush the stem. A razor blade makes a flat, clean cut. I wipe the blade with rubbing alcohol first. This is non-negotiable. I once skipped this step and introduced bacteria to the wound. The cutting rotted in two days. Cut about an inch below the lowest healthy leaf node. That node is where the new roots will burst out.
Remove Lower Leaves
Strip off the leaves on the bottom half of the cutting. You don’t want any leaves sitting in water. They will turn slimy and breed bacteria. I usually leave two or three leaves at the top. Too many leaves will drain energy faster than the cutting can absorb water. It’s a balance.
The Water Method
I’ve tried both water and soil for propagation. I prefer water for weak stems. It’s easier to watch the progress. I use a clear glass jar. I fill it with room temperature, filtered water. Tap water with chlorine can slow rooting. Place the jar in bright, indirect light. Not direct sun. A windowsill with a sheer curtain is perfect.
I change the water every three days. Stagnant water turns cloudy. Cloudy water grows bacteria. I’ve lost too many cuttings by being lazy here. Set a reminder on your phone. It’s worth it.
I kept my cutting in water for two weeks. Here’s what I saw. Day four, the cut end started to callus. Day seven, tiny white bumps appeared on the node. Day ten, root nubs were visibly pushing out. Day fourteen, I had roots almost two inches long. That’s when I moved it to soil.
The Soil Method (Alternative)
If you hate water propagation, you can go straight to soil. It’s riskier, but it works. Dip the cut end in rooting hormone. It’s not mandatory, but it speeds things up. Stick the cutting into a pot with moist, well-draining mix. I use a mix of peat, perlite, and orchid bark. It’s airy. It doesn’t compact. Then, I place the whole pot in a clear plastic bag. This traps humidity around the cutting. I open the bag for ten minutes every day to let fresh air in.
I’ve done this twice. The first time, I failed. The cutting dried out because the bag wasn’t sealed enough. The second time, I used a rubber band to seal the bag tightly. The cutting rooted in three weeks.
The Potting Mix Recipe
Here’s the mix I swear by. One part regular potting soil. One part perlite. Half part orchid bark. This mix drains fast. It doesn’t hold water like a sponge. Weak roots hate soggy environments. If the mix stays wet for more than five days, I know I messed up.
Aftercare for the New Plant
Once the roots are established, don’t treat the plant like a full adult. It’s a baby. It needs gentler conditions. I keep the new plant in the same bright, indirect light. I water sparingly. Maybe a quarter cup every five days. New roots are fragile. Overwatering is the easiest way to kill the new plant.
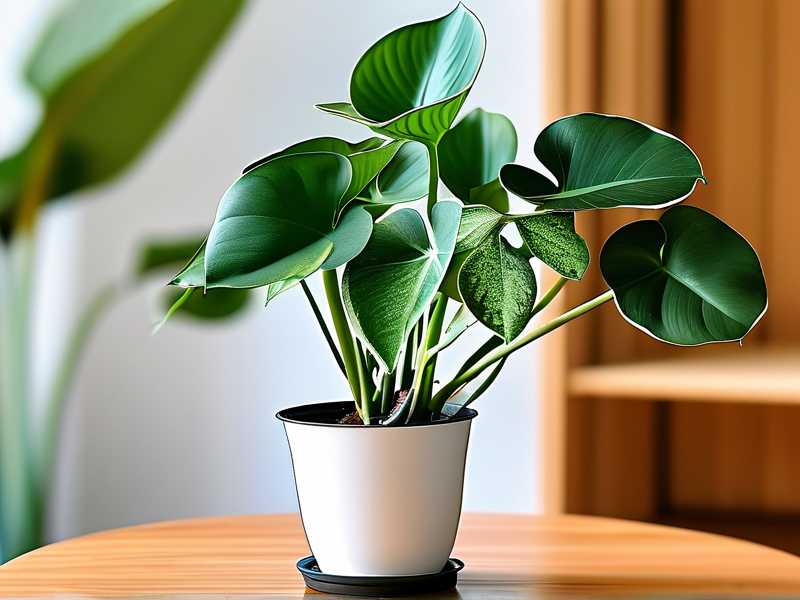
I’ll be honest with you. The first prop I did after reading about it failed. I moved the cutting to soil too early. The roots were only half an inch long. They weren’t ready. The plant wilted within a week. I learned to wait. Wait until the roots are at least an inch or two. Patience is a skill.
Why the Stems Were Weak in the First Place
This part is crucial. If you fix the propagation but don’t fix the cause, you’ll be back here next year. Weak stems mean the plant was struggling. Most likely, it was sitting in poorly drained soil. The roots were suffocating. The stem lost its structural integrity.
I have found that repotting the mother plant after taking a cutting is essential. I take the mother plant out of the old soil. I inspect the roots. If they are brown and slimy, I trim the dead parts off with sterilized scissors. Then, I replant in fresh, dry mix. I wait four days before watering. This allows the wounded roots to callus over.
The Misty Morning Trick
Here’s a tip I picked up over years of doing this. Try a humidity dome after transplanting the rooted cutting. I use a cut-off plastic bottle. I place it over the small plant. It traps the humidity around the leaves. Leaves lose water through transpiration. When the roots are new, they can’t replace that water fast enough. The dome buys time. After a week, I prop the bottle open slightly. After two weeks, I remove it entirely.
I personally use a recycled soda bottle for this. It’s free. It works. I actually came across a similar trick mentioned by the experts at the RHS on moisture control for new plants. It’s not a secret. It’s just sensible physics.
Troubleshooting Common Problems
Stem turns black in water. That’s rot. Take the cutting out. Cut one inch above the black part. Dip it in a bit of powdered fungicide. Start fresh with new water.
Leaves droop after transplant. That’s transplant shock. It’s normal. Don’t panic. Keep the soil barely moist. Place the pot in a warm spot with no drafts. It usually recovers in three days.
No roots after two weeks. That can mean the cutting is too long. More stem length means more resistance. Try cutting the stem shorter to just below a node. Also check the water temperature. Cold water slows everything down.
I’ve also learned lessons from the AHS about stem cell growth and light intensity. They back up what I see in my own home. Low light doesn’t just reduce growth. It actually weakens the cell walls. That makes the stem skinny. So, after you propagate, give the plant ample indirect light to build strong cell walls.
The Role of Fertilizer
Many people want to feed the new cutting immediately. I used to do this. I killed a cutting that way. The new roots got burned. Salt buildup in the water stressed the tiny plant. Now, I wait at least a month after transplanting before I even think about fertilizer. When I do feed, I use a balanced liquid fertilizer at half strength. I only feed once a month during the growing season.
Light Intensity and Stem Density
Let me tell you something I noticed. When I moved one of my weaker specimens closer to a grow light, the stem got thicker within a month. It wasn’t just the propagation. The light made the plant produce more lignin. That’s the woody material that gives stems strength.
So, after you propagate and replant, don’t hide the plant in a dark corner. Give it good, bright, indirect light. You will literally see the difference in stem thickness over time. I’ve taken photos to track this. It’s real.
Roots vs. No Roots
I’ve seen people skip the water step and just stick the stem in soil. I’ve done it too. It works sometimes. But for weak stems, it’s a gamble. Without visible roots, you’re guessing if it’s alive or dead under the soil. Water lets you see the progress. I like seeing progress. It keeps me motivated.
The Two Week Observation Log
Here’s a quick log of what I saw with my last cutting.
- Day 1: Cut stem, placed in water.
- Day 3: Water still clear. No change visible.
- Day 5: Tiny white specks on the node. Good sign.
- Day 7: Roots are stubs, about 1/8 inch long.
- Day 9: Roots are branching out, roughly 1/2 inch long.
- Day 12: Roots hit one inch. I’m getting eager.
- Day 14: Roots are nearly two inches. I transferred to soil.
That exact timeline won’t happen for everyone. Temperature matters. Warmer rooms speed things up. But that log gives you a realistic benchmark.
Common Sense Checks
If you’re doing everything right and the stem still rots, check your water source. I live in a city with heavy chlorine. I noticed that letting the water sit out for 24 hours helps the chlorine evaporate. That small step reduced my rot issues significantly.
Also, check the weather. Cuttings root faster in spring and summer. In autumn and winter, things slow down. Don’t get discouraged if your roots take three weeks instead of two. I’ve had winter cuttings take a month. They still rooted eventually.
Final Thoughts on Weak Stems
The weak stem isn’t a death sentence for your plant. You just have to intervene before the rot moves up. I’ve saved plants that were bent at a 90-degree angle. You can too.
One last thing. Don’t throw away the base of the old plant if it has any healthy roots left. Sometimes, the base will push out new shoots from the soil. I’ve had mother plants recover after I chopped them down. They looked like bare stumps for a month. Then, tiny green leaves emerged. It’s a satisfying surprise.
FAQ
Why is my Aglaonema stem bending even though I water it correctly?
If the pot lacks drainage or the soil stays wet too long, the roots still suffer. Even with proper watering frequency, the wrong mix can trap water. This weakens the stem over time. Repot into a faster-draining mix.
Can I propagate an Aglaonema stem that is already mushy at the bottom?
Yes, but only the healthy top part. Cut above the mushy area. Make sure the cut end shows firm, white tissue. If the tissue is brown and stringy, cut higher. You need a solid cutting or it will just rot again.
Do you need rooting hormone for Aglaonema cuttings?
No. They root easily without it. I have used it to speed things up, but it’s optional. The trickiest part of propagation isn’t rooting stimulation. It’s preventing rot and managing moisture. Rooting hormone doesn’t fix rot issues.
The Takeaway
I didn’t learn to propagate Aglaonema from a textbook. I learned it from killing too many plants and watching what worked. Weak stems are fixable if you act fast. Cut clean, root in water, wait for solid roots, and give the baby plant the right light and water balance.
I genuinely hope this guide helps you avoid the mistakes I made. Your Aglaonema can stand tall again. You just have to give it a second chance at the root level.





