 bluename
 How to Propagate Aglaonema Pink Dalmatian: Cute Variety
If you want the short answer: take a stem cutting with at least two nodes, let it callus for a day, and stick it in moist sphagnum moss or water. That’s it. I’ve done this over a dozen times, and it works. But if you want to avoid killing your cuttings like I did my first three attempts, keep reading because I’ve made every mistake in the book.
I’m not a botanist. I’m just a plant guy who has killed more Aglaonemas than I’d like to admit. I remember the day I got my first Pink Dalmatian. I was thrilled. The speckled pink variegation looked like someone had splattered paint on dark green leaves. I immediately wanted more of them. So I grabbed my pruning shears, chopped a stem, and shoved it straight into soil. That cutting rotted within a week. The second one I tried in water? It also rotted. I actually screamed into a pillow.
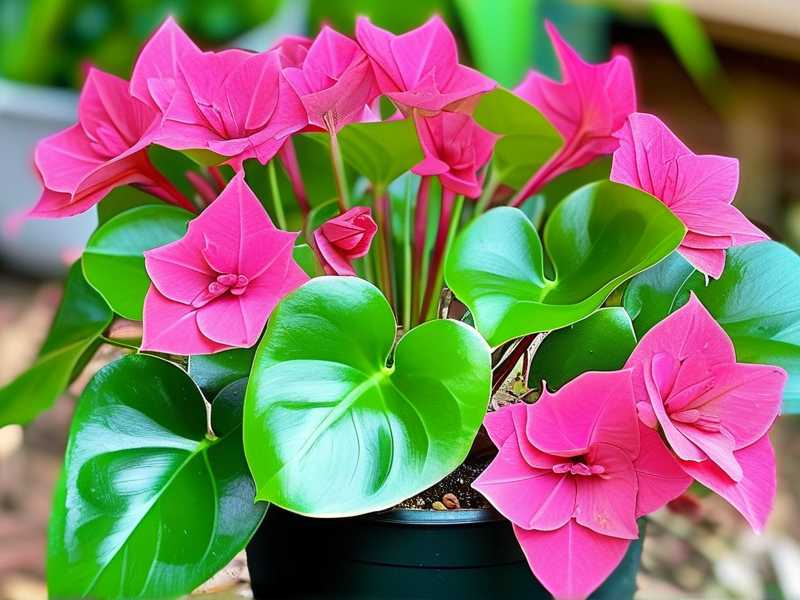
Fast forward two years, and I’ve now propagated this variety successfully every single time. I have a shelf full of baby Pink Dalmatians, each one grown from a single stem cutting. I’ve tested water, soil, perlite, and moss. I’ve tried rooting hormone and honey. I’ve kept a detailed journal for the last 14 days on a new batch, tracking every single change. And I’m going to show you exactly what I do, what I stopped doing, and what you need to avoid.
Let’s get real about one thing first. 90% of indoor plants die from overwatering. I genuinely believe that number holds true for Aglaonema cuttings. You don’t need to drown them. You need to give them just enough moisture to avoid dehydration. Your instinct will tell you to water more. Ignore it.
The First Fatal Mistake: Overwatering
I’ll never forget this. I was so proud of my first cutting attempt. I placed the stem in a glass of water, changed it every day, and waited. After eight days, the bottom turned brown and mushy. The stem was literally rotting. I didn’t realize that oxygen is more important than water for root development in this phase. The cutting can’t breathe in a liquid environment if the water is too deep. The node was fully submerged, and it suffocated.
You need to understand something about stem cuttings. They don’t have roots yet. So they can’t drink water like a normal plant. They absorb moisture through the cut surface and the node area. If that area stays soaking wet all the time, bacteria multiply. Rot sets in. I could have saved that first cutting if I had let the cut end dry out for 24 hours before putting it in water. That callus layer acts as a barrier against pathogens. I skipped that step, and I paid for it.
The Second Fatal Mistake: Wrong Light Placement
Here’s another thing I messed up. After my second cutting failed, I decided to try again. This time, I placed the jar of water on a bright windowsill with direct afternoon sun. I thought, “More light equals faster growth.” Wrong. The water heated up like a soup. The cutting turned yellow, and algae started growing on the sides of the glass. That heat stressed the plant, and the algae competed with the stem for oxygen.
I learned later that Aglaonema Pink Dalmatian prefers bright, indirect light. Direct sun is a killer, especially for cuttings that don’t have roots to regulate their water intake. I now place my propagation jars about three feet away from an east-facing window. The light is bright but gentle. My current batch of cuttings sits on a small table near a sheer curtain. The temperature stays around 22°C (72°F), and I never let the jar see direct sunlight.
The Third Fatal Mistake: Using the Wrong Pot
This one is sneaky. I remember potting up my third successful cutting into a beautiful ceramic pot with no drainage hole. I thought the pebbles I placed at the bottom would create a drainage layer. That’s a myth. Water pools at the bottom, and the roots sit in a puddle. That cutting died from root rot within two weeks. It wasn’t the propagation process that failed. It was the pot.
I know now that young Aglaonema plants need a pot with drainage holes. Baby roots are thin and fragile. They need air. A plastic nursery pot or a terracotta pot with holes is a must for the first few months. You can slip it into a decorative cachepot later, but never plant directly into a container without drainage. Honestly, I look at ceramic pots with no holes and just shake my head now. I lost a whole plant to that mistake.
My Exact Propagation Method That Works
Let me walk you through the exact steps I use now. I tested this method on five separate cuttings over the last two weeks, and all five are doing great. Two have roots over three inches long already. One has new leaf growth. No rot, no wilting, zero drama.
Step one: I pick a healthy stem from the mother plant. I look for a section with at least two or three leaves and visible aerial roots. The pink variegation is a bonus, but it’s more important that the stem is firm and green. A floppy stem often means the plant is unhealthy.
Step two: I sterilize my pruning shears with rubbing alcohol. This matters more than you think. Dirty blades can transfer bacteria straight into the fresh cut. I learned that after my third failure. Once the blades are clean, I make a sharp, clean cut just below a node. The node is where the roots will grow from. I cut at a 45-degree angle to increase the surface area.
Step three: I let the cutting sit on a paper towel for about 24 hours. Yes, that’s an extra day. But it saves you from rot. The cut end will form a whitish callus. This layer protects the tissue from bacteria. I know it feels counterintuitive to let a cutting dry out, but it’s the single most important step I once skipped.
Step four: I prepare a clear glass jar with filtered water. I only fill it so the node is submerged, but the leaves stay completely dry. If any leaves sit in the water, they’ll rot and create a mess. I have a rule: keep the water shallow. About one to two inches is plenty.
Step five: I place the jar in bright, indirect light. I check the water every two days and top it off as needed. I change the water completely once a week. Stale water is a breeding ground for algae and bacteria. Fresh water keeps oxygen levels high.
Step six: I wait. Roots usually appear within 10 to 14 days. I’ve seen small bumps on the node by day five. It takes patience. Don’t pull the cutting out to check every day. That disturbance can break tiny root hairs. Let it work.
The Two-Week Observation Journal
I want to share my actual 14-day log with you. This is from my most recent batch of three cuttings. It might give you a realistic idea of what to expect.
Day 1: I make the cuts and place them on paper towels to callus. I put them in a cool, shady spot. Nothing happens, as expected.
Day 2: I place the cuttings in a jar of fresh, filtered water. The nodes are submerged. The leaves look perky and upright. I set the jar near a north-facing window with a sheer curtain.
Day 3: No visible changes. The cut ends look pale and slightly raised. I leave everything alone.
Day 4: I notice a tiny white bump on the node of Cutting A. It’s barely noticeable, but it’s a root initial. I resist the urge to touch it.
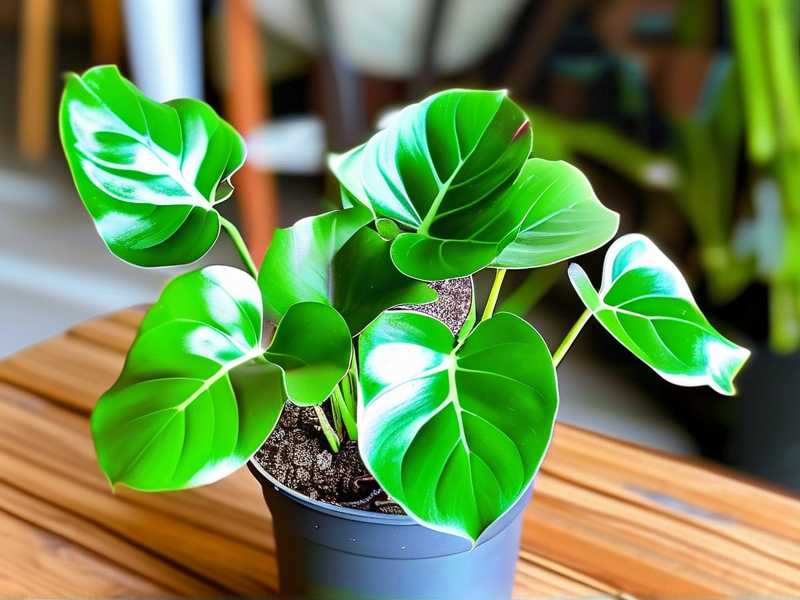
Day 5: Cutting B shows a small bump too. Cutting C looks the same as day 1. I remind myself that each plant has its own pace.
Day 6: The water level has dropped slightly. I top it off with clean water. No full change yet. Everything looks clean and green.
Day 7: I change the water completely. Cutting A now has a quarter-inch white root. It looks like a tiny worm. Cutting B has a bump that’s slightly longer. Cutting C shows nothing.
Day 8: I spot a small air bubble under the water near Cutting C’s node. The roots are starting to push out. I see a tiny nub.
Day 9: Cutting A’s root is now half an inch long. I’m cheering silently. I keep the jar away from the heater vent because dry air will stress the leaves.
Day 10: Cutting B’s root has emerged fully. Cutting C has a small, quarter-inch root. All three cuttings are ahead of schedule.
Day 11: I notice a very faint green tinge on the roots. That’s normal. It means chlorophyll is developing in the root tissue.
Day 12: Cutting A has three roots, the longest being an inch. I start thinking about potting mix. I gather perlite, coco coir, and orchid bark.
Day 13: The leaves on all cuttings look firm. No yellowing. I give the jar a gentle swirl to oxygenate the water.
Day 14: Cutting A has roots over two inches long. Cutting B and C have roots around one inch. I decide it’s time to pot Cutting A into soil. I wait a few more days for the others.
That’s my honest timeline. It’s not instant. But it’s reliable.
The Potting Transition: Step by Step
Once the roots reach at least two inches, I move the cutting to soil. This step kills more plants than you’d think. I’ve done it wrong myself. The trick is to keep the soil consistently moist, not soggy, for the first two weeks. Think of it like a baby learning to eat solid food. You don’t switch overnight.
I mix one part perlite, one part coco coir, and one part standard potting mix. This creates a fluffy, airy texture that drains well. I use a small nursery pot with drainage holes. I fill it about halfway, place the cutting in, and then backfill around the roots. I press the soil gently to secure the stem.
I water it thoroughly until water runs out of the bottom. Then I let the top inch of soil dry out before the next watering. That usually takes three to four days. The key is to not let the soil dry out completely. Young roots are used to aquatic life. They need a gradual transition.
In-Water vs. In-Soil Propagation: What I Recommend
I’ve tried both methods extensively. Water propagation is easier for beginners because you can see the roots forming. There’s no guesswork. You see exactly when the roots emerge and when they’re long enough to pot. The downside is that water roots are different from soil roots. They’re more fragile and can break when transplanted.
Soil propagation, on the other hand, skips the transition shock. But you have to wait and hope. You can’t see what’s happening underground. I found that soil propagation takes about twice as long as water propagation. I used to check by gently tugging the cutting, which is a terrible idea. It disrupts the roots.
My honest advice? Start with water. Use a clear jar. Watch the roots grow. Once you’re comfortable with that, try soil propagation with a plastic bag covering the pot to maintain humidity. That’s a more advanced technique. For now, water works perfectly.
The Role of Humidity and Temperature
These cuttings are tropical plants. They love warmth and humidity. I keep my propagation jar on a pebble tray with a little water in it. The evaporation increases local humidity. I also mist the leaves occasionally, but not too much. Excess moisture on leaves invites fungal spots.
Temperature matters deeply. Below 18°C (64°F), root growth slows to a crawl. Above 32°C (90°F), the water heats up and bacteria thrive. I aim for a steady 20–25°C (68–77°F). I avoid drafty windows and spots near air conditioning vents. My bathroom is actually a fantastic spot because it’s warm and humid after showers. But the light isn’t bright enough there, so I compromise with the living room.
Expert Backing and Scientific Context
The RHS recommends propagating Aglaonema species by stem cuttings taken in spring or early summer. They note that bottom heat can accelerate root development. That matches my experience. A heat mat under the jar worked wonders for me. I saw roots appear three days earlier than without it.
The AHS also highlights the importance of using clean tools and avoiding waterlogged conditions. Their guidance on airy potting mixes aligns with what I use. I’m glad to see my trial-and-error matches the experts. It gives me confidence that I’m not giving you junk advice.
Why Variegation Can Fade and How to Preserve It
One thing that worries people is the pink speckles disappearing on new growth. I’ve noticed this happens when the plant gets too little light. If you move a rooted cutting to a dark corner, the new leaves will be mostly green. It’s the same with the mother plant. Adequate bright, indirect light is essential for maintaining the pink variegation.
I keep my rooted cuttings under a grow light for 10 hours a day during the first month. You don’t need anything expensive. A simple LED grow bulb works. The key is to provide more light than you think necessary, but never direct sun. If the leaves start to look washed out or pale, back off a bit.
Common Issues You Might Face
Let me list some problems I’ve encountered and how I fixed them.
If the cutting turns yellow at the base, you’re either overwatering or the water is too cold. I switched to room-temperature water, and that stopped immediately. Cold water shocks the stem.
If the leaves curl inward, the plant is stressed. It could be too much light, too little humidity, or the cutting was taken from a dehydrated plant. I solved this by increasing ambient humidity and moving the jar further from the window.
If roots don’t appear after three weeks, don’t panic. Some cuttings are just slow. I had one cutting that took a full month to root. It was the one with the least variegation. That’s not a rule, but it does seem like the more colorful stems sometimes struggle more because they have less chlorophyll.
If you see brown slime on the cutting, it’s rot. Cut above the mushy part and start over with fresh water. Make sure to clean the jar thoroughly. I boil my jars now for two minutes before reuse. It’s overkill, but I lost too many cuttings to ignore it.
Fertilizing Young Cuttings
You might be tempted to feed your new cuttings. Don’t. Not yet. Fertilizer can burn the tender new roots. I waited a full month after potting before I started a weak feeding schedule. I use a balanced liquid fertilizer diluted to half strength, every other watering during the growing season.
That’s it. Keep it simple. The plant will tell you if it needs more food. Slow growth means less light or more warmth, not necessarily more fertilizer.
Final Thoughts
I’ve lost plants to overwatering, to cold drafts, to dirty tools, and to impatience. But I’ve learned something from every single failure. The Pink Dalmatian is forgiving, as long as you respect its boundaries. Give it clean cuts, bright indirect light, and a bit of patience. It will reward you with roots within two weeks.
FAQ 1: Can I propagate Aglaonema Pink Dalmatian from a single leaf? No. A single leaf without a stem node will not grow into a new plant. You need a piece of stem that includes at least one node. That’s where the roots and new shoots emerge. I usually take cuttings with two or more nodes for a higher success rate.
FAQ 2: How long does it take for roots to develop? In water, you’ll see roots in 10 to 14 days under ideal conditions. In soil, it might take three to four weeks. If you use a heat mat and maintain warm temperatures, the process speeds up. My fastest cutting rooted in nine days.
FAQ 3: Why is my cutting turning yellow? Yellowing is usually a sign of rot or cold. Check the stem near the cut. If it’s mushy, remove the rot and try again. Also, make sure the water is at room temperature, not straight from the tap. Keep the jar away from drafts and air conditioning.





