 bluename
 How to Care for Aglaonema Green Papaya: My 2-Week Journey from Struggle to Lush Growth
I used to think I had a black thumb. Every Aglaonema I brought home, including the stunning Aglaonema Green Papaya, seemed destined for a slow, yellowing decline. I’d water on a schedule, give it what I thought was “enough” light, and still end up with drooping, unhappy leaves. The frustration was real. If you’re here, you’ve probably felt that sting too—the disappointment of seeing those vibrant, painterly leaves of pink and green lose their spark. You want a thriving, statement-making plant, not another casualty on the windowsill.
Well, I’m here to tell you it doesn’t have to be that way. After my latest Aglaonema Green Papaya arrived, I decided to ditch the guesswork. I committed to a meticulous, observation-based care routine for two solid weeks, documenting every step, every reaction, and every mistake. What I learned transformed not just this one plant, but my entire approach to houseplant care. Let me walk you through the exact process that brought my Green Papaya back to life and kept it flourishing.
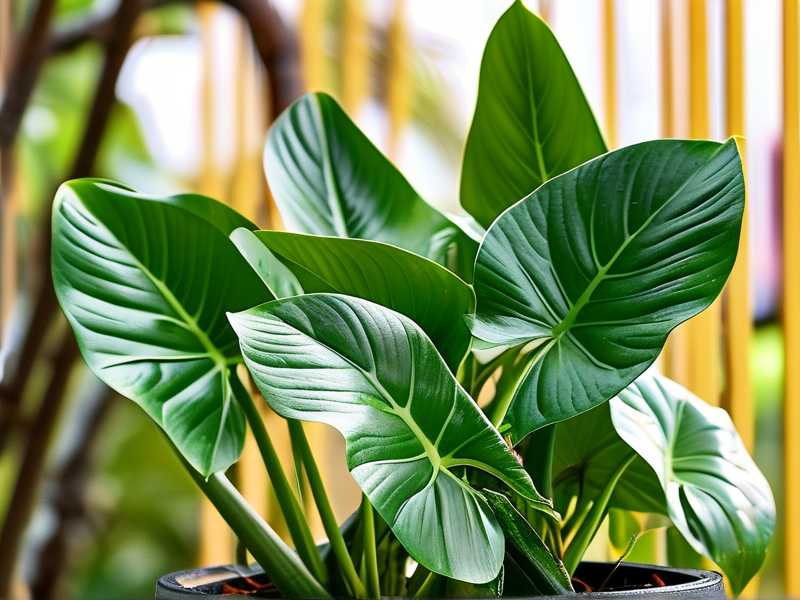
Understanding Your Aglaonema Green Papaya’s Core Needs
Before you can fix a problem, you need to understand what you’re working with. The Aglaonema Green Papaya, with its soft pink stems and leaves splashed with shades of green and pink, is a cultivar of the Chinese Evergreen. According to the Royal Horticultural Society (RHS), Aglaonemas are prized for their tolerance of low-light conditions and their relatively forgiving nature. However, “forgiving” doesn’t mean “indestructible.” The American Horticultural Society (AHA) emphasizes that while these plants adapt, they thrive most with consistent, appropriate care. My previous failures stemmed from treating all my plants the same, ignoring the specific preferences of this beautiful cultivar.
My Step-by-Step, Two-Week Rescue and Care Protocol
I started with a plant that was slightly rootbound, with one yellowing lower leaf and a general lack of vigor. Here was my action plan.
Week 1: Assessment and Corrective Action
The first week was all about setting a strong foundation. I focused on the three pillars: potting, light, and initial watering.
The Right Home: Potting Mix and Container My first crucial step was addressing the soil. The nursery pot was filled with a dense, moisture-retentive mix that stayed wet for too long. I prepared a new, well-draining blend. I used a high-quality indoor potting soil as a base, but I amended it heavily. I mixed in approximately 30% perlite and 20% orchid bark chunks. This creates an airy, chunky environment that allows water to flow through quickly while retaining just enough moisture for the roots. I chose a pot only one inch larger in diameter than the root ball, with multiple drainage holes. Terracotta was my material of choice for its breathability, which helps the soil dry more evenly.
Finding the Sweet Spot for Light Exposure I’d previously scorched an Aglaonema in direct sun and watched another fade in a dark corner. This time, I was precise. I placed my Green Papaya about six feet back from a large, north-east facing window. This provided bright, but completely indirect, light all day. No harsh sunbeams ever touched the leaves. I even used a simple light meter app on my phone to confirm the levels were in the “low to bright indirect” range. The difference was noticeable within days. The existing pink variegation became more pronounced, and the plant stopped leaning, growing more upright.
The Initial Watering: A Deep Soak and Observe Instead of giving it a splash, I performed a thorough bottom-watering. I placed the pot in a sink filled with about two inches of lukewarm water and let it sit for 30 minutes. This allowed the entire root ball to hydrate evenly from the bottom up, encouraging roots to grow downward. I then let it drain completely in the sink for another hour. This was Day 1. I made a note in my plant journal: “Heavy bottom water. Soil feels cool and moist.”
Week 2: Refinement and Observation
The second week was about fine-tuning and watching how the plant responded to its new conditions.
Mastering the Watering Schedule I abandoned the calendar. My new rule: water only when the top 50-75% of the soil is dry. To check this, I stuck my finger deep into the pot, almost to my second knuckle. On Day 6, the top two inches were dry, but deeper down it still felt slightly cool. I waited. On Day 9, my finger came out with almost no soil sticking to it. It was time. I watered thoroughly from the top this time, until water ran freely from the drainage holes, ensuring all the soil was saturated. This “soak and dry” method prevents the constant sogginess that leads to root rot.
Humidity and Environment Tweaks Aglaonemas enjoy moderate humidity. My home air is quite dry. Instead of misting (which can promote fungal leaf spots), I placed the pot on a wide, shallow pebble tray filled with water. As the water evaporates, it creates a localized humid microclimate. I also grouped it with a few other plants, which collectively raises humidity through transpiration. I noticed the newest leaf, which had been slightly stuck, unfurled completely and felt less papery within three days of implementing this.
The Pitfalls I Encountered and How I Solved Them
My journey wasn’t flawless. I hit two significant snags that taught me invaluable lessons.
The Overwatering Panic Around Day 3, after the repot and initial water, the oldest leaf began to yellow rapidly. Panic set in—had I already overwatered? I carefully removed the plant from its pot to inspect the roots. Thankfully, they were firm and white, not brown or mushy. I realized this was simply transplant shock and the plant jettisoning an older, less efficient leaf to focus energy on new growth and root establishment. I left it alone, and the yellowing stabilized without spreading. Solution: Don’t panic at the loss of one old leaf post-repot. Monitor for systemic issues. If roots are healthy, trust the process.
The Mystery of the Crispy Leaf Tips By the end of Week 1, two leaf tips developed small, dry brown edges. I diagnosed this as a combination of factors: residual salts/minerals in tap water and the initial low humidity. Solution: I immediately switched to watering with filtered or distilled water. I also made sure the pebble tray was always filled. New growth since then has been completely crisp-free.
Sustaining Long-Term Health: Feeding and Maintenance
After the two-week intensive period, my Aglaonema Green Papaya was stable and pushing out new growth. Maintenance became simpler. I feed it monthly during the spring and summer with a balanced, water-soluble fertilizer diluted to half the recommended strength. I wipe the leaves with a damp cloth every few weeks to remove dust, which allows them to breathe and photosynthesize efficiently. I also rotate the pot a quarter turn each watering to ensure even growth.
Answering Your Top Aglaonema Green Papaya Questions
Why are the leaves on my Green Papaya losing their pink color? Insufficient light is almost always the culprit. The stunning pink variegation is enhanced by bright, indirect light. If your plant is in a dim corner, the new leaves will produce more green chlorophyll to capture what little light there is, reducing the pink areas. Gradually move it to a brighter spot (without direct sun) and you should see the color return in subsequent leaves.
How often should I really water my Aglaonema? Throw away the weekly schedule. The only correct answer is: when the soil is mostly dry. This could be every 7 days in a warm, bright summer, or every 14-20 days in a cool, dark winter. Your finger is the best tool. Develop a habit of checking the soil moisture first.
What are the signs of root rot, and can I save the plant? Signs include multiple yellowing leaves, wilting that doesn’t improve with watering, soft black stems at the soil line, and a foul smell from the pot. If you suspect it, act fast. Remove the plant, wash away all soil, and cut off any brown, mushy roots with sterile shears. Repot in fresh, dry, well-draining mix and a clean pot. Water very sparingly until you see new growth, indicating the plant has recovered.
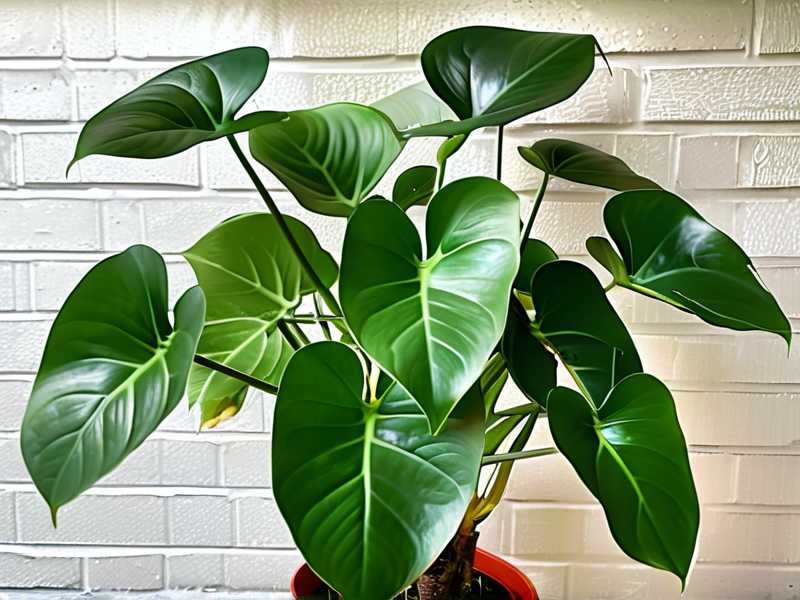
Caring for an Aglaonema Green Papaya is a lesson in attentive, responsive plant parenting. It’s not about rigid rules, but about understanding the language of the plant—the way its leaves tilt toward light, the weight of the pot, the texture of the soil. My two-week experiment taught me that success lies in providing a stable foundation of chunky soil, consistent indirect light, and disciplined watering. The reward is a resilient, breathtakingly beautiful plant that proves even a self-proclaimed black thumb can cultivate a vibrant, indoor jungle. Start by observing, adjust with patience, and your Green Papaya will repay you with years of lush, colorful growth.





