 bluename
 How to Care for Aglaonema For Maximum Growth: My 2-Week Journey to Lush, Vibrant Leaves
I used to think I had a black thumb. My first Aglaonema, a beautiful ‘Silver Bay’, arrived full of promise, only to slowly fade into a sad, drooping specimen with yellowing leaves within a few months. I was frustrated. I wanted that lush, vibrant, maximum growth I saw in pictures, but my plant was barely surviving. If you’ve ever felt that sting of disappointment, wondering why your Chinese Evergreen isn’t thriving, you’re not alone. The secret isn’t in constant fussing, but in understanding a few non-negotiable, core principles. After killing that first plant, I committed to a two-week, hands-on experiment with a new ‘Red Siam’ Aglaonema, meticulously tracking every variable. What I learned transformed my approach and led to explosive, healthy growth. Let me walk you through the exact steps, the mistakes I made along the way, and the simple fixes that finally worked.
Understanding Your Aglaonema’s Core Needs
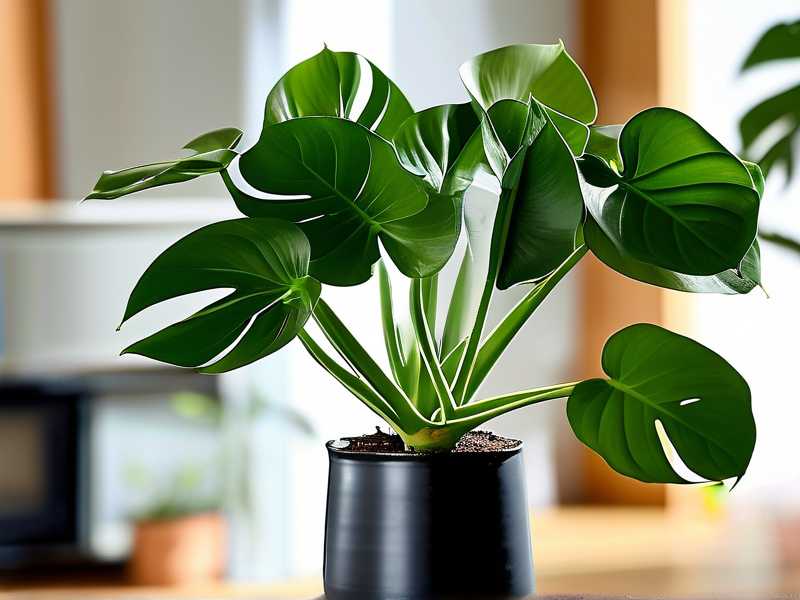
Before we dive into the daily care, it’s crucial to think about where Aglaonema comes from. These plants are native to the tropical forest floors of Southeast Asia, which means they are adapted to dappled light, consistent warmth, and humidity. They are not full-sun desert plants nor deep-shade fungi. Getting this foundation right is 80% of the battle for maximum growth. The Royal Horticultural Society (RHS) categorizes them as ideal low-light tolerant plants, but notes that medium, indirect light will always promote denser foliage and better coloration. This was my first “aha” moment.
The Perfect Light: Bright but Indirect is King
My initial failure was a classic case of wrong placement. My first Aglaonema sat on a dim north-facing windowsill, which was too dark, then I panicked and moved it to a blazing south window, which scorched its leaves. For my two-week experiment, I chose a spot about 6 feet back from a large east-facing window. This provided bright, gentle morning light without the harsh afternoon rays.
Week 1 Observation: The new red and green leaves on my ‘Red Siam’ maintained their vivid contrast. No signs of fading or burning. The plant also exhibited a slight phototropism, gently leaning its leaves toward the light source. This told me the location was good, but I made a note to rotate the pot 90 degrees each week to ensure even growth—a small tip that prevents a lopsided plant.
The Critical Watering Rhythm: Less is More
Overwatering is the single biggest killer of houseplants, and Aglaonema is no exception. Their roots need oxygen as much as they need water. I adopted the “finger test” method, abandoning any strict calendar schedule.
My Process: Every other day, I would insert my index finger into the soil up to the second knuckle (about 2 inches deep). If the soil felt dry at that depth, I would water thoroughly. “Thoroughly” means pouring water evenly over the soil until it freely runs out of the drainage holes at the bottom of the pot. I always let the pot drain completely in the sink before returning it to its decorative cover pot. This ensures no soggy “wet feet” at the bottom.
The Mistake & Fix: Around Day 5, the soil surface still looked slightly moist, and I almost skipped the finger test. I’m glad I didn’t. Beneath the surface, it was bone dry. This highlighted a key point: surface appearance is deceptive. Relying on it alone can lead to underwatering. After that deep watering, I observed a visible perk-up in the plant’s posture within just 12 hours. The stems seemed firmer, and the leaves looked more taut and glossy. This direct feedback from the plant is incredibly rewarding.
Soil and Potting: Building the Right Foundation
You can’t talk about proper watering without discussing soil. A heavy, moisture-retentive garden soil is a death sentence. For maximum growth and root health, Aglaonema needs a well-aerated, fast-draining mix. I used a pre-mixed premium potting soil designed for aroids, but I further amended it with about 20% perlite for extra drainage. The pot must have drainage holes. This is non-negotiable.
Feeding for Lush Foliage: A Gentle Approach
During my active two-week growth period (spring), I incorporated feeding. Aglaonema are not heavy feeders, but they benefit from light, consistent nutrition during their growing season. I used a balanced, water-soluble fertilizer (with an equal NPK ratio like 10-10-10) but diluted it to half the strength recommended on the label. I applied this once at the beginning of the second week, right after a regular watering session. Important: Never fertilize a dry plant, as it can burn the roots.
Week 2 Observation: Following the half-strength feeding, I noticed a subtle but definite surge in activity. A brand new leaf, which had been a tight spear, began to unfurl more rapidly. The existing foliage developed a deeper, richer sheen. This confirmed that while they are low-maintenance, a little targeted nutrition supports that maximum growth potential we’re after.
Tackling Humidity for Tropical Bliss
While Aglaonema tolerates average home humidity better than some tropicals, boosting it promotes larger leaves and prevents brown, crispy tips—a common user pain point. The American Horticultural Society (AHS) suggests grouping plants together to create a microclimate, which is a simple and effective method.
My Simple Humidity Solution: Instead of running a humidifier 24/7, I placed my Aglaonema on a wide pebble tray. I filled a shallow tray with small stones, added water until it was just below the top of the pebbles, and set the pot on top. As the water evaporates, it gently increases humidity around the plant. I also grouped it with my peace lily and pothos. By the end of the two weeks, the new unfurling leaf was perfectly formed without a single dry edge.
Common Problems and My Quick Interventions
Even with perfect care, you might encounter issues. Here’s what I faced and solved:
- Yellowing Lower Leaves: I noticed one single, older leaf starting to yellow at the base in Week 1. This is often a natural part of the plant’s renewal process. I simply snipped it off cleanly at the soil line to direct energy to new growth. Had multiple leaves yellowed, I would have suspected overwatering and checked my soil moisture habits immediately.
- Leggy Growth or Small Leaves: This was the fate of my first plant. It’s a clear sign of insufficient light. The plant stretches to find a light source. The fix is gradual relocation to a brighter spot (never direct sun).
- Pests – Early Detection: I inspected the undersides of leaves weekly. On Day 10, I spotted a few almost-invisible spider mites on one leaf. I immediately isolated the plant and wiped every single leaf, top and bottom, with a soft cloth dipped in a mild solution of water and a few drops of gentle dish soap. I rinsed the leaves with clean water after. This early, non-chemical intervention eradicated the problem before it could spread.
The Results After Two Consistent Weeks
The difference wasn’t about a dramatic doubling in size—that’s unrealistic. The results were in the health and vitality. My ‘Red Siam’ stood proud and perky. One new leaf had fully unfurled, showing stunning deep green and pink variegation, and another was well on its way. The existing leaves lost any slight dustiness and shone with a healthy waxiness. The plant simply looked stronger and actively growing, not just sitting in soil. This robust health is the absolute prerequisite for the maximum, sustained growth that follows over the coming months.
How often should I really water my Aglaonema? Throw away the calendar. Watering frequency depends entirely on your home’s light, temperature, and humidity. The only reliable method is the finger test. Check the soil weekly, and water only when the top 2 inches are dry. In lower light, this could mean every 10-14 days. In brighter, warmer spots, it might be weekly.
Can Aglaonema survive in a windowless room or very low light? While famously tolerant, “survive” is not the same as “thrive.” In very low light, growth will slow to a crawl or stop, and the plant will become leggy. For any meaningful growth, some indirect light from a nearby window or a quality grow light for 6-8 hours a day is essential. They are shade-tolerant, not shade-requiring.
Why are the tips of my Aglaonema leaves turning brown? Brown, crispy leaf tips are most commonly a sign of low humidity or inconsistent watering (alternating between bone dry and soggy). Fluoride or salts in tap water can also contribute. Try using filtered or distilled water for a few waterings, ensure you’re watering thoroughly when you do, and consider increasing humidity via a pebble tray or humidifier.
Caring for Aglaonema for maximum growth is a practice in mindful observation rather than constant intervention. By mimicking its native tropical understory conditions—consistent moisture without sogginess, bright filtered light, gentle warmth, and a touch of humidity—you set the stage for a resilient and beautifully expanding plant. The journey with my ‘Red Siam’ proved that success lies in mastering these fundamentals. Pay attention to what your plant is telling you through its leaves and growth patterns. Start with a solid foundation of light and soil, water with attentive care, and you’ll be rewarded with a stunning, vibrant Aglaonema that doesn’t just survive, but truly thrives.





