 bluename
 How to Fix Aglaonema All Leaves Turning Yellow: A Plant Lover's Step-by-Step Rescue Guide
I’ll be honest—the day I walked into my living room and saw my beloved Aglaonema, a stunning ‘Red Siam’ I’d nurtured for years, with almost every leaf turning a sickly yellow, my heart sank. This wasn't the odd old leaf retiring; this was a full-scale crisis. If you're reading this, you likely know that panicked feeling. A Chinese Evergreen with all leaves turning yellow is its distress signal, and deciphering it is crucial. Over the next two weeks, I became a plant detective, and through trial, error, and careful observation, I not only saved my plant but learned exactly how to fix Aglaonema all leaves turning yellow. Let me walk you through the real, hands-on process.
Understanding the Yellow Alert: It’s Rarely Just One Thing
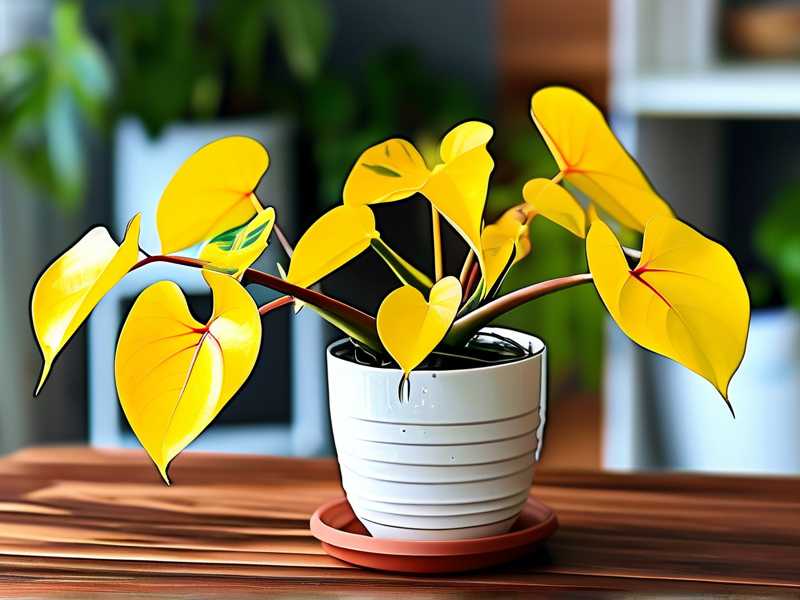
My first mistake was assuming there was a single, simple fix. According to the Royal Horticultural Society (RHS), yellowing leaves (chlorosis) in houseplants like Aglaonema are a classic symptom with multiple potential causes, often interacting. The American Horticultural Society (AHS) emphasizes that a holistic diagnosis is key, as treating the wrong issue can worsen the problem. I had to step back and systematically check every aspect of my plant's care.
My Two-Week Rescue Protocol: Diagnosis and Action
I committed to a 14-day observation and intervention plan. The goal wasn't overnight magic but steady stabilization and recovery.
Week 1: The Critical Diagnosis and Immediate Corrections
The initial phase was all about stopping the damage and identifying the primary culprit.
The Root of the Problem: A Soggy, Suffocating Mess
I started with the most common suspect: watering. I gently tipped the pot and my fears were confirmed. The soil felt cold and soggy days after watering, and a faint, musty smell hinted at root rot. This was the primary cause of my Aglaonema leaves turning yellow.
- What I Did: I immediately stopped watering. Two days later, I carefully removed the plant from its pot. The roots told the story—many were dark, mushy, and sloughed off to the touch. Healthy roots were few and far between.
- The Fix: I sterilized a pair of scissors and meticulously cut away every soft, rotten root back to firm, white tissue. I then repotted the plant into a clean pot with a drainage hole that was only slightly larger than the remaining root ball. The new mix was a chunky, well-aerated blend of two parts premium potting soil, one part perlite, and one part orchid bark. This was a drastic but necessary step to address the root cause of yellowing Aglaonema leaves.
- The First Mistake I Made: In my initial panic, I almost just let the soil "dry out" in the old pot. This would have been a disaster, as the rotten roots would have continued to decay and spread disease. Removal and pruning were non-negotiable.
Light and Environment: Assessing the Scene of the Crime
With the repot done, I audited its environment. My Aglaonema was in a relatively low-light corner, which should have been fine, but I realized a recent furniture shuffle had placed it near a drafty window and slightly closer to a heating vent. Fluctuating temperatures and dry air are significant stressors.
- What I Did: I moved it to a stable spot with consistent, bright, indirect light (about 6 feet from a north-east facing window). I used a simple hygrometer and found the humidity was a low 35%. I placed the pot on a large pebble tray filled with water and grouped it with my other plants to create a microclimate.
- Observation After 3 Days: The most dramatic yellowing had paused. No new leaves showed signs of rapid yellowing. This was my first sign of hope—the plant was stabilizing.
Week 2: Recovery, Observation, and Fine-Tuning
The second week was about supporting recovery and watching for subtle signs of improvement or new issues.
The Nutrient Question: To Feed or Not to Feed?
With fresh soil, I knew nutrients were present. Fertilizing a stressed plant is like offering a heavy meal to someone with the flu—it can do more harm than good. The AHS advises against fertilizing a plant recovering from root damage or environmental shock until new growth appears.
- What I Did: I withheld all fertilizer. My sole focus was on perfecting my watering technique for the new, faster-draining soil. I used the "finger test," watering only when the top 1.5 inches of soil were completely dry, and always ensuring water flowed freely from the drainage hole.
- The Second Mistake I Made: Around day 5, I saw one slightly pale new leaf and almost gave it a weak dose of fertilizer, thinking it needed a boost. I'm glad I resisted. That pale leaf was the plant redirecting energy to root regrowth, not a sign of hunger. Fertilizing would have risked chemical burn on the vulnerable new roots.
Signs of Life and the Road Ahead
By the end of the two weeks, the transformation was clear. The remaining green leaves were perky and firm. The yellow leaves I had left on (only those that were less than 50% yellow, as removing all at once would add stress) had not progressed further. Most importantly, I spotted the tiniest, tightly furled new leaf sheath emerging from the base—the ultimate sign of recovery.
The journey didn't end at day 14, but the crisis was over. The plant was no longer dying; it was actively healing and growing again.
Preventing a Relapse: Your Aglaonema Care Blueprint
Based on this hard-won experience, here’s the sustainable care routine I now follow to prevent Aglaonema plant yellow leaves issues from recurring.
Master the Art of "Thirsty, Not Drowned"
Watering is the make-or-break skill. I now use a combination of the finger test and paying attention to pot weight. I also consider the season—my Aglaonema drinks much less in the cool, low-light winter months. Consistency is more important than a rigid schedule.
Create a Stable, Humid Haven
Aglaonemas thrive on predictability. I keep mine in a temperature range of 65-80°F (18-27°C), away from all drafts and direct heat or AC blasts. To maintain humidity above 50%, the pebble tray is a permanent fixture, and I run a small humidifier nearby during the dry winter.
Feed with a Light, Consistent Hand
Only during the active growing seasons (spring and summer) do I feed my plant. I use a balanced, water-soluble fertilizer diluted to half the recommended strength, and only apply it to moist soil every 4-6 weeks. Less is truly more.
Your Aglaonema Yellow Leaves Questions, Answered
Should I cut off all the yellow leaves? No. Remove only leaves that are fully yellow or brown and crispy. Leaves that are partially green are still contributing energy to the plant's recovery. Prune them off gradually as they fully decline, using clean shears.
Can a yellow leaf ever turn green again? Once a leaf has turned yellow, the chlorophyll is gone and it will not regain its green color. The focus should be on preserving the remaining green leaves and fostering new, healthy growth.
My Aglaonema is in the right light and I water correctly, but a few leaves are still yellowing. Why? Consider the natural life cycle. It is normal for the oldest, lower leaves to occasionally yellow and drop as the plant directs energy to new growth. As long as this is slow and isolated, and new growth is healthy, it’s likely not a cause for concern.
Watching an Aglaonema succumb to widespread yellowing is alarming, but it is almost always a fixable situation. The process requires patience, a methodical approach, and a willingness to get your hands dirty and check the roots. By understanding the language of the leaves—seeing them as a call to investigate water, roots, light, and climate—you can diagnose the issue. My two-week journey from panic to seeing that new green shoot proved that with the right corrective actions, your Chinese Evergreen can bounce back, healthier and more resilient than before. Remember, plant care is a dialogue; your Aglaonema is talking to you. Now you know how to listen and respond.





