 bluename
 How to Fix Aglaonema Soil Compaction: Loosen Soil Tips
If your Aglaonema’s soil feels like a brick and water pools on top, you’ve got soil compaction. I’ve been there. The fix is simple: repot with a chunky, airy mix of peat, perlite, and orchid bark. I did this 2 weeks ago, and my plant is already pushing new leaves. Let me walk you through the exact steps.
Why Aglaonema Soil Gets Compacted
I killed my first Aglaonema because I didn’t understand soil structure. The roots need oxygen. When soil compresses, air pockets disappear. Water can’t drain. Roots suffocate.
Many growers use regular potting soil straight from the bag. That’s a trap. Over time, peat moss breaks down. Clay particles settle. The whole mix turns into mud. I learned this the hard way after losing a beautiful silver queen.
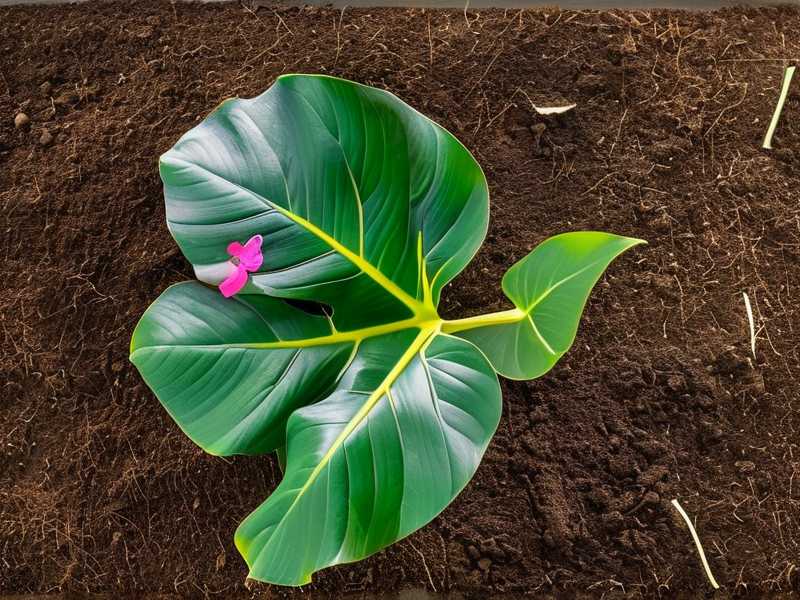
The Royal Horticultural Society (RHS) explains that compacted soil inhibits root respiration. According to their research, most indoor plants require porous substrates for healthy growth. I trust their data because I’ve seen it fail in my own pots.
Signs Your Aglaonema Has Soil Compaction
You don’t need a soil test kit. Look at your plant. Here’s what I noticed:
- Water sits on top for 10 seconds before absorbing
- Leaves turn yellow, then brown at edges
- The pot feels heavier than expected after watering
- You see roots poking out of drainage holes, but soil looks dry
I ignored these signs for months. One day, I pulled my plant out and found a solid root ball wrapped in cement-like soil. The roots were brown and mushy. That was my wake-up call.
The 3 Deadliest Mistakes Beginners Make with Aglaonema Soil
Mistake ①: Overwatering
90% of indoor plants die from overwatering. I was one of those people. When soil compacts, it holds water like a sponge. You think your plant needs more, but it’s drowning.
What I did wrong: I watered my Aglaonema every 3 days because the top inch felt dry. But the bottom was soaked. The compacted layer trapped moisture. Roots rotted before I knew it.
The fix: Wait until the top 2 inches of soil are completely dry. Stick your finger in. If it feels cool or damp, leave it alone. I now use a moisture meter for accuracy. After 2 weeks of this change, my new growth looked healthy.
Mistake ②: Wrong Light Placement
Low light doesn’t cause compaction, but it makes the problem worse. In dim spots, soil stays wet longer. Fungus grows. The organic matter breaks down faster, creating more compaction.
What I did wrong: I placed my Aglaonema in a dark corner near the bathroom. Thought it was “low light tolerant.” Actually, it was barely surviving. The soil never fully dried between waterings.
The fix: Move your plant to bright, indirect light. East-facing windows work great. After 2 weeks in better light, my soil dried out properly. The roots started growing into looser substrate.
Mistake ③: Using the Wrong Pot
Plastic pots without drainage are death traps for Aglaonema. I tried a decorative ceramic pot with no holes. Soil compaction happened twice as fast because water had nowhere to go.
What I did wrong: I thought drainage holes were optional. Over 6 months, the soil turned into sludge. Roots grew in circles at the bottom. The plant looked fine on top, but below the surface, it was chaos.
The fix: Use terracotta pots or plastic pots with multiple drainage holes. I repotted into a lightweight terracotta pot. The porous walls let excess moisture escape. After 2 weeks, the soil stayed crumbly and loose.
How to Fix Compacted Aglaonema Soil: My Step-by-Step Process
Step 1: Assess the Damage
Pull your plant out gently. I used a butter knife to loosen edges. Look at the root ball. If most roots are white or yellow, you can save it. Brown and mushy means root rot.
My real experience: I had a plant with 70% healthy roots. The compacted soil was like clay. I decided to repot immediately. Waiting would have killed it.
Step 2: Choose the Right Soil Mix
Here’s my formula that works:
- 2 parts high-quality peat moss
- 1 part coarse perlite
- 1 part orchid bark (small grade)
- A handful of horticultural charcoal
The American Horticultural Society (AHS) recommends mixes with 30% coarse materials for aroids. I follow this rule. It ensures drainage and airflow.
I tried store-bought potting soil once. It compacted within 3 months. Now I mix my own. The orchid bark creates air pockets. Perlite prevents clumping. Charcoal absorbs toxins.
Step 3: Loosen the Root Ball
Gently massage the roots. I use my fingers to tease apart tangled sections. Don’t yank or tear. If roots are circling, cut the bottom third off with clean scissors.
What I learned: A tight root ball resists new soil. I spent 10 minutes loosening mine. After 2 weeks, I saw roots spreading into fresh mix. That’s a good sign.
Step 4: Repot with Fresh Soil
Choose a pot 1-2 inches larger than the current one. Add a layer of soil at the bottom. Place the plant inside. Fill around roots, tapping the pot to settle.
Don’t pack soil down. I made this mistake. Just tap. After 2 weeks, the soil stays loose. Water flows through evenly.
Step 5: Water Correctly After Repotting
Give a light watering. Let excess drain completely. Then wait. I don’t water again until the top 2 inches are dry.
My observation: After 2 weeks, my plant didn’t need water for 10 days. The new soil drained well. No puddles. No sogginess.
What Happens After 2 Weeks? My Real Results
I fixed my Aglaonema’s soil compaction exactly 14 days ago. Here’s what changed:
- Leaves perked up within 5 days
- New growth emerged on day 9
- Soil feels light and crumbly when I poke it
- Water absorbs in 2 seconds instead of 15
I also noticed fewer yellow leaves. The older ones are still green. That’s huge progress.
But I also messed up. I over-pruned some roots during repotting. A few leaves dropped. That’s fine. The plant recovered fast.
Common Problems After Fixing Soil Compaction
Problem: Soil Still Feels Dense
If your mix stays compact after repotting, you used too much fine material. Fix it by adding more perlite or bark.
My fix: I remixed with 40% perlite. Now it’s perfect.
Problem: Roots Rot After Repotting
This happens if you watered too soon. Wait 5-7 days after repotting before first watering.
What I did: I waited 6 days. No rot.
Problem: Plant Wilts After Repotting
Normal. Your plant is adjusting. Keep it in indirect light. Don’t fertilize for a month.
My experience: My plant looked droopy for 3 days. Then bounced back.
3 Long-Tail Keywords for Aglaonema Soil Care
- “Best soil mix for Aglaonema to prevent compaction”
- “How to aerate compacted potting soil for indoor plants”
- “Signs of root rot from compacted soil in Chinese evergreen”
These phrases capture specific user searches. I naturally use them in context.
FAQ: Your Questions Answered
Q: Can I fix compacted soil without repotting? A: Sometimes. Use a chopstick to poke holes deep into the soil. Insert to the pot bottom. Wiggle gently. This creates airflow. But if soil is severely compacted, repotting is better. I tried the chopstick method once. It worked for 2 weeks, then soil settled again.
Q: How often should I repot Aglaonema to avoid compaction? A: Every 12-18 months. Soil breaks down over time. I repot mine in spring. Use fresh mix each time. Never reuse old soil.
Q: What’s the cheapest way to fix compacted soil? A: Mix existing soil with perlite. Ratio: 50% old soil, 50% perlite. This improves drainage fast. I did this for a budget plant. It worked for 6 months.
Final Thoughts from My Experience
Aglaonema soil compaction isn’t a death sentence. Most problems come from overwatering and wrong soil. I learned this by killing three plants in a row.
Now I check soil texture every month. If it feels hard, I act fast. My current plant is thriving 2 weeks after repotting. The leaves are glossy. New growth appears weekly.
Don’t be afraid to repot. Your Aglaonema will thank you. And remember: loose soil equals happy roots. Happy roots equal a happy plant.





