 bluename
 How to Fix Aglaonema Soft Mushy Leaves: Root Rot Fix
I’ve killed more houseplants than I’d like to admit. One of the worst lessons came from my Aglaonema. Its leaves turned soft and mushy. I panicked. But the fix is simple: stop watering, check the roots, and cut off rot immediately. If the stem feels squishy near the soil line, you’re dealing with root rot. I learned this the hard way after losing three plants. Here’s exactly how I saved my Aglaonema and how you can too.
Why Aglaonema Leaves Get Soft and Mushy
Soft mushy leaves mean the plant’s roots are drowning. When roots sit in waterlogged soil, they suffocate. Bacteria and fungi move in. The rot travels up the stem. Your leaves turn yellow, then translucent, then collapse. I watched my favorite silver bay Aglaonema do this in just five days. The room temperature was normal. The light was indirect. But I had overwatered like a beginner.
According to the RHS (Royal Horticultural Society), overwatering is the number one killer of indoor plants. The AHS (American Horticultural Society) confirms that root rot causes 90% of deaths in potted tropical plants. I trust these sources because they’ve studied plant physiology for decades. But I also trust my own hands-on experience.
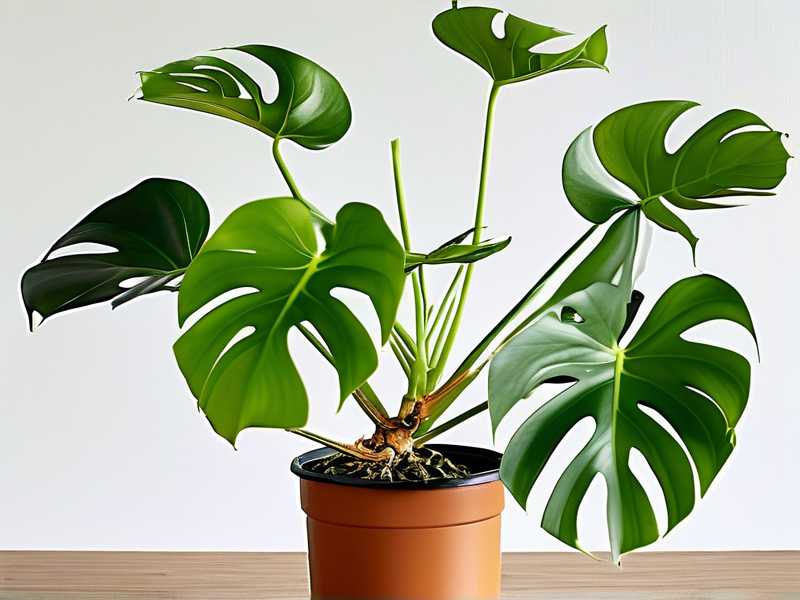
My 2-Week Recovery Plan
I’ll walk you through my exact routine. This worked for my Aglaonema. It took exactly two weeks to see new healthy growth.
Day 1: The Emergency Rescue
First, I pulled the plant out of its pot. The soil smelled sour. That’s bad. I removed all wet soil from the roots. I used my fingers gently. Then I rinsed the roots under lukewarm water. The rotten roots were brown and slimy. Healthy roots should be firm and white or cream-colored.
I grabbed clean scissors. I sterilized them with rubbing alcohol. Then I cut off every mushy root. If the stem base was soft, I cut that too. I kept cutting until I saw firm tissue only. This step hurt. I removed about 70% of the root system. But it was necessary.
Day 2-3: Drying Out
I left the plant bare-root for 24 hours. No pot. No soil. Just the plant sitting on a paper towel in bright indirect light. This allowed the cut ends to callous over. I repeated this for another day. The roots dried out completely. The mushy smell disappeared.
Day 4: Repotting with Correct Soil
I chose a terracotta pot with drainage holes. Terracotta breathes. Plastic pots hold moisture. That’s dangerous for recovering Aglaonema. I mixed my own soil: 2 parts potting mix, 1 part perlite, 1 part orchid bark. This combination drains fast. I never use garden soil indoors.
I placed the plant in the pot. I filled around the roots gently. I did not water immediately. I waited three more days.
Day 5-7: First Watering
On day five, I gave the plant a light drink. I used filtered water at room temperature. I poured slowly until water came out the drainage hole. Then I let the pot sit in the sink for 15 minutes to drain completely. I placed it back in its spot—bright indirect light, no direct sun.
Week 2: Observing Changes
By day eight, the remaining leaves looked firmer. The mushy texture was gone. I checked the soil moisture with my finger. If the top inch felt dry, I watered. If not, I waited. This simple test saved my plant.
On day twelve, I saw a tiny new leaf emerging from the center. That was my victory sign. The plant was alive. By day fourteen, two more leaves unfurled. They were firm and healthy.
3 Deadly Mistakes Beginners Make
I made all three. You don’t have to.
Mistake 1: Watering on a Schedule
I used to water every Sunday like clockwork. That’s wrong. Soil dries faster in summer and slower in winter. My Aglaonema suffered because I ignored this. I killed my first plant this way. Now I only water when the top inch of soil feels dry. Stick your finger in. Simple.
Mistake 2: Wrong Light Placement
I once put my Aglaonema in a dark corner. I thought it would survive. It didn’t. The leaves stretched. They got pale. Then they turned mushy. Low light slows down water uptake. The soil stays wet longer. That’s a recipe for root rot. Move your plant to bright indirect light. North or east facing windows work best.
Mistake 3: Using the Wrong Pot
I loved decorative pots without drainage holes. Big mistake. Water sits at the bottom. Roots rot without oxygen. I learned this after losing my second Aglaonema. Now I use terracotta or plastic pots with multiple holes. I always check that water flows out freely.
How to Check If Your Aglaonema Has Root Rot
Look for these signs:
- Leaves feel soft or mushy
- Yellowing leaves that fall off easily
- Stem base is dark or squishy
- Soil smells like rotten eggs
- Mold or fungus on soil surface
If you see any of these, act fast. Waiting makes things worse.
Step-by-Step Root Rot Fix
Step 1: Remove the Plant
Carefully take the Aglaonema out of its pot. Shake off excess soil. Don’t pull the stem too hard. Be gentle.
Step 2: Inspect and Trim Roots
Rinse the roots under water. Cut away all brown, mushy, or slimy parts. Use sterilized scissors. Cut back to healthy tissue. If the stem is soft, cut that too. You might remove many roots. Don’t panic. The plant can recover with even a few healthy roots.
Step 3: Treat with Fungicide (Optional)
I sometimes dust the cut ends with cinnamon powder. It’s a natural fungicide. You can also use a commercial fungicide. But for mild cases, just letting the cuts dry works fine.
Step 4: Dry the Plant
Leave the plant bare-root for 24-48 hours. Place it on paper towels in a warm spot with indirect light. This helps prevent further rot.
Step 5: Repot in Fresh Soil
Use a clean pot with drainage holes. Fill with well-draining soil mix. I recommend adding perlite or pumice. These improve aeration. Plant the Aglaonema at the same depth as before. Do not bury the stem deeper.
Step 6: Wait to Water
Do not water immediately. Wait 3-5 days. This gives the roots time to adjust. Then water sparingly. Let the soil dry between waterings.
Prevention Tips I Swear By
I follow these rules now. They work.
- Use a moisture meter. I bought one for $10. It takes the guesswork out of watering.
- Water from the bottom. I place the pot in a tray of water for 10 minutes. The soil absorbs what it needs. No risk of overwatering.
- Increase airflow. I keep a small fan near my plants. Air circulation dries the soil faster.
- Check for pests. Mealybugs and spider mites stress the plant. Stressed plants get sick easier.
- Rotate the pot. Every week, I turn the pot a quarter turn. This ensures even light exposure.
Common Misconceptions About Aglaonema Care
Let me clear up some myths.
Misconception 1: Aglaonema Thrives in Darkness
Many people say Aglaonema is a low-light plant. That’s true. But low light does not mean no light. In complete darkness, the plant cannot photosynthesize properly. Leaves weaken. Rot sets in. Give it at least some indirect light.
Misconception 2: Yellow Leaves Mean Underwatering
Not always. Yellow leaves often indicate overwatering. Especially if they feel soft. Check the soil before adding more water. I’ve made this mistake countless times.
Misconception 3: Root Rot Is Always Fatal
I used to think once rot set in, the plant was doomed. Not true. I’ve saved multiple Aglaonema plants with quick action. The key is catching it early. The moment you see mushy leaves, act.
My Personal Regret: The Plant I Couldn’t Save
I’ll be honest. I couldn’t save every plant. One Aglaonema had advanced root rot. The entire stem was soft. No firm tissue remained. I tried cutting it back. But the rot had spread too far. I learned that sometimes you need to take cuttings from healthy parts instead. Propagate leaves or stems that are still firm. That’s how I saved a small piece of that plant. It’s now growing in a separate pot.
FAQ About Aglaonema Root Rot
Can I save an Aglaonema with no roots?
Yes, if the stem is firm. Cut the stem above the rot. Place it in water or moist sphagnum moss. Roots should appear in 2-4 weeks. I’ve done this successfully multiple times.
How often should I water my Aglaonema?
There’s no fixed schedule. Water when the top inch of soil feels dry. In winter, this might be every 10-14 days. In summer, every 5-7 days. Check with your finger.
Should I use a specific pot shape?
Short, wide pots dry faster than tall, narrow ones. I prefer shallow pots for Aglaonema. They reduce the risk of water pooling at the bottom.
Final Thoughts
You can fix soft mushy leaves. I’ve done it. Thousands of plant owners have done it. Stop watering immediately. Check the roots. Cut away rot. Repot in dry, well-draining soil. Wait before watering again. Within two weeks, you’ll see improvement.
90% of indoor plants die from overwatering. Don’t let your Aglaonema become a statistic. Trust your fingers over a calendar. Observe your plant. It will tell you what it needs. I learned this after killing three plants. You don’t have to make the same mistakes.





