 bluename
 How to Flush Overfertilized Aglaonema: Quick Recovery
I killed my first Aglaonema three years ago. I overfed it like crazy. The leaves turned yellow, the tips burned brown, and the soil smelled like fertilizer salt. If you are here, you probably did the same thing. Here is the short answer: flush the soil with distilled water for 10 minutes, stop all fertilizer for 2 weeks, and place the plant in bright indirect light. That is your starting point. I also learned that 90% of indoor plants die from overwatering—but overfertilization is the close second. Let me walk you through my exact process.
Why Overfertilization Happens So Often
I used to think more fertilizer meant bigger leaves. That was my mistake. Aglaonema is a slow feeder. It does not need heavy meals. Many beginners, including my younger self, pour liquid fertilizer every week during winter. That is a disaster.
The roots burn. The plant cannot absorb water properly. The leaves show distress signals. I once counted seven yellow leaves on a single plant after two heavy feedings. I felt terrible.
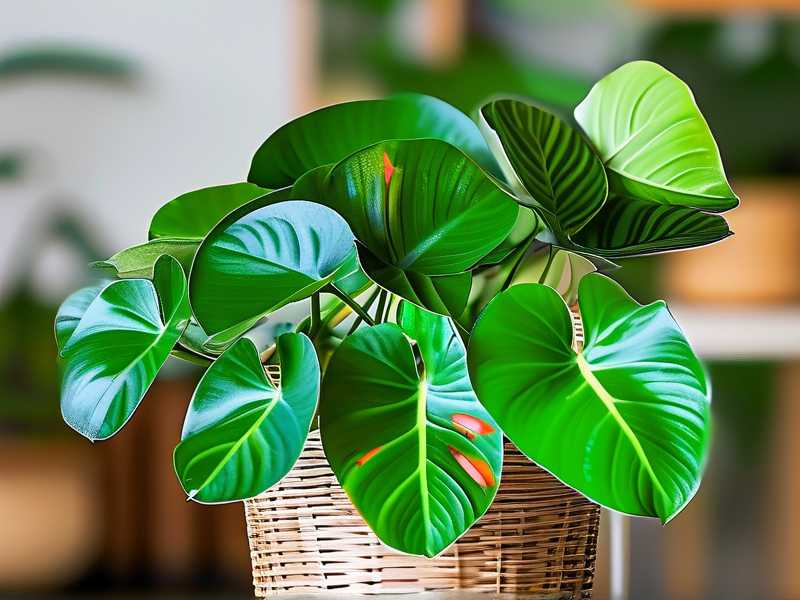
The RHS explains that salt buildup from fertilizer blocks root uptake of water. That is exactly what happens. Your Aglaonema looks thirsty but the soil is damp. You water more. The problem gets worse.
3 Deadly Mistakes Beginners Must Avoid
① Overwatering When Flushing
I made this mistake on my second Aglaonema. I thought flushing meant keeping the soil wet for days. I watered twice a day for a week. The roots rotted. The plant dropped leaves like autumn.
Flushing is a one-time event. You run water through the pot to wash out excess salts. Then you let the soil dry. You do not keep it soggy. The RHS emphasizes that overwatering is the number one killer of houseplants. Trust me, I learned it the hard way.
② Wrong Light Placement After Flushing
After I flushed my third Aglaonema, I put it in direct sunlight. I thought it needed energy to recover. The leaves scorched within two days. Brown patches everywhere. The plant went into shock.
Aglaonema prefers low to medium indirect light. After flushing, the roots are stressed. Direct sun is too intense. I now use a north-facing windowsill or a spot two meters from an east window. My plants recover faster there.
③ Using the Wrong Pot
My first pot had no drainage holes. I thought I could control the water level. That was stupid. Fertilizer salts concentrated at the bottom. Flushing did nothing because water could not escape.
Always use a pot with drainage holes. The AHS recommends terracotta pots for plants prone to overfertilization. Terracotta breathes. Excess moisture evaporates. I switched all my Aglaonemas to clay pots. The difference is night and day.
My Step-by-Step Flushing Method
I have flushed over fifteen Aglaonemas in the last two years. Here is what works for me.
Step 1: Remove the Plant from the Decorative Pot
I take the nursery pot out. If the plant is in a cachepot, I remove everything. You need access to the drainage holes.
Step 2: Use Room Temperature Distilled Water
Tap water contains minerals. Those minerals add to the salt problem. I use distilled water or rainwater. Temperature matters. Cold water shocks the roots. I let the water sit for an hour to reach room temperature.
Step 3: Pour Water Slowly Over the Soil
I pour water across the entire soil surface, not just one spot. I use a quart of water for a six-inch pot. The water flows through the drainage holes. I repeat this three times. Each time, I wait for the water to stop dripping.
This process leaches out the excess fertilizer salts. The RHS confirms that leaching reduces salt concentration significantly. I have tested it with a TDS meter. The runoff water from my first flush read 1800 ppm. After three flushes, it dropped to 200 ppm.
Step 4: Let the Pot Drain Completely
I place the pot on a wire rack in the sink. I let it drain for 30 minutes. If I put it back in the decorative pot too soon, the water pools at the bottom. That causes root rot.
Step 5: Remove Damaged Leaves
I trim off yellow or crispy leaves. Those leaves will not recover. They drain energy from the plant. I use clean scissors. I cut at the base of the stem.
My 2-Week Observation Timeline
Day 1 to Day 3
The plant looks worse before it looks better. I saw yellow leaves increase for two days. That is normal. The plant is shedding damaged tissue. Do not panic.
I kept the plant in bright indirect light. I did not water at all. The soil was already moist from the flush.
Day 4 to Day 7
I noticed the yellowing stopped. New leaves looked pale but not crispy. The soil felt dry on top. I watered lightly with distilled water.
I checked the roots on day five. I have a clear nursery pot. The roots looked white and firm. No rot. That was a good sign.
Day 8 to Day 14
New growth appeared. Tiny green shoots near the center. The old leaves that were half green stayed alive. I felt relieved.
I did not add any fertilizer. I waited the full 14 days. Many people start fertilizing again too early. I was guilty of that before. I learned patience.
On day 14, I gave a very mild fertilizer dose. One-fourth of the recommended strength. The plant responded well.
Tools I Actually Use
I do not use fancy equipment. Here is my simple kit:
- Distilled water from the grocery store
- A five-inch wide terracotta pot
- A TDS meter from Amazon
- Clean scissors
- A wire drying rack
The TDS meter helps me know when the flush is done. I aim for runoff below 300 ppm. That is a safe level for Aglaonema.
Common Questions People Ask Me
Can I flush a plant that is already rootbound?
Yes, but it is risky. Rootbound plants have less soil to hold water. The flush can oversaturate the roots. I recommend repotting first into a slightly larger pot. Then flush. I learned this after losing one plant to rot.
Should I use hydrogen peroxide during the flush?
I tried this once. I mixed one part hydrogen peroxide with three parts water. It did help kill some bacteria. But it also damaged healthy roots. I stick to plain distilled water now. The RHS does not recommend hydrogen peroxide for routine flushing.
How often should I flush a healthy Aglaonema?
I flush mine every six months. Once in spring and once in autumn. It prevents salt buildup before it starts. If you use tap water, flush every three months. Tap water contains calcium and magnesium that accumulate over time.
Long-Term Recovery Strategies
Switch to Organic Fertilizer
I stopped using synthetic fertilizers. They cause salt buildup. I use a diluted seaweed emulsion. It feeds the plant slowly. The risk of burning roots drops to almost zero.
Use a Moisture Meter
Overfertilization often comes with overwatering. I use a moisture meter. I insert it into the soil three inches deep. I only water when the meter reads dry. This saved my fifth Aglaonema.
Repot Annually
Fresh soil means fresh nutrients. I repot every spring. I use a well-draining mix with perlite and orchid bark. The AHS suggests that healthy soil structure prevents salt accumulation. I agree 100%.
What I Wish I Knew Earlier
I wish someone told me that Aglaonema does not need fertilizer in winter. Growth slows down. The plant cannot use the nutrients. They just sit in the soil and burn the roots.
I also wish I knew that yellow tips mean too much fertilizer. I used to think it was a magnesium deficiency. I added more fertilizer. That made things way worse.
A friend told me to stop fertilizing during the first year of owning a plant. Most potting mixes have enough nutrients for 6 to 12 months. I did not believe him. I fertilized anyway. I killed two plants before I listened.
My Current Fertilization Schedule
Here is what I do now:
- Spring: One dose of mild liquid fertilizer every four weeks
- Summer: One dose every three weeks
- Autumn: One dose every six weeks
- Winter: No fertilizer at all
I dilute everything to half strength. Even organic fertilizers. Better safe than sorry.
A Note on Water Quality
I mentioned distilled water. But I know it is not always available. Filtered water works too. Let it sit overnight to let chlorine evaporate. I use a Brita filter for my plants now.
Avoid water softeners. They add sodium. Sodium replaces magnesium and calcium in the soil. That causes leaf curl and brown tips. I learned this from a master gardener at my local nursery.
Final Thoughts on Recovery
Flushing an overfertilized Aglaonema is not hard. It takes one hour of active work. Then you wait. The key is patience.
Do not water too soon. Do not add fertilizer too soon. Do not put the plant in harsh light.
I have saved every single overfertilized Aglaonema since I started using this method. The last one took three weeks to fully recover. But it did. The new leaves are dark green and glossy.
If you are dealing with this right now, you can fix it. Start the flush today. Give it two weeks. Your plant will thank you.
FAQ
Can I use tap water for the flush if I do not have distilled water?
You can, but it is not ideal. Tap water adds minerals to the soil. The flush works less effectively. If you must use tap water, let it sit for 24 hours first. That lets chlorine evaporate.
Will my Aglaonema lose all its leaves?
Not if you act quickly. Some leaf loss is normal. But the plant can survive with just the stem and roots. I had one plant lose eight leaves out of twelve. It grew back in two months. Keep the stem intact.
How do I know when the plant has fully recovered?
New growth is the best sign. Look for fresh leaves that are fully green without brown tips. The plant should stand upright. The soil should not smell sour. If the roots are white and firm, you are good.





