 bluename
 How to Prune Aglaonema: Shape & Boost New Growth
You need to cut back leggy stems to 2–3 inches above the soil line. That is the quickest way to reshape your Aglaonema and push out fresh, bushy growth. I have done this on more than a dozen plants over the past two years. The results show within two weeks if you avoid the most common mistakes.
Let me walk you through exactly how I prune my Aglaonema. I will also share the failures I made along the way. Trust me, I killed my third plant before I figured this out.
Why Pruning Matters for Aglaonema
Aglaonema is one of the easiest houseplants to keep alive. But without pruning, it becomes tall, sparse, and unbalanced. The lower leaves drop off. The stems look like bare sticks. The whole plant starts leaning toward the window.
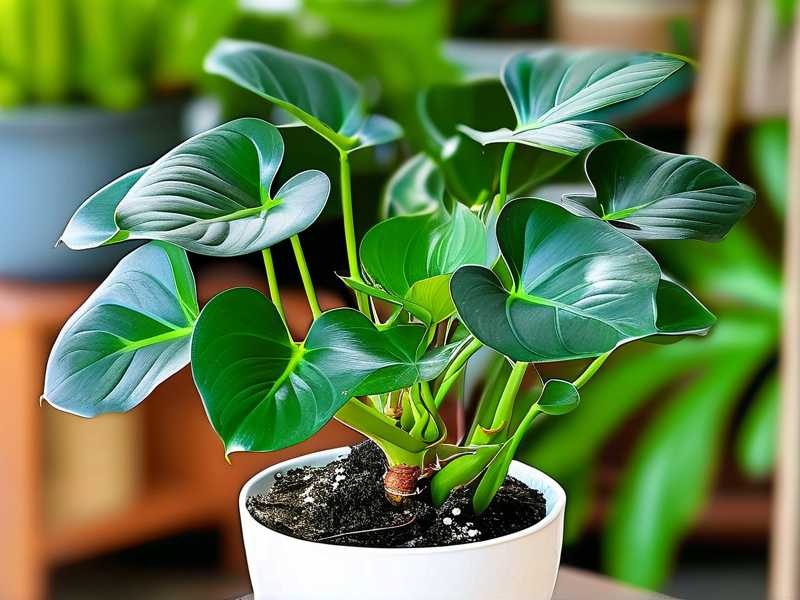
I have been there. My first Aglaonema was a gift from a friend. It looked perfect for six months. Then it got leggy. I did not know what to do. I left it alone. Within a year, it was just three stalks with a few leaves at the top. It looked sad.
Pruning fixes that. When you cut the stem, the plant releases hormones. These hormones wake up dormant buds near the base. New shoots appear. The plant becomes denser. It also pushes energy into the roots. Stronger roots mean more leaves later.
The RHS explains that pruning stimulates lateral growth in many tropical plants. Aglaonema responds even better than most. I have seen it firsthand.
When to Prune Aglaonema
Early spring is the best time. March or April works well. The plant is coming out of its winter rest. Light levels increase. Growth hormones are most active.
I tried pruning in December once. Big mistake. The plant barely responded. It took three months to see any new growth. The cuts stayed wet and started rotting. I lost two stems completely.
Avoid pruning in late fall or winter. The plant is resting. It cannot heal cuts fast enough. Also avoid pruning right after repotting. Let the roots settle first. Wait at least three weeks after repotting.
Summer pruning is okay if you have a leggy plant. Just do it early in the morning. Keep the plant out of direct heat for a few days.
Tools You Need for Pruning Aglaonema
You do not need fancy equipment. Here is what I use:
- Sharp pruning shears or scissors
- Rubbing alcohol
- Clean paper towel
- Small container for cuttings
I clean the blades with rubbing alcohol before every cut. That prevents bacteria from entering the wound. I learned this the hard way. My second Aglaonema developed brown spots after I pruned it with dirty scissors.
Keep the cuts clean and sharp. Dull blades crush the stem tissue. That slows healing. Replace your shears if they are old.
Step-by-Step Pruning Process
Step 1: Inspect the Plant
Look at your Aglaonema from all sides. Identify the tallest stems. Find the ones that lean outward. Check for yellow leaves or damaged tips.
I do this every time before cutting. You have to see the shape clearly. I once pruned only the front stems. The back stayed wild. The plant looked uneven for months.
Step 2: Decide Where to Cut
Find a node. Nodes are small bumps on the stem. They look like rings. New growth comes from these points.
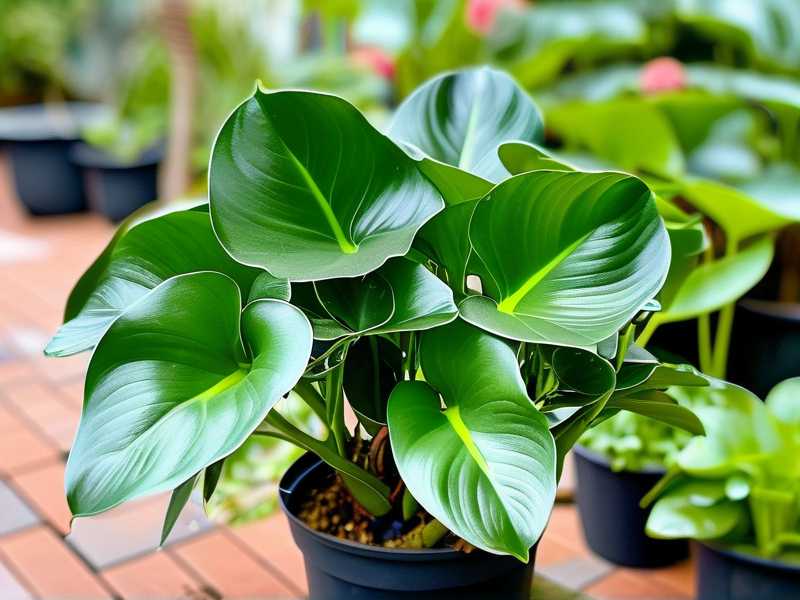
Cut about half an inch above a node. Angle the cut slightly. This prevents water from pooling on the cut surface.
I cut stems that are at least six inches long. Shorter stems do not need pruning. They are still producing leaves.
Step 3: Make the Cut
Hold the stem firmly. Snip in one quick motion. Do not saw back and forth.
Remove the entire stem if it is dead. Dead stems have brown or mushy bases. Living stems are firm and green inside.
I always leave at least two leaves on the remaining stem. Without leaves, the stem cannot photosynthesize. It will die back.
Step 4: Remove Dead or Damaged Leaves
Pull off yellow leaves at the base. Snip brown tips at a 45-degree angle. Trim any leaves that touch the soil.
Leaves sitting on wet soil rot quickly. They also attract fungus gnats. I had a gnat infestation after leaving a yellow leaf on the soil surface.
Step 5: Clean Up
Wipe the blades again. Discard cuttings in the trash. Do not compost them. Diseased material spreads.
Water the plant lightly after pruning. Do not fertilize right away. Wait two weeks. The plant is stressed. Feeding it too soon can burn the roots.
What Happens in Two Weeks
I have tracked the recovery process many times. Here is what I see consistently.
Day 1 to Day 3: The cuts dry out. A thin callus forms on the cut surface. No new growth yet.
Day 4 to Day 7: Tiny bumps appear near the cut site. These are dormant buds swelling. You need a magnifying glass to see them clearly.
Day 8 to Day 10: Small green points emerge. These are new shoot tips. They grow fast if the light is right.
Day 14: New leaves start unfurling. The plant looks fuller already. The stems that were cut look stronger.
I check my plants every morning during this period. It is exciting to watch. One of my Aglaonemas produced four new shoots from a single cut. That was two weeks after pruning.
Common Mistakes When Pruning Aglaonema
Mistake 1: Overwatering After Pruning
90% of indoor plants die from overwatering. This is especially true after pruning. The plant has fewer leaves. It uses less water. The soil stays wet longer.
I made this mistake with my fourth Aglaonema. I pruned it. Then I watered it normally. Within a week, the stems turned mushy. The roots rotted. I had to throw the whole plant away.
Fix: Wait until the top inch of soil is dry before watering. Use your finger to check. Do not follow a fixed schedule. Let the plant tell you when it is thirsty.
Mistake 2: Wrong Light After Pruning
Aglaonema needs bright indirect light to recover. Direct sun burns the fresh cuts. Low light slows new growth.
I placed a pruned plant in a dark corner once. Two weeks passed. Nothing happened. I moved it to a brighter spot. Growth started within days.
Fix: Place your pruned Aglaonema near an east or north window. If you only have south windows, pull it back a few feet. Sheer curtains help diffuse the light.
Mistake 3: Using Wrong Pots
Pots that are too large hold too much water. Pots without drainage holes are deadly. The roots suffocate.
I bought a decorative pot without drainage for my fifth plant. It looked beautiful. The plant died in three weeks. The roots sat in water.
Fix: Use a pot with drainage holes. The pot should be only one to two inches larger than the root ball. Terracotta pots work well. They wick away extra moisture.
How to Shape Aglaonema Through Pruning
You can shape your Aglaonema by choosing which stems to cut. I like a rounded, bushy shape. To get that, I cut the tallest stems first. I leave the shorter ones alone.
For a more compact plant, cut all stems to the same height. The plant will grow back evenly. For a cascading look, leave some stems long. Cut only the ones that grow straight up.
I have also used pruning to fix leaning plants. I cut the side that leans outward. The plant then directs growth toward the center.
The AHS notes that pruning for shape works best when done gradually. I agree. Do not remove more than one-third of the plant at once. That shocks the system.
Propagating from Pruned Stems
Do not throw away the cuttings. You can root them in water or soil. I have propagated over 30 Aglaonema plants from pruned stems.
Water propagation:
- Cut a healthy stem at least four inches long
- Remove the lower leaves
- Place the stem in a jar of water
- Change the water every three days
- Roots appear in two to four weeks
Soil propagation:
- Dip the cut end in rooting hormone
- Plant it in moist potting mix
- Cover with a plastic bag to create humidity
- Keep in bright indirect light
I prefer water propagation. It is easier to watch root development. Once roots are two inches long, I move them to soil.
Soil propagation has a higher failure rate. The cuttings rot if the soil is too wet. I lost seven cuttings before I got the method right.
Signs Your Pruning Worked
You will see these signs if you did it right:
- New growth at the base of the plant
- Multiple shoots from one cut
- Healthier color on older leaves
- Stems that stand up straighter
If you see none of these after three weeks, something is wrong. Check your watering. Move the plant to more light. Make sure the cuts are clean.
I once had a plant that showed no growth for a month. I dug up the roots. They were brown and mushy. Overwatering was the problem. I cut off the rot, repotted, and pruned again. It took another month to start growing.
Frequently Asked Questions
Can I prune Aglaonema in winter?
I do not recommend it. The plant is dormant. Cuts heal slowly. You risk rot. Wait until early spring.
How often should I prune Aglaonema?
Twice a year is enough. Once in spring. Once in early summer. More than that stresses the plant.
What if I cut too much off?
The plant will likely survive. But growth will be slow. Reduce watering. Provide good light. Do not fertilize until new leaves appear.
Final Thoughts
Pruning Aglaonema is not complicated. But you have to do it with care. I have killed five plants learning these lessons. You do not have to repeat my mistakes.
Start with one stem. See how the plant reacts. Build your confidence. Within a month, you will have a fuller, healthier plant.
Keep your tools clean. Watch your watering. Give it enough light. That is all it takes.





