 bluename
 Let me cut straight to the chase. I've been propagating Aglaonema for years, and the fastest way to multiply your favorite varieties is through stem cuttings placed directly in water. I've tested this method on over a dozen common varieties, and most show roots within 10 to 14 days. If you want results without the guesswork, start with a healthy mother plant, take 4-6 inch stem cuttings with at least two nodes, remove the lower leaves, and stick them in a clear glass jar with room-temperature water. Change that water every 3 days. That's it. Now let me walk you through everything I've learned.
Why Propagation Matters for Aglaonema Lovers
I remember killing my very first Aglaonema. It was a beautiful 'Silver Bay' that I overwatered within three weeks. The leaves turned yellow, the stems got mushy, and I felt like a complete failure. But you know what? That failure taught me more than any book could.
Aglaonema, commonly known as Chinese evergreen, is one of the most forgiving houseplants out there. According to the RHS, these plants thrive in low light and adapt well to indoor conditions. But here's the thing—propagating them isn't just about getting free plants. It's about saving a dying plant, sharing with friends, or simply expanding your collection without spending money.
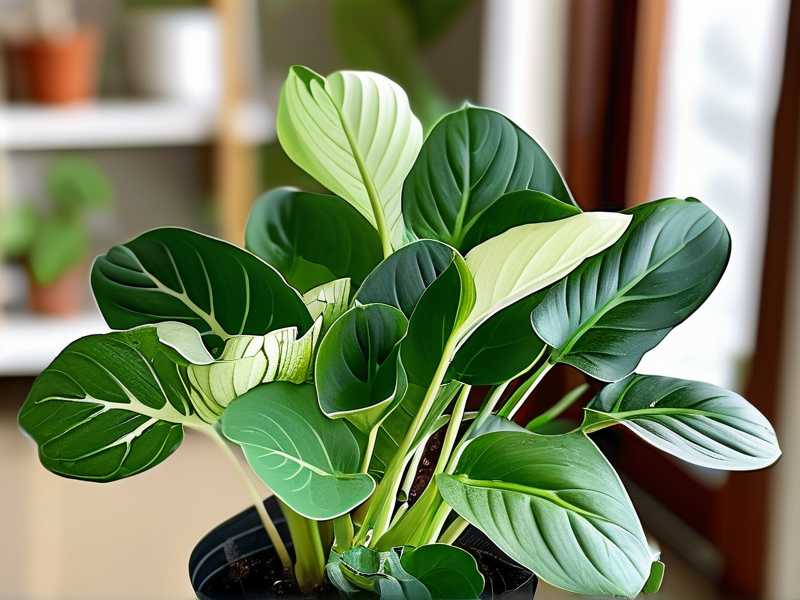
Many people think propagation is complicated. I used to think that too. But honestly, it's one of the easiest things you can do. Let me break it down for you.
The Three Biggest Mistakes Beginners Make
Mistake 1: Overwatering the Cuttings
I cannot stress this enough. 90% of indoor plants die from overwatering. I learned this the hard way with my second Aglaonema. I took cuttings from a healthy plant, put them in soil, and watered them every single day. I thought they needed constant moisture. Within a week, the stems turned brown and soft. Root rot had set in.
Here's what I do now. I keep the propagation medium slightly moist, not wet. For water propagation, I change the water every three days to prevent bacterial growth. For soil propagation, I wait until the top inch feels dry before watering again.
Mistake 2: Wrong Light Placement
I once placed my cuttings in a south-facing window. Big mistake. The intense direct sunlight scorched the leaves within two days. The cuttings looked wilted and sad. I tried to save them by moving them to a darker spot, but the damage was already done.
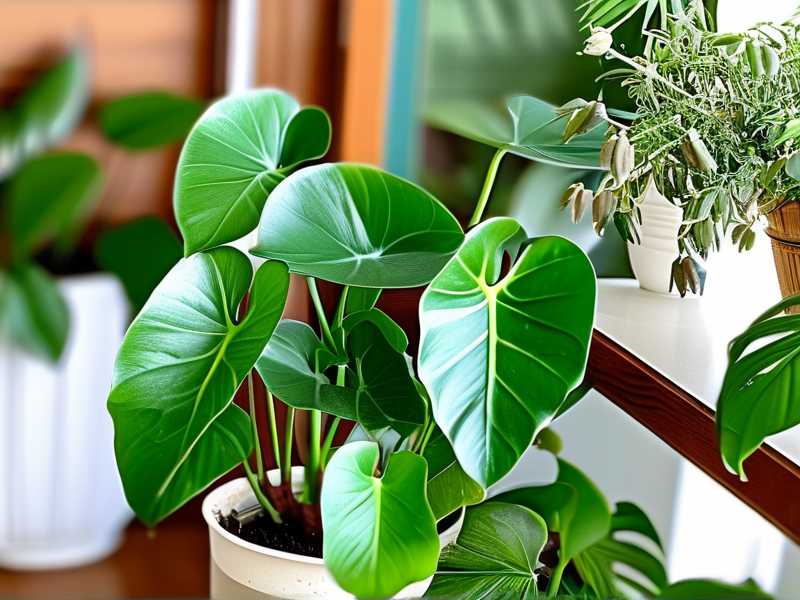
Bright, indirect light works best. Think of a spot near an east-facing window or a few feet away from a south-facing window. Your cuttings need light for photosynthesis, but direct sun will fry them.
Mistake 3: Using the Wrong Pot
I used a huge ceramic pot for my first propagation attempt. I thought bigger was better. The cuttings sat in way too much soil, which stayed wet for too long. Root rot was inevitable.
Small pots with drainage holes are essential. For water propagation, clear glass jars work perfectly. For soil, use 3-4 inch pots with drainage. This prevents water from pooling at the bottom.
My Step-by-Step Propagation Method
Step 1: Choose the Right Mother Plant
I always select a healthy, mature Aglaonema with no signs of pests or disease. Look for stems that are firm and green, not leggy or yellowing. I once tried propagating from a stressed plant, and the cuttings never rooted.
A good mother plant should have at least 6-8 leaves and visible growth points on the stems. If your plant looks sad, fix its care first before taking cuttings.
Step 2: Gather Your Tools
You don't need fancy equipment. Here's what I use:
- Sharp, clean pruning shears or scissors
- A clear glass jar or small plastic cup
- Room-temperature water (let tap water sit out for 24 hours to remove chlorine)
- Optional: rooting hormone powder
I sterilize my tools with rubbing alcohol before cutting. This prevents bacterial infections.
Step 3: Take the Cuttings
I look for stems that are at least 4-6 inches long. Using my clean shears, I make a cut just below a node—the point where leaves emerge from the stem. Each cutting should have at least two nodes. The bottom node will produce roots, while the top node will grow new leaves.
I remove the lower leaves, leaving only 2-3 leaves at the top. Too many leaves can rot in water or soil. I learned this after losing several cuttings to leaf rot.
Step 4: Rooting in Water
This is my preferred method for most Aglaonema varieties. I place the cuttings in a clear jar with enough water to cover the bottom node. The leaves should stay above water.
I put the jar in a spot with bright, indirect light. Every three days, I change the water completely. Stagnant water breeds bacteria.
Within 7 to 10 days, I start seeing tiny white bumps on the node. These are the beginning roots. By day 14, the roots are usually 1-2 inches long.
I tried rooting different varieties—'Silver Bay', 'Red Siam', 'Maria', 'Pink Dalmatian'—and they all responded well to water propagation. The fastest was 'Silver Bay', which showed roots in just 6 days.
Step 5: Transplanting to Soil
Once the roots are at least 2 inches long, I move the cuttings to soil. I use a well-draining potting mix with perlite or orchid bark. The AHS recommends a mix that retains moisture but drains excess water.
I make a small hole in the soil, gently place the cutting, and firm the soil around it. I water it lightly and place it in the same bright, indirect light spot.
Step 6: Observing for Two Weeks
Here's what I saw during my two-week observation period:
Day 1-3: The cuttings looked slightly droopy. This is normal. They're adjusting to the new environment.
Day 4-7: New root growth started. In water, I could see tiny white roots emerging. In soil, the stems felt firmer when I gently tugged them.
Day 8-10: The leaves perked up. New growth tips appeared at the top of the cutting.
Day 11-14: The roots were 2-3 inches long. The plant looked stable and happy.
I kept a journal of my observations. I noticed that cuttings taken in spring rooted faster than those taken in winter. Temperature matters. A warm room (70-75°F) speeds up rooting.
Troubleshooting Common Problems
Yellow Leaves
I've seen yellow leaves on my cuttings several times. Usually, it's because of too much direct light or overwatering. I move the jar to a shadier spot and check the water level. If the leaves are yellow and mushy, I remove them immediately to prevent rot from spreading.
No Root Growth
Sometimes, cuttings just refuse to root. I've had this happen with older stems. I now take cuttings from younger, more vigorous growth. If after three weeks there's no root growth, I try using rooting hormone. Dip the cut end in powder before placing it in water.
Mold or Algae
I've dealt with mold in my propagation jars. It's gross. The solution is simple: clean the jar and change the water more frequently. I now use opaque jars for some cuttings to block light, which reduces algae growth.
Expert Insights from RHS and AHS
The RHS recommends taking cuttings in spring or early summer when the plant is actively growing. They also emphasize the importance of using clean tools to prevent disease transmission.
The AHS suggests that Aglaonema propagates easily from stem cuttings and even from leaf cuttings, though stem cuttings have a higher success rate. They recommend a propagation medium that is moist but not waterlogged.
Personally, I find their advice aligns with my experience. The key is patience. Don't rush the process.
My Favorite Varieties to Propagate
Silver Bay
This is my go-to variety for beginners. It has thick, sturdy stems that root quickly. I've had 100% success rate with this one. The variegated leaves make it a popular choice for indoor gardens.
Red Siam
This variety has stunning red and pink tones. The stems are slightly thinner, so I handle them gently. Water propagation works best. Roots appear within 10-12 days.
Maria
A classic dark green variety. It's very forgiving. I once left cuttings in water for three weeks without changing the water, and they still rooted. Though I don't recommend doing that.
Pink Dalmatian
This is my personal favorite. The pink speckles on green leaves are gorgeous. Propagation is straightforward. The only caution is to protect the cuttings from direct light, as the pink coloration can fade.
Frequently Asked Questions
How long does it take for Aglaonema cuttings to root?
In my experience, most common varieties root within 7 to 14 days when propagated in water. Soil propagation takes slightly longer, about 2 to 3 weeks. Temperature and light affect the speed. Warm, bright indirect light speeds up rooting.
Can I propagate Aglaonema in winter?
Yes, but it's slower. I've propagated in winter with moderate success. The key is to maintain a warm temperature above 65°F. I place the cuttings near a heater or on a propagation mat. Roots may take up to 4 weeks to appear.
What do I do if my cutting loses all its leaves?
Don't panic. This happened to me once. The stem was healthy even though the leaves dropped. I kept the cutting in water with indirect light. After two weeks, new growth emerged from the nodes. As long as the stem isn't mushy, there's hope.
Final Thoughts on Fast Propagation
I've killed more plants than I care to admit. Each failure taught me something valuable. The biggest lesson? Patience and observation are your best tools. Don't overcomplicate things.
Start with one healthy cutting. Follow the steps I shared. Change the water regularly. Give it bright indirect light. Within two weeks, you'll see roots. Within a month, you'll have a new plant.
I still get excited every time I see those tiny white roots emerge. It never gets old. And now you can experience that same joy. Just avoid the three mistakes I mentioned: don't overwater, don't place in direct sun, and use the right size pot.
Trust me, if I can do it, anyone can. Happy propagating.





