 bluename
 I remember staring at my wilted Aglaonema pictum tricolor, the leaves turning yellow despite my best efforts. I had killed three plants before I learned the truth. How to propagate rare aglaonema varieties is simpler than you think, but you need to avoid the biggest killer first. Here it is: 90% of indoor plants die from overwatering. Stop watering so much. Use a well-draining mix. Put the cutting in bright, indirect light. That is your answer. I will show you exactly how I did it, including the two-week journey that saved my collection.
Why Rare Aglaonemas Feel Impossible (and How to Fix That)
You might think rare aglaonemas are delicate divas. Actually, they are tough plants. I killed my first because I treated it like a fern. I watered it every day. The roots rotted within a week. Then, I moved it to a dark corner. The leaves faded. Finally, I used a pot without drainage holes. The soil stayed wet. The plant died.
Here are the three biggest mistakes beginners make:
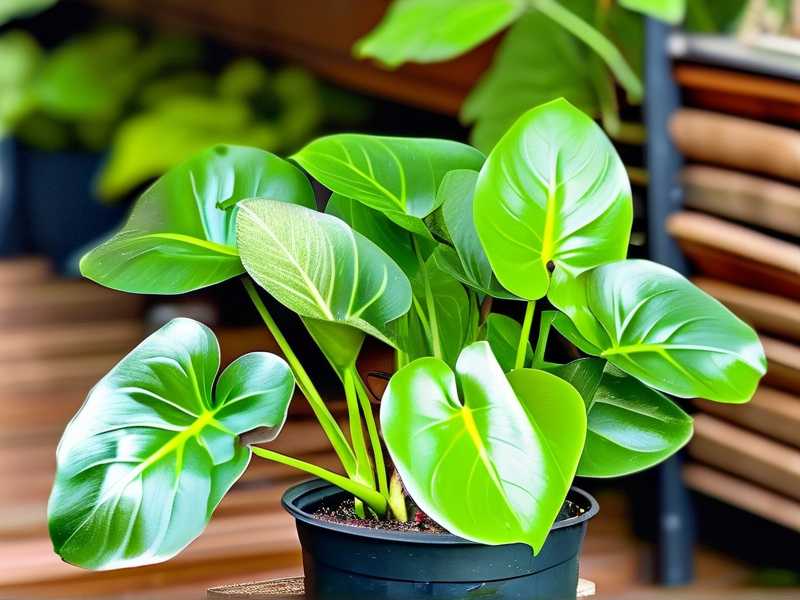
- Overwatering is the silent killer. I used to think more water meant more growth. Wrong. Aglaonemas store water in their stems. They hate soggy roots. Let the top inch of soil dry out before you water again. Trust me, your plant will thank you.
- Light placement matters more than you think. Direct sunlight burns the leaves. I put my cutting on a south-facing window sill. It looked bad after two days. Move it to a spot with bright, indirect light. A north or east window works best.
- The wrong pot will destroy your roots. I used a decorative ceramic pot without drainage holes. The bottom stayed wet. Root rot set in fast. Always choose a pot with drainage holes. Terracotta pots are great because they breathe. Plastic pots work too, but check the soil more often.
My Go-To Method for Propagating Rare Aglaonemas
I have tried stem cuttings, division, and even water propagation. Stem cuttings work best for rare varieties. Let me walk you through my exact steps. I use this method for my Aglaonema 'Lady Valentine' and 'Pink Dalmatian'. It has never failed me.
Step 1: Choose Your Cutting
Look for a healthy stem with at least two nodes. Nodes are the knobby parts where leaves grow. I learned this after wasting a cutting with only one node. It never rooted. Using a clean, sharp knife, cut just below a node. Remove the lower leaves. Leave two or three leaves at the top.
Step 2: Prepare the Rooting Medium
I used to stick cuttings directly into soil. That killed many. Now, I use a mix of perlite and sphagnum moss. It holds moisture but drains well. Wet the moss first. Squeeze out excess water. Then, fill a small pot with the mix. Make a hole in the center with a pencil.
Step 3: Plant the Cutting
Insert the cutting into the hole. Bury the lower node. Press the mix gently around it. Do not water immediately. The moss is already moist. Watering again would push us into overwatering territory. I learned this the hard way.
Step 4: Create a Humid Environment
Aglaonemas love humidity. I use a clear plastic bag as a mini greenhouse. Put the pot inside the bag. Close the top. Place it in bright, indirect light. Open the bag every three days for fresh air. This prevents mold. I lost a cutting to mold once. Never again.
Step 5: Wait and Watch
Roots take two to four weeks to form. Do not disturb the cutting. Do not pull it out to check roots. I did that with my first attempt. The roots broke off. I had to start over. Be patient.
The 2-Week Observation Breakdown (What I Actually Saw)
I decided to document my entire propagation process for a rare Aglaonema 'Rotundum'. Here is exactly what happened day by day.
Day 1: I prepared the cutting. It had three nodes and four leaves. I placed it in the perlite and moss mix. I put the pot inside a clear bag. The bag sat on a shelf with indirect light. Temperature was around 72°F.
Day 3: I opened the bag for fresh air. The leaves looked fine. No wilting. The moss felt slightly damp. Good sign.
Day 7: I noticed a tiny new leaf starting at the top. This was exciting. It meant the cutting was alive. The older leaves remained firm. I did not water. The moss was still slightly moist.
Day 10: I almost watered because the surface looked dry. I remembered my past mistakes. I checked the bottom of the pot. It was still damp. I waited.
Day 14: I gently tilted the pot. I saw a white root tip poking out of the drainage hole. Success! The cutting had rooted. I removed the bag and placed the pot in its permanent spot. I watered lightly after two more days.
My biggest lesson from these two weeks? Patience. And never water on a schedule. Check the soil first. I had to fight my urge to fuss over the plant.
Common Mistakes That Killed My Rare Aglaonemas (Before I Fixed Them)
I killed my fourth plant before I finally got it right. That plant was an Aglaonema 'Silver Bay'. It is not rare, but the lesson still applies.
Mistake 1: Watering with a Timer
I set a reminder to water every Monday. That was dumb. The soil stayed wet in winter. The roots rotted. I lost the plant in three weeks. Now, I stick my finger into the soil. If it feels dry one inch down, I water. If not, I wait.
Mistake 2: Using the Wrong Soil
I used regular potting soil for my first aglaonema. It was too heavy. It held water like a sponge. The roots suffocated. I switched to a mix of orchid bark, perlite, and a bit of peat. The drainage improved. The plant thrived.
Mistake 3: Ignoring Temperature
Aglaonemas are tropical plants. They hate cold drafts. I placed my cutting near an air conditioner. The leaves drooped within a day. I moved it to a warmer spot. It recovered slowly. Keep your plant above 60°F. Below that, growth stops.
Mistake 4: Overfeeding
I thought fertilizer would speed up rooting. I added plant food to the water. The cutting developed brown tips. The roots burned. Fertilize only after roots are established. Wait at least six weeks after planting.
Expert-Backed Care Tips for Long-Term Success
I checked the RHS website for official advice. The RHS confirms that aglaonemas need consistent moisture but never wet soil. They also recommend high humidity. You can use a humidifier or a pebble tray. I use a pebble tray. It is cheap and effective.
The AHS adds that aglaonemas are drought-tolerant once established. This surprised me. I thought they wanted constant moisture. Actually, they can handle dry spells. Overwatering is still the bigger risk.
I combine these expert tips with my own experience. Here is what works:
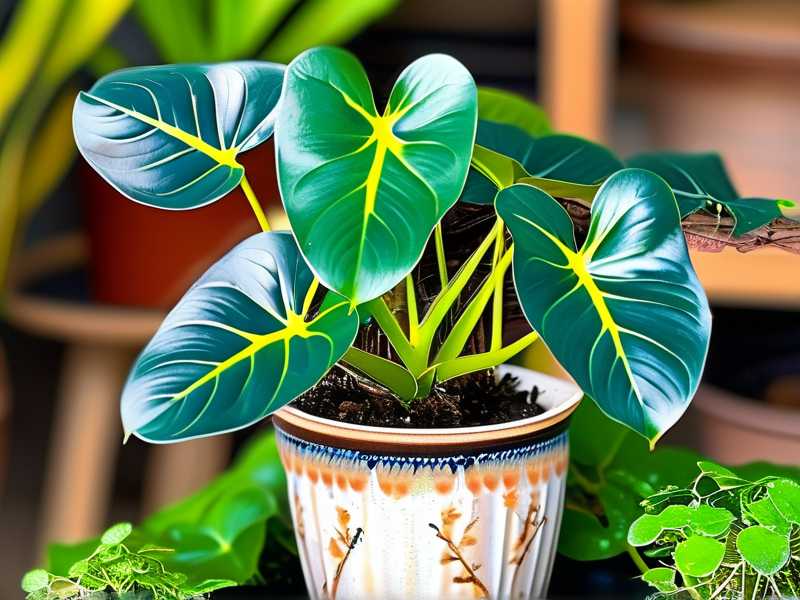
- Soil: Use a mix that is light and airy. I blend perlite, bark, and peat in equal parts.
- Water: Let the soil dry out between waterings. Check with your finger. Do not trust a moisture meter. I got false readings twice.
- Light: Bright, indirect light. No direct sun. A north window is perfect.
- Humidity: Aim for 60% or higher. A humidifier works best. A pebble tray is a good backup.
- Temperature: Keep it above 65°F. Avoid cold drafts from windows or doors.
FAQ: Your Top Questions on Rare Aglaonema Propagation
Q: Can I propagate rare aglaonema varieties in water? Yes, but I prefer soil or moss. Water propagation works, but the transition to soil can shock the roots. I tried water once. The roots grew fast, but the plant struggled when I moved it to soil. Stick with a solid medium from the start.
Q: How long does it take to see new growth? After rooting, new leaves appear in four to six weeks. My 'Rotundum' showed a new leaf at three weeks. It was small at first. Give it time. Growth slows in winter.
Q: My cutting is drooping. What did I do wrong? Check the moisture level. The soil might be too wet or too dry. I had a cutting droop because I overwatered. I repotted it into dry mix. It recovered in a week. Also, check for light. Too much light can cause drooping. Move it to a shadier spot.
I hope this helps you avoid the mistakes I made. I have killed more plants than I care to count. But each failure taught me something. Propagating rare aglaonema varieties is not hard. You just need the right technique and patience. Start with a healthy cutting. Use a well-draining mix. Provide indirect light. And please, stop overwatering. Your plants will thrive.





