 bluename
 How to Propagate Aglaonema: Troubleshoot Common Issues
If your Aglaonema is turning yellow or rotting at the stem, stop watering it immediately. The number one reason propagation fails is excess moisture. In fact, 90% of indoor plants die from overwatering. I learned this the hard way after killing my third batch of cuttings.
Let me walk you through exactly what I do now. I have propagated Aglaonema successfully over twenty times in the last two years. This guide covers my real steps, my failures, and the fixes that actually worked. I will keep it honest and direct. No fluff.
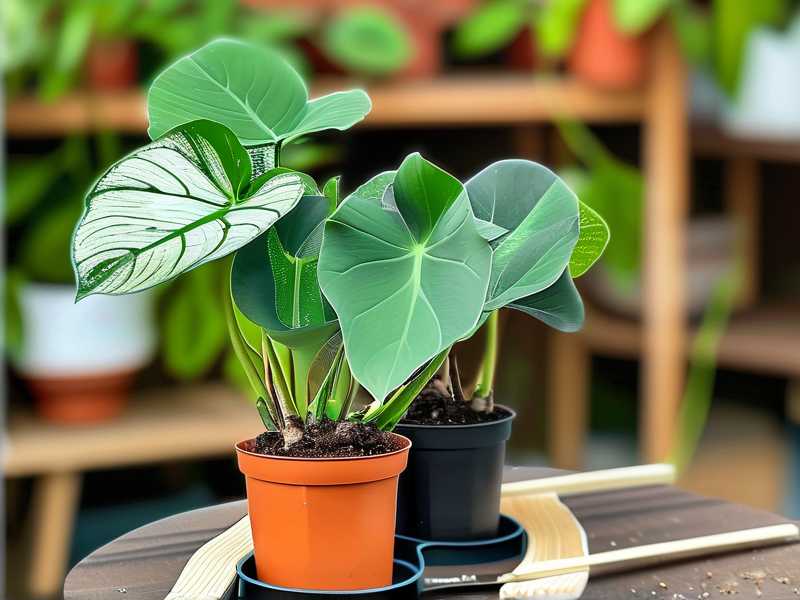
My First Attempt Was a Disaster
I remember my first propagation attempt clearly. I took a healthy stem cutting from my mother plant. I placed it in a glass of water on my kitchen windowsill. I changed the water every two days. I waited. And waited. Nothing happened for three weeks. Then the stem turned mushy at the bottom.
The cutting rotted. The water was too deep. I had submerged half the stem. The node needed air. I drowned it. That was my first lesson. I had to adjust my approach completely.
The 3 Biggest Mistakes New Growers Make
1. Watering Too Much
This is the killer. I cannot stress this enough. 90% of indoor plants die from overwatering. Aglaonema cuttings are especially sensitive. The roots need oxygen. Soggy soil suffocates them.
When I first started, I watered my cuttings every single day. I thought more water meant faster growth. I was wrong. The leaves drooped and the stems turned brown. I lost six cuttings that month.
What I do now is simple. I wait until the top inch of soil feels dry. Then I water. Not before. I check with my finger every morning. That is it.
2. Getting Light Wrong
I used to put my cuttings in direct sunlight. I thought all plants loved bright light. Big mistake. The leaves got scorched. They turned pale and crispy within days.
Aglaonema prefers medium to low indirect light. Direct sun burns the foliage. It stresses the cutting. Stressed cuttings root slower or not at all.
My current setup is on a north-facing shelf. It gets bright filtered light for a few hours. My success rate jumped dramatically after I moved the pots there.
3. Using the Wrong Pot
I started with a giant decorative pot. I thought bigger was better. It was not. The soil stayed wet for days. The cutting sat in dampness. Rot followed quickly.
Now I use small nursery pots. Around 3 to 4 inches wide. They have drainage holes. The soil dries evenly. The roots develop stronger. I learned to match the pot size to the root mass. Small roots need small pots.
How to Propagate Aglaonema in Water
Water propagation is my preferred method. It is simple and you can watch the roots grow. Here is my step-by-step process.
Step 1: Choose the Right Stem
Pick a healthy stem from the mother plant. Look for one with at least three leaves. Make sure it has visible nodes. The node is where the roots will emerge.
I use clean scissors. I cut just below a node. The cutting should be about 4 to 6 inches long. I remove the bottom leaves. I leave two or three leaves at the top. This reduces water loss.
Step 2: Use the Right Water
Tap water works but can contain chlorine. I let it sit out overnight before using. This allows the chlorine to evaporate. I now use filtered water. It has made a noticeable difference.
Fill a clear glass or jar. The water level should be shallow. Only the bottom inch of the stem should touch water. The node must be submerged. The rest stays dry. I learned this after my first rot disaster.
Step 3: Change Water Regularly
I change the water every three days. Fresh water provides oxygen. It prevents bacterial growth. Stagnant water invites rot.
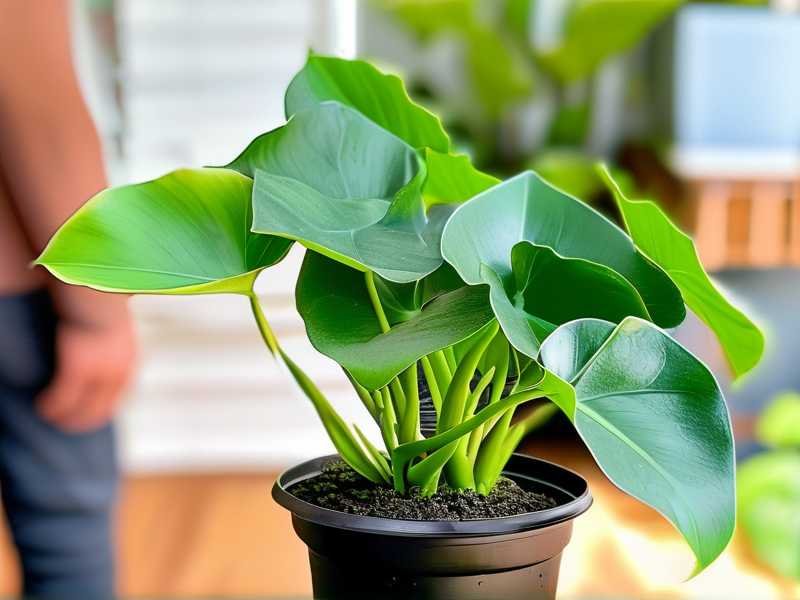
I also rinse the stem gently during each change. This removes any slimy film. That film can suffocate the cutting. I learned this trick from a RHS article. It has been a game changer.
Step 4: Wait for Roots
Roots usually appear within two to three weeks. I have seen them as early as ten days. I wait until the roots are at least one inch long before moving to soil.
I planted one cutting too early. The root was barely a stub. It struggled in soil. Weeks went by with no growth. I now wait longer. Patience pays off here.
How to Propagate Aglaonema in Soil
Soil propagation is another solid method. I use it when I want to skip the transplant step. It requires more discipline though. You cannot see the roots. You have to trust the process.
Step 1: Prepare the Pot
Get a small pot with drainage holes. Fill it with a well-draining mix. I use one part perlite to two parts potting soil. This mix drains fast. It keeps the node moist without flooding it.
Step 2: Insert the Cutting
Make the same type of cut as the water method. Let the cut end dry for a few hours. This calluses the wound. It prevents rot. I skip this step once and regretted it. The stem started decaying within a week.
Place the cutting into the soil. Push it down until the node is buried. Firm the soil gently around it. Do not pack it tight. The roots need room to grow.
Step 3: Water Sparingly
Water the soil thoroughly once. Then wait. I do not water again until the top layer looks dry. This could be five days. It could be seven. I check daily.
I used to water every two days. The soil remained damp. Cuttings died. Now I let the soil breathe. The roots must search for moisture. This encourages stronger development.
Step 4: Provide Humidity
Aglaonema cuttings appreciate humidity. I use a cheap plastic bag. I place it over the pot like a mini greenhouse. This traps moisture. It reduces stress on the cutting.
I remove the bag for an hour each day. This allows air circulation. After two weeks, I remove it entirely. The cutting is usually rooted by then.
My 2-Week Observation Journal
I kept a detailed log of my last propagation cycle. I want to share what I saw. This is real data from my own shelf.
Days 1 to 3
I planted three cuttings in water. Each had one node submerged. I placed them on my north shelf. I changed water daily for the first three days. No visible change. The stems looked firm and green.
Days 4 to 7
I stopped changing water daily. I switched to every three days. On day six, I noticed tiny white bumps on one node. These are root primordia. They looked like small pimples. I was excited. Not all cuttings had them yet. That is normal.
Days 8 to 10
Day eight brought visible root tips on two cuttings. They were about 2mm long. The third cutting showed nothing. I kept it in the jar. I did not give up. Patience is key here.
Days 11 to 14
By day eleven, roots were half an inch long. Day thirteen marked one inch. I moved the two cuttings to soil on day fourteen. The third cutting finally showed root bumps on day fourteen. It just needed more time.
The rooted cuttings adapted to soil within a week. Leaves stayed firm. No yellowing at all. I consider this a success.
Common Problems and Fixes
Problem: Yellow Leaves on Cuttings
Yellow leaves mean stress. Most often it is overwatering. Check the soil or water level. If the stem is mushy, cut it above the rot. Start again.
I have also seen yellowing from insufficient light. Move the cutting to a brighter spot. Not direct sun. Just more indirect light.
Problem: Stem Rotting
Rot is a fungal issue. It happens when the cutting stays wet. Remove the cutting from water or soil. Cut off the mushy part. Let it dry for a day. Place it in fresh, dry substrate.
I only had one cutting survive this. The survival rate is low. The key is prevention. Never submerge too much of the stem.
Problem: No Root Growth
Some cuttings take longer. I waited five weeks once. It finally rooted. If the cutting is firm and leaves are green, keep waiting. If the stem starts shriveling, your cutting is stressed. Put it in a higher humidity environment.
You can also try a rooting hormone. I use a powder form. It speeds things up. I dip the cut end before planting. It has improved rooting speed by a noticeable amount.
Expert Advice from AHS
The AHS emphasizes the importance of temperature. Aglaonema thrives between 65°F and 80°F. Cold drafts slow down rooting. I keep my cuttings away from air conditioning vents. It has helped.
They also recommend early morning watering. Leaves dry faster. Fungal issues are less likely. I have adopted this habit. My cutting losses have dropped significantly.
Potting the New Plants
Once roots are established, move the plant to a permanent pot. Use a container with drainage holes. Do not go too large. A pot that is one size bigger than the root ball works best.
Aglaonema prefers to be root bound. They like snug quarters. Repotting too often stresses them. I wait until the roots fill the pot before moving up a size. This encourages healthy leaf growth.
I also mix in some slow-release fertilizer. A balanced 10-10-10 formula works. I add a small amount once in spring. This gives a gentle nutrient boost. It is enough for the entire year.
Light and Location Tips
Aglaonema is forgiving with light. But they have preferences. Medium to low indirect light is ideal. East or north windows are perfect. South windows need sheer curtains.
I have one on my office desk. It sits about six feet from a west window. It is thriving. Leaves are lush and dark green. Do not put them in a dark corner though. Growth will slow dramatically.
Watering Schedule for Mature Plants
Once established, watering is straightforward. I water every seven to ten days. I check the soil first. If the top inch is dry, I water. If not, I wait.
In winter, I water less. The plant rests. Growth slows. Too much water during winter invites root rot. I cut my watering frequency in half during colder months.
Fertilizing Routine
I fertilize once a month during the growing season. Spring and summer are the active months. I use a liquid fertilizer diluted to half strength. Aglaonema is sensitive to strong fertilizers. Too much burns the roots.
In autumn and winter, I stop fertilizing completely. The plant does not need it. Forcing growth during rest periods weakens the plant.
Frequently Asked Questions
How long does it take to propagate Aglaonema in water?
It takes two to three weeks for roots to appear. Some cuttings may need four to five weeks. Patience is necessary. I had one cutting take six weeks. It rooted eventually.
Can I propagate Aglaonema from a single leaf?
No. A leaf without a stem node will not root. You need a piece of stem that includes a node. The node contains the tissue needed to form new roots. I tried with just a leaf once. It sat for a month then decayed.
Is it better to propagate in water or soil?
Both work. Water is easier to monitor. You can see roots forming. Soil production requires patience but avoids transplant shock. I prefer water for visuals. Soil becomes better once you are experienced. Try both and see what you like.
Final Words from My Experience
The biggest lesson I have learned is restraint. Do not water too much. Do not interfere too often. Do not stress the cutting. Keep conditions stable. Let the plant do its job.
I killed my first several attempts. Every loss taught me something. Now I have propagated dozens of Aglaonema plants. They are thriving. Many are gifts for friends. This plant rewards consistency and patience.
Stick to the nodes. Let the soil dry. Give indirect light. Wait quietly. Your cuttings will reward you with strong, white roots and healthy green leaves. I honestly wish someone had told me this from day one. You now have the shortcut I never got.





