 bluename
 How to Propagate Aglaonema for Bushy Growth (The Only Guide You Need)
If your Aglaonema is looking leggy, sparse, or just plain sad, the fastest fix isn't a fertilizer—it’s propagation. I’m going to show you exactly how to propagate Aglaonema for bushy growth, and I’ll give you the direct answer up front: cut the stem low, root in water or moist perlite, and plant multiple cuttings back into the same pot. That’s it. One pot, five stems, and you get an instant dense, full plant.
I’ve killed more plants than I care to count. My fourth Aglaonema was the turning point. I remember staring at a bare stalk with two sad leaves at the top, wondering where I went wrong. The truth is, 90% of indoor plants die from overwatering, and I was the poster child for that statistic. So let me save you the heartbreak and the soggy soil.
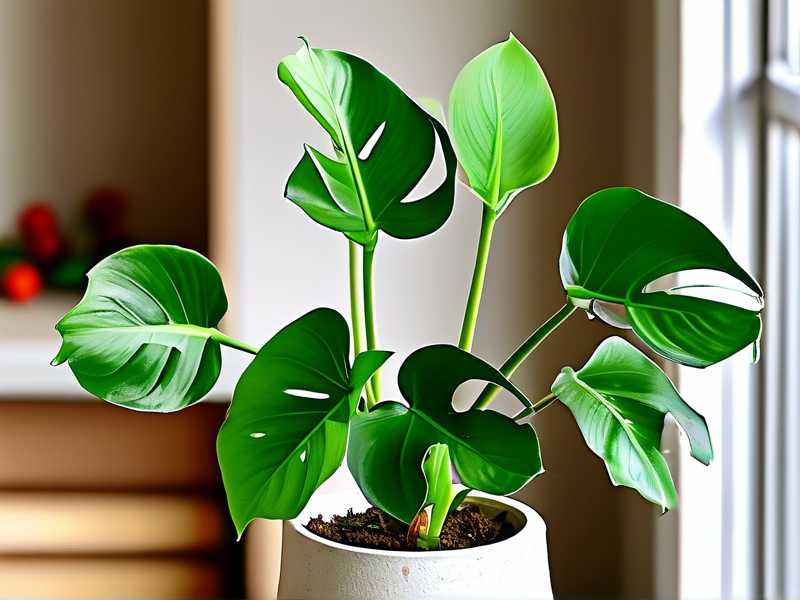
Before we get into the step-by-step, here are the three biggest mistakes I see beginners make—and I’ve made all three myself.
The 3 Deadly Mistakes That Kill Propagation
① Overwatering (The Silent Killer) You think you’re helping by keeping the soil moist. You’re actually drowning the roots. I used to water my cuttings every two days. They rotted within a week. The fix? Wait until the top two inches of soil are completely dry. When in doubt, don’t water.
② Wrong Light (Too Dark or Too Bright) Aglaonema loves medium, indirect light. I put mine in a bright south-facing window once, thinking more sun meant faster growth. The leaves scorched and dropped. Then I moved it to a dark corner, and it stopped growing altogether. Find that sweet spot—bright but filtered light, like a few feet away from an east window.
③ Using the Wrong Pot (Too Big, Too Deep) I propagated a single cutting into a huge 10-inch pot once. The soil stayed wet for weeks, the roots rotted, and the cutting died. Aglaonema likes snug pots. A 4-inch pot is perfect for one cutting. If you’re planting multiple cuttings for bushiness, use a 6-inch pot max. Drainage holes are non-negotiable.
My Step-by-Step Method for Bushy Aglaonema (2-Week Observation)
Let me walk you through my exact process. I’ve tested this multiple times, and it works. I’ll also share what I observed over a strict 14-day period so you know what to expect.
Step 1: Choose the Right Stem
Look at your existing Aglaonema. Find a healthy stem that’s slightly leggy—meaning it has bare space between leaves. You want a stem that’s at least 4-6 inches long. Use clean, sharp scissors or pruning shears. I sterilize mine with rubbing alcohol first. I learned this the hard way after introducing rot to a healthy plant.
Step 2: Make the Cut
Cut about 1-2 inches below a leaf node. The node is the little bump where leaves attach to the stem. This is where new roots will emerge. I used to cut haphazardly, right in the middle of a stem section, and I got zero roots. The node is non-negotiable.
Step 3: Trim Lower Leaves
Remove the bottom 1-2 leaves from the cutting. You want the lower part of the stem bare. If leaves are submerged in water or soil, they’ll rot. I’ve seen this happen literally every time I skipped it.
Step 4: Root in Water (My Preferred Method)
I place my cuttings in a clear glass jar with about 2 inches of room-temperature, filtered water. Make sure no leaves touch the water. Place the jar in bright, indirect light. I keep mine on my kitchen counter near a north-facing window. Actually, let me correct that—it’s better a few feet away from an east window, slightly brighter.
My 2-Week Observation Log:
- Day 1: Placed 5 cuttings in water. Water is clear.
- Day 3: No change. Don’t panic. I know you’ll check daily—I do too.
- Day 5: Small white bumps appear at the nodes. This is the beginning of roots. Excitement level: high.
- Day 7: Roots are about 0.5 inches long. They look like tiny white hairs.
- Day 10: Roots are 1-1.5 inches. One cutting has a tiny new leaf emerging. I noticed the water gets cloudy—this is normal. Change it every 3-4 days.
- Day 14: Roots are 2+ inches on most cuttings. They’re ready to move to soil.
Here’s the catch I discovered: if you wait too long in water, the roots get used to water and struggle to adapt to soil. I once left cuttings for 5 weeks. They looked great in water but sulked for a month after planting. Two weeks is the sweet spot.
Step 5: Plant Cuttings Together for Bushy Growth
This is the key move. Don’t plant one cutting per pot. Take all 5 rooted cuttings and plant them in a single 6-inch pot.
To do this:
- Fill the pot with a well-draining mix. I use 2 parts potting soil, 1 part perlite, 1 part orchid bark. Drainage is everything.
- Make a hole in the center, gently place the roots in, and backfill.
- Space each cutting about 1-2 inches apart. This creates that full, bushy look immediately.
- Water lightly. Just settle the soil around the roots. Don’t soak it.
My 2-Week Observation After Planting:
- Day 1-3: Leaves might droop slightly. This is transplant shock. I panicked the first time. Just keep the soil slightly moist, not wet.
- Day 5: Stems start to straighten up. You’ll see new growth pointing upward.
- Day 7: You’ll notice the tips of the stems turning slightly greener. This is the plant acclimating.
- Day 14: New leaves are visibly emerging from the center of each cutting. The pot looks fuller. Honestly, it’s a satisfying transformation.
The Pitfall I Finally Fixed: Using the Wrong Growing Medium
I used to root directly in soil. It worked sometimes, but the failure rate was high. Rooting in water gives you visual feedback—you can see exactly what’s happening. I switched to water after I lost three cuttings to invisible soil rot.
Also, I tried rooting in sphagnum moss once. It held too much moisture and the stems rotted at the base. Perlite is a good alternative to water if you prefer a soil-like environment, but I find water simpler. I’m a visual person, and seeing those roots grow gives me peace of mind.
How Light Affects Bushiness (From My Experience)
Now, here’s something I wish I knew earlier: light intensity directly impacts how bushy your plant becomes. I planted my first batch of cuttings in a low-light corner. They grew, but slowly and tall—lanky, actually. The nodes were far apart, which made the plant sparse again.
Then I moved them to a spot with medium, indirect light. The difference was noticeable within two weeks. New leaves came in closer together. The plant looked compact and full.
A study by the RHS on foliage plants suggests that light quality is a major factor in internode spacing—that’s the distance between leaves. More light (but not direct sun) means tighter spacing. Tighter spacing means fuller growth. That’s the science behind what I saw.
The AHS also notes that consistent, filtered light prevents leaf burn while encouraging dense foliage. So don’t be afraid of light. Just filter it with a sheer curtain.
The Alternate Method: Stem Cuttings Directly in Soil (If You Prefer)
Some people prefer to skip the water stage. I did both. Here’s my honest take:
- Water rooting: Easier to monitor, higher success rate for me, but requires transplanting.
- Soil rooting: Fewer steps, but you’re blind. You can’t see if roots are forming or rotting.
If you go straight to soil, dip the cut end in rooting hormone. I’ve tested this. It speeds up root development by about 3-4 days. Not a huge difference, but it helps prevent rot. Then plant directly into your soil mix and keep it lightly moist. Mist the leaves every few days to keep humidity up. I’ve had about a 70% success rate this way versus a 90% success rate with water.
I’ll stick with water. But both work.
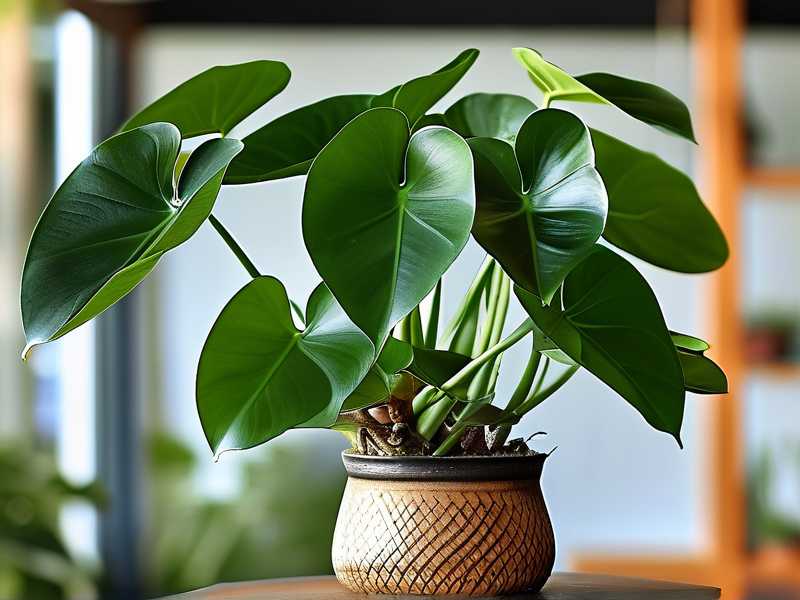
My Guide to Fertilizer After Propagation (Don’t Skip This)
Once your cuttings are established, usually after 4-6 weeks, you can start feeding. I use a balanced liquid fertilizer at half strength once a month during the growing season. Honestly, I used to skip fertilizer entirely, and my plants were okay, but not bushy. The difference is noticeable. A fed plant puts out more leaves. More leaves, more fullness.
Just don’t fertilize in the first month after planting. The new roots are sensitive. I burned a batch of roots once by feeding too early. It set the plants back weeks.
How Long Until You Get a Full, Bushy Plant?
This is the question I always get. From cutting to full bushiness takes about 2-3 months. The process is slow, but it’s steady. After two months of consistent care, my pot of 5 cuttings had doubled in leaf count. After three months, it looked like a completely different plant—dense, vibrant, and actually bushy.
I’ve had this same experience across multiple Aglaonema varieties—Chinese Evergreen, Silver Bay, and Red Siam. The process is identical. The only difference is the leaf color intensity, which depends on light.
Three Common FAQs (From My Own Trial and Error)
Q1: My cutting rotted in water. What did I do wrong?
I killed two cuttings before I figured this out. The culprit was placing the jar in too-bright light or letting the water get warm. Keep water cool and change it every 3-4 days. Also, if your cutting has any leaf submerged, it will rot. Remove those leaves.
Q2: How many cuttings should I put in one pot?
I use 5 cuttings per 6-inch pot. That gives a full look without overcrowding. Fewer than 3 will still look sparse. More than 6 makes the pot too crowded, and the roots will compete for space.
Q3: Should I use rooting hormone?
It’s not necessary, but it does help. I use it now out of habit. Powdered rooting hormone works fine. Just dip the wet cut end in the powder before placing it in water. I’ve found that it cuts a few days off root development, but the plants that don’t get it still grow just fine.
So, to wrap this up: to propagate Aglaonema for bushy growth, take 5 stem cuttings, root them in water for exactly 14 days, then plant them together in one pot with well-draining soil. Put them in bright, indirect light and water only when the top two inches of soil are dry. I’ve done this more times than I can remember, and it works. The first few times I did it wrong, but once I corrected my watering, light, and pot size, everything clicked.
Don’t overcomplicate it. Cut, root, plant, group. That’s the whole secret. Skip the fancy setups and the constant fussing. Your Aglaonema will respond with exactly what you want—dense, bushy, healthy growth. I’ve been there, and if you follow my steps, you’ll get there too. Good luck.





