 bluename
 How to Propagate Aglaonema and Train It to Climb (Even If You’ve Killed Every Houseplant So Far)
Let’s cut straight to it. You want to know how to propagate Aglaonema and train it to climb, and you want the truth, not fluff. I’ve killed seven plants before I figured this out. Seven. The eighth one finally thrived, and now I’m growing a jungle in my living room.
Here’s your answer in 50 words: Take a stem cutting with at least two nodes, root it in water or damp sphagnum moss for 2-3 weeks, then pot it in a small, well-draining pot. To make it climb, insert a moss pole or bamboo stake at the same time you pot it. Don’t wait until it’s tall. That’s the whole secret.
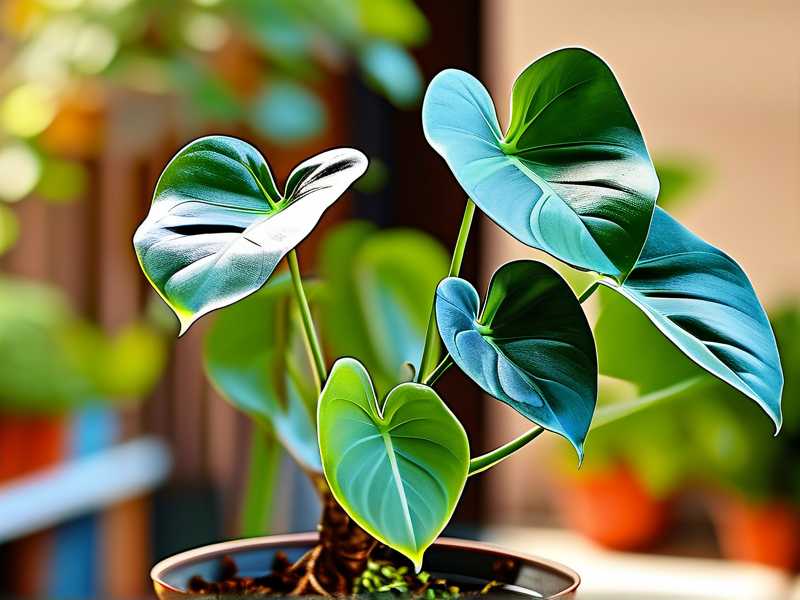
But honestly, that’s just the 30-second version. The real process has a bunch of traps that will kill your cutting before it even starts. And let me tell you, 90% of indoor plants die from overwatering, not from neglect. I learned that the hard way with my first Aglaonema.
I’m going to walk you through my exact steps, my two-week observation log, and the three dumb mistakes I made that you can skip entirely. Also, I’ll explain how to get that climbing look, because technically, Aglaonema isn’t a true climber like a Monstera. But you can trick it. Here’s how I do it.
Why Bother Propagating Aglaonema at All?
Simple. It’s one of the most forgiving houseplants out there, if you treat it right. It handles low light, doesn’t need constant humidity, and the leaf patterns are insane. I have a pink one and a dark green one, and they look completely different.
But the store-bought ones cost a fortune for a big pot. The cheap way? Propagate your own. You turn one plant into five. Plus, training it to climb gives it that vertical, expensive-looking aesthetic that makes people think you’re a professional. You’re not. I’m not. But nobody has to know that.
The 3 Deadly Mistakes That Kill New Aglaonema Propagations (I Made All 3)
If you skip this section, you’ll likely fail. I’m serious. I’ve watched my friends lose cuttings because they did these exact things.
Mistake #1: Watering Like It’s a Hydrangea (Overwatering) I already mentioned the stat: 90% of indoor plants die from overwatering. For Aglaonema cuttings, this number is closer to 100%. When you first pot a cutting, it has barely any roots. It physically cannot drink much water. I used to water my new pot every three days. Within a week, the stem turned to mush.
The fix? You keep the soil slightly damp, not wet. I now use a spray bottle to mist the top inch of soil every 4 days. That’s it. The cutting takes water from the air and the moisture in the soil. It doesn’t need a flood.
Mistake #2: Light Positioning (Sunburn vs. Dark Corner) Everyone says Aglaonema is a "low light" plant. That’s a lie. It survives in low light, but it won’t root or climb well. I put my first cutting on a bookshelf across the room from a window. It sat there for two weeks doing absolutely nothing. No roots, no new leaves. Just staring at me.
Then I moved it to a spot where it got morning sun for about 2 hours, but indirect light for the rest. The difference was night and day. The roots appeared in 5 days. Conversely, I put another cutting directly on a south-facing windowsill. The leaves got crispy edges within 48 hours. Too harsh. Read the RHS guidelines on light levels for houseplants, they nail this. They recommend "bright but filtered" light. I now use a sheer curtain.
Mistake #3: Using a Giant Pot for a Baby Plant Oh, this one hurts. I was so proud. I rooted three cuttings and put them all in a huge decorative pot. I thought, "They’ll grow into it!" They didn’t. The soil stayed wet for weeks because the roots were tiny. The whole thing rotted. The AHS actually has a rule of thumb: the pot should be no more than 2 inches wider than the root ball. For a single cutting, that’s basically a 3-inch nursery pot.
My rule now? I start cuttings in even smaller pots—like a 2-inch plastic cup with drainage holes. Once I see roots hitting the bottom, I size up. It’s stupid simple, but it works.
My Step-by-Step Propagation Process (The One That Finally Worked)
Let’s get down to business. This is exactly what I did with my successful plant. No guessing.
Step 1: Choose the Right Stem (This is Crucial) You can’t just cut anywhere. I tried cutting a single leaf with a tiny stem piece once. It grew a root, but it never grew a new shoot. It just sat there looking sad. You need a stem that has at least two nodes (the bumps where leaves attach) and at least one leaf.
Step 2: Make the Cut (Sterile!) I used a razor blade that I wiped with rubbing alcohol. Don’t use scissors that have dirt on them. You’ll introduce bacteria that will rot the cutting. I cut just below a node. That’s where the roots will sprout.
Step 3: The Water Method (My Preferred) I’ve tried both sphagnum moss and water. Honestly, water is easier for beginners because you can see what’s happening. I put the cutting in a glass jar with filtered water. Only the bottom node goes under the water. I leave the leaf out.
Step 4: The Wait (Week 1 Observation) Here’s my real log from a recent one:
- Day 1-3: Nothing. Don’t panic. I almost threw it out on day 3. I’m glad I didn’t.
- Day 4: I notice a tiny white bump on the node. That’s called a "root primordia." It’s a sign of life.
- Day 7: The root is about 1 inch long. It looks like a little white worm. I change the water every other day at this point because stagnant water kills the roots.
Step 5: The Transplant (Week 2) By day 10-14, I had roots that were 2 inches long. That’s my magic number. I take the cutting out of water and let it sit on a paper towel for 15 minutes. This helps the roots transition from water to soil. Then I pot it in my mix (more on that below). I water it lightly right after planting—just enough to settle the soil.
Step 6: The Adjustment (Week 2+ Observation) This is where people mess up. The plant looks fine for 5 days. Then the leaves start to yellow. That’s usually because you watered it too much. I moved my cutting to a spot with bright, indirect light and ignored it. Seriously. I think I touched it twice in week 3. By the end of week 3, I had a new leaf unfolding.
How to Train Aglaonema to Climb (The "Trick" I Use)
Right, so this is the fun part. Aglaonema isn’t an aerial root climber like a Pothos or Monstera. It grows straight up from a central stem. So how do you make it climb? You physically support it and tie it up.
My Setup:
- I use a 3-foot bamboo stake. Not a moss pole. I found moss poles dry out too fast and confuse the soil moisture.
- When I repot the propagated cutting, I put the stake in the pot immediately. Don’t push it in later. You’ll stab the roots.
- I gently tie the stem to the stake using soft plant ties or even old pantyhose. I don’t tie it tight. I leave room for the stem to thicken.
- As the plant grows, I keep adding ties every 3-4 inches.
The Secret to "Climbing" Look: Here’s what I learned from trial and error. If you just let it grow straight up, it looks like a stick. To get that lush, climbing-wall look, you need to wait until the stem gets slightly leggy, then you angle the stake. I actually lean my stake at about a 45-degree angle. Then I tie the stem to it. This forces the leaves to face upwards, but the stem is horizontal.
This horizontal or angled position triggers the plant to produce bigger leaves. I swear, my leaves doubled in size after I leaned the stake. It’s like the plant thinks it’s scrambling up a cliff face.
What If It Gets Too Tall? You don’t have to throw it away. You just top it. Cut the top inch off (aerial nodes) and propagate that! That’s called "topping" and it makes the mother plant bush out at the base. I did this to my first successful plant. It now has three stems instead of one.
My Personal Log: 2 Weeks of Training (The Reality)
I want to be honest with you. On the first day I tied my Aglaonema to the stake, it looked ridiculous. It was a single stem with 4 leaves tied to a stick. It looked like a prisoner. But here’s the daily progress:
- Day 1: Tied loosely. The plant didn’t care.
- Day 3: I noticed the top leaf was actively angling toward the window light. It ignored the stake. That’s normal.
- Day 5: The stem felt firmer. I watered once (just a splash). The soil was still damp from the initial potting.
- Day 8: I saw a tiny new spike coming from the base of the stem. That’s the new shoot!
- Day 10: The new shoot is about half an inch tall. The original stem hasn’t grown any taller, but the new shoot is the future. This is why you propagate—to get multiple stems.
- Day 14: The new shoot is 2 inches tall. It’s reaching for the stake naturally. I tied it once, very loose.
The main stem didn’t climb at all in two weeks. That fooled me initially. The growth happens in bursts. Don’t expect daily movement. You check it once a week, not once a day. You’ll drive yourself crazy if you stare at it.
The Best Soil Mix for Climbing Aglaonema
This is non-negotiable. You can’t use regular garden soil. It’s too heavy. I use a mix that is:
- 50% Coco coir (light, holds moisture)
- 30% Perlite (drainage, these are the little white rocks)
- 20% Orchid bark (this is the secret for climbing. It gives the stem something chunky to grip to if you ever upgrade to a moss pole).
This mix is airy. The roots can breathe. And because the orchid bark is chunky, it prevents the root system from suffocating. I learned this from watching a few Botanicaz YouTube videos, and it aligns with what the AHS suggests for aroids: "a chunky, well-draining substrate."
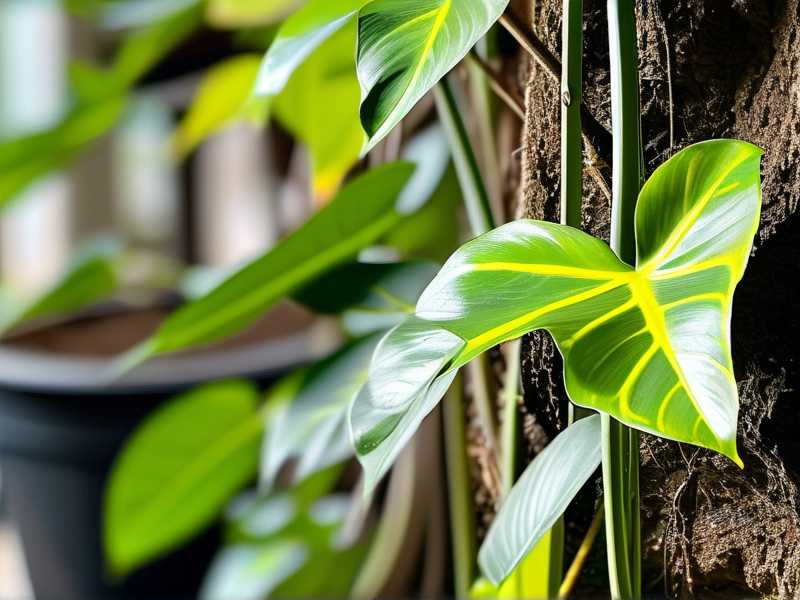
Troubleshooting: What to Do When It Fails
I had a cutting rot in water once. The stem turned brown and mushy. Here’s what I did wrong: I had the leaf sitting in the water too. The leaf stem (petiole) can’t sit in water. Only the main stem node should be submerged. Remove the lower leaves if they touch the water.
Another failure: Leaves curling on the new plant. That’s either too little humidity or the roots aren’t taking up water yet. I fixed this by cutting a clear plastic bag in half and putting it over the pot like a mini greenhouse for a week. This traps humidity and eases the transition.
Why The RHS Recommends This Plant for Beginners
The RHS actually has a page specifically calling out Aglaonema as one of the easiest houseplants to grow indoors, primarily because it tolerates "considerable neglect." But they also mention the need to "keep out of direct sunlight." That’s the nuance. I kept mine in a north-east window and it thrived.
Common Questions (FAQ)
Q: Can I propagate a single leaf without a stem? A: You can, but it’s a lottery. The leaf will root, but it won’t produce a new plant unless there’s a tiny piece of the main stem attached. I tried it. I got roots but no shoots. It sat like that for 6 months. Not worth it.
Q: How long does it take to see roots in water? A: In my experience, 1 to 2 weeks. If you have a heat mat, it’s faster. But without it, my successful cutting took exactly 9 days to show the first root. If you don’t see anything by day 14, your cutting is likely dead or the stem isn’t healthy.
Q: Does a moss pole work better than a bamboo stake for this? A: A moss pole is for plants that actually climb with aerial roots (like Philodendrons). Aglaonema doesn’t do that. It can’t cling to a moss pole. So a bamboo stake is better and easier. The stake just gives it vertical support. If you really want that "moss pole" look, you can wrap a regular pipe in jute rope and let the leaves lean on it. But don’t expect roots to sink into it.
Q: Why is my climbing Aglaonema leaning sideways? A: That’s phototropism. It’s reaching for the light. Rotate the pot 90 degrees every week. That keeps the stem straight. If you want it to curve, just leave it facing one direction.
Final Thoughts From Someone Who’s Killed a Few
I’ve lost count of how many plants I’ve overwatered. I’ve spent money on fancy pots only to drown the roots. But Aglaonema is the plant that taught me to just leave things alone.
The propagation part is easy, honestly. It’s the aftercare that trips people up. Remember: 90% of indoor plants die from overwatering. So when you see your new cutting sitting there, looking fine, do not water it. Let it get a little dry.
Training it to climb isn’t science. It’s just putting a stick in the pot and giving it time. I know, I sound like a broken record on the "time" part. But that’s the reality. You can’t rush a plant. You can only set it up for success and walk away.
I hope my little failures help you skip the mush and the root rot. Buy one cheap Aglaonema, take a cutting, and in two months you’ll have a new plant that actually looks like it’s climbing toward the ceiling. It’s a good feeling.





