 bluename
 Yellow leaves on a newly propagated Aglaonema are a cry for help. It means the cutting is struggling to root, and the clock is ticking. I’ve been there, staring at a pot of dying hope. The fix is almost always simpler than you think.
Here’s the straight answer: Stop watering it so much. Immediately remove the yellowing leaves, check the stem for rot, and let the soil completely dry out before you even think about adding more water. 90% of indoor plants die from overwatering, and new cuttings with no roots are the most vulnerable victims of this well-meaning crime. While you let the soil dry, move the pot to a spot with bright, indirect light. The quickest way to save it is to mimic the conditions of a greenhouse, not a swamp.
I didn't learn this overnight. I killed four different Aglaonema cuttings before I finally got it right. My first attempt was a disaster. I happily snipped a healthy stem from my mother plant and potted it in a big decorative pot. Then I watered it like a normal houseplant. Within ten days, the leaves were a sad, mushy yellow. I dug up the cutting and found the stem base was a brown, slimy mess. It was completely rotted.
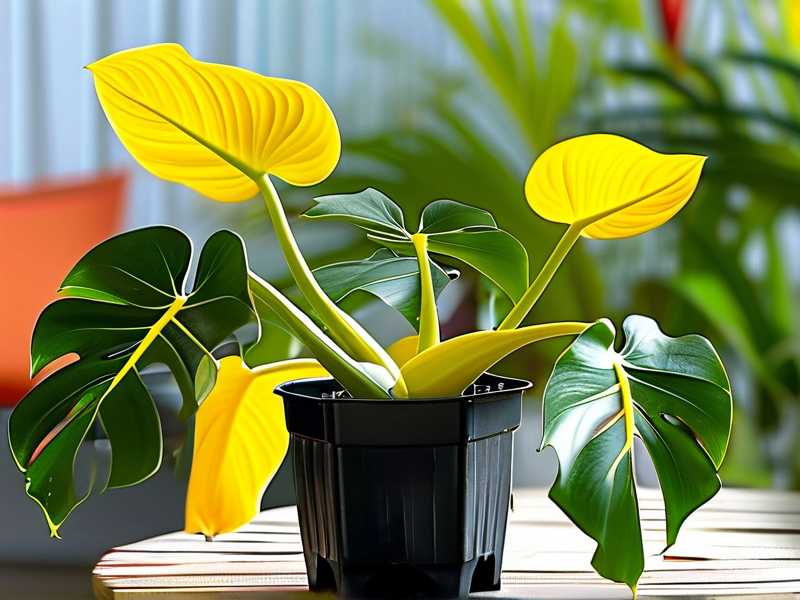
That’s when I started doing actual research. I dove into resources from the RHS and realized I was fighting basic plant biology. The new cutting didn't have roots to drink the water. All that moisture was just sitting there, suffocating the stem and inviting in deadly bacteria and fungus. It wasn't until I treated my cuttings like cacti for the first two weeks that I actually saw roots grow.
This is the exact struggle everyone faces. You buy a cutting, you want to nurture it, but the nurturing is what kills it.
3 Fatal Mistakes That Turn Your Cuttings Yellow
Before we get into the step-by-step fix, you need to understand the enemy. I made all these errors, and I see new plant parents making them constantly. Avoid these and you’re already 80% of the way there.
Mistake #1: Overwatering (The Silent Killer)
Like I said, 90% of indoor plants die from overwatering. For a propagation, this number is even higher. We think more water equals more growth. It doesn’t. It equals more rot. When you water a rooted plant, the roots suck up the moisture. When you water a cutting with no roots, the soil holds that water against the stem. That’s a perfect environment for root rot.
I remember my second attempt. I was so scared of under-watering that I kept the soil "moist" at all times. I even misted the leaves daily. The cutting lasted a bit longer, but the leaves still turned yellow from the base up. It was a slower death by drowning. The drainage was terrible because I used a pot that was way too big for the small cutting.
Mistake #2: Incorrect Light Placement
Now, this one is counter-intuitive. You’d think a new plant wants the most sun to photosynthesize. Wrong. Direct sunlight is too harsh for a cutting without a root system. It can't drink water to cool itself off. The leaf tissue gets scorched, and the plant pulls energy from the lower leaves to protect the top, turning them yellow.
I tried placing a cutting on my sunny south-facing windowsill. The top leaves actually crisped up at the edges, and the bottom leaves turned a pale, sickly yellow. The cutting was cooking. I’ve learned that the "dark" corners of your room are actually the goldilocks zone for new cuttings. They just need diffused light, enough to trigger photosynthesis but not enough to burn them.
Mistake #3: Choosing the Wrong Pot
This was the lesson I had to learn the hard way, and it goes hand-in-hand with overwatering. I used a giant ceramic pot for a single cutting because it looked nice on my shelf. That was idiotic.
Why is this a mistake? Because of water-logging. A huge pot holds way too much excess soil. That wet soil stays soggy for weeks because the tiny cutting isn't drinking any of it. You need a small, snug pot. It’s like a tea cup for a plant, not a bathtub. I've also realized the material matters. Plastic pots hold moisture, but terra cotta breathes. For cuttings, I always use a small plastic cup with drainage holes. It’s ugly, but it works.
My 2-Week Step-by-Step Rescue Plan
Here is the exact process I used to save my current Aglaonema cutting from yellowing. It’s now a thriving little plant. I’m assuming you can already see the yellow leaves on your cutting. This is the emergency protocol.
Day 1: The Emergency Surgery
First, I took a deep breath. Then I got my sterilized scissors. I took the cutting out of the wet soil and gently shook off the dirt. I examined the base of the stem. If you see brown or black mush, that’s rot. I cut off all the mushy parts until I saw solid, white healthy tissue. It will look a bit like a chopped celery stick.
I also removed the yellowing leaves. Here’s the thing, a yellow leaf is not going to turn green again. It is draining energy from the plant. I trimmed them off right at the base of the petiole. Once you remove the rotten bits, you have a chance.
Day 2: Callousing the Wound
This felt weird to me at first, but it works. Do not put the cutting back in water or soil immediately. I laid the cutting on a paper towel on my counter. I let the cut end dry out for 24 hours. This creates a callus, a dry barrier that prevents bacteria from entering the stem once it’s back in the substrate. I know, it looks like you're just letting your plant die of thirst, but trust the process.
Day 3: Repotting – The Teacup Method
After 24 hours, I got a small plastic cup (like a 3-ounce Dixie cup) and poked holes in the bottom. I filled it with a light, airy mix. I used a 50/50 mix of perlite and peat moss. This is key. Regular potting soil holds too much water.
I made a hole with a pencil, placed the cutting in, and gently pressed the mix around it. Crucially, I did not water it immediately. The mix was slightly damp from being pre-moistened, but not soaked. This is the hardest part for every plant lover. You want to water it to help it settle, but you have to resist.
Day 4–7: The "Dry" Week
I placed this little cup in a spot that gets no direct sunlight but is still bright. Think of a north-facing windowsill or a few feet away from an east-facing window. I left it alone.
I did not water it. The slight moisture in the perlite and peat moss is enough. The airy mix allows the stem to breathe. When I checked on it, I looked at the bottom hole. If I saw condensation, it meant it was too wet. I just watched it sit there.
Day 8: First Sip of Water
By the end of that first week, the cutting looked the same. No new yellowing, but no new growth either. That’s a good sign. It means the rot has stopped.
I gave it a tiny sip of water. I used a spray bottle and just misted the top layer of the perlite mix. I didn't drench it. I wanted just enough moisture to encourage root growth deep down. The goal is to have the roots search for the water.
Day 9–12: Wait and Observe
I kept it in that same spot. I didn't move it. I didn't poke it. I just observed. I stopped looking for leaves and started looking for stems. I pulled the cutting up slightly to see if there was any resistance. There wasn't yet. I also caught myself looking at the leaves and sighed. They looked a little limp, which scared me, but I didn't water again.
Day 14: The Reward
On the morning of day 14, I gave the stem a very gentle tug. There was resistance. It was anchored into the perlite. I knew that couldn't be from the perlite itself. I carefully tilted the cup over and slid the plant out. There it was—two, stubby, white roots, about a half-inch long. They were fat and healthy.
I potted it up properly into a small 4-inch pot with a well-draining houseplant mix. I finally watered it thoroughly until water ran out the bottom. It was the first real watering of its life. I’ve now had that plant on my shelf for six months, and it’s pushing out three new leaves.
Why Do Lower Leaves Turn Yellow vs. Top Leaves?
It’s useful to know how to read the signs. The location of the yellowing tells you exactly what you’re doing wrong.
If the bottom leaves are turning yellow first: This is usually stress from the cutting. The plant is redirecting all its energy to create roots. It decides the oldest, lowest leaves aren't worth saving. It sacrifices them to keep the newer, upper growth alive. If the soil is soggy, this is also the classic sign of overwatering. The roots are dead and can't transport magnesium or nitrogen.
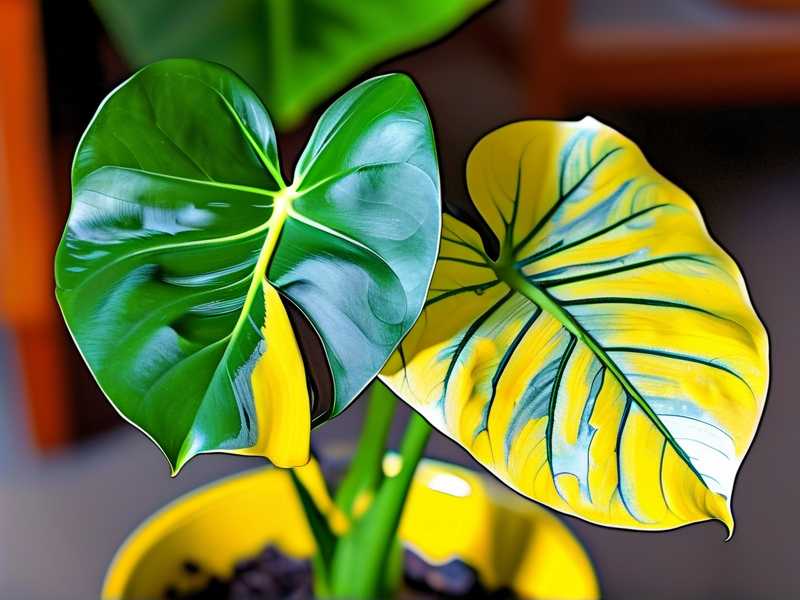
If the top leaves are turning yellow: This is often a light issue. If the leaf is bleached and yellow, it’s getting too much harsh sun. If the leaf is a darker yellow and the soil is wet, it’s trying to survive the cold shock of cold water or a drafty window. Keep them warm and out of that direct sunlight.
The Airy Mix Is Everything
The most common mistake I see is people using thick, heavy houseplant soil for cuttings. That black soil sticks together, holds water for a week, and smothers the roots before they even exist. The AHS recommends a loose, airy substrate for propagation.
Think of it this way, your cutting needs to breathe before it can drink. I always use a mix that drains instantly. When you water it, the liquid should run straight out the bottom. If it puddles on the top for more than a second, you’ve messed up the mix. Perlite is your best friend. It’s little white volcanic glass balls that keep the soil loose.
Fixing It vs. Starting Over
Sometimes, the rot is too severe. If the stem has turned entirely black and soft, and the leaves are all falling off, it’s a goner. I’ve been there. I threw out more mushy cuttings than I care to admit.
How do you know if you can fix it? Check the stem. If you have at least an inch of firm, green stem above the rot, you can save it. Just cut off the rotten part and follow the process I outlined above. If the whole stem is mush, it’s dead. You’re better off taking a new cutting from the mother plant.
FAQ
Can I propagate Aglaonema directly in water instead of soil to avoid this problem?
Yes, honestly, for beginners, water propagation is much safer. Seeing the roots grow takes all the guesswork out of it. You literally can't overwater it because it's in water. I use a clear glass jar. I just place the cutting with the node submerged and wait. I change the water once a week. I actually switched to this method for all my first attempts, and the yellowing problem disappeared completely. Once the roots are about two inches long, I move it to soil. The transition can be a bit of a shock, but it’s much easier to manage.
Should I fertilize my yellowing cutting?
Absolutely not. Do not pour fertilizer on a dying plant. A cutting has no roots to absorb the nutrients, or it has burnt, dead roots that will be further damaged by the salts in fertilizer. You’ll just burn the stem. Wait until you see new leaf growth at the top, which means the roots are established, then fertilize at half strength.
How much light does my Aglaonema propagation really need?
The light level is a delicate balance. Forget the sun. The cutting isn't strong enough for it. You want "bright shade." I place mine in a room where the curtains are drawn. The light comes through the curtain but doesn't hit the plant directly. If you can read a book in that spot without turning on a lamp, it’s a good spot for your cutting. Just avoid that dark corner where you can’t see your hand. That’s too dark and will cause the cutting to weaken and rot.





