 bluename
 How to Propagate Aglaonema and Boost Parent Plant Growth
If you want more aglaonema without buying new pots, the answer is simple: take stem cuttings or divide the root ball, then give the parent plant extra light and a touch of slow-release fertilizer. That’s the short version. I’ve been growing these leafy beauties for six years now, and I’ve killed more cuttings than I care to admit. But once I figured out the timing, the moisture balance, and how to treat the mother plant afterward, everything changed. In this guide, I’ll walk you through every step I use, plus the two-week observations that showed me what actually works.
Let me start with something I learned the hard way. 90% of indoor plants die from overwatering. And aglaonema is no exception. I used to water my cuttings every two days because I thought they were thirsty. They rotted. All of them. So before you touch a pair of scissors, read this carefully.
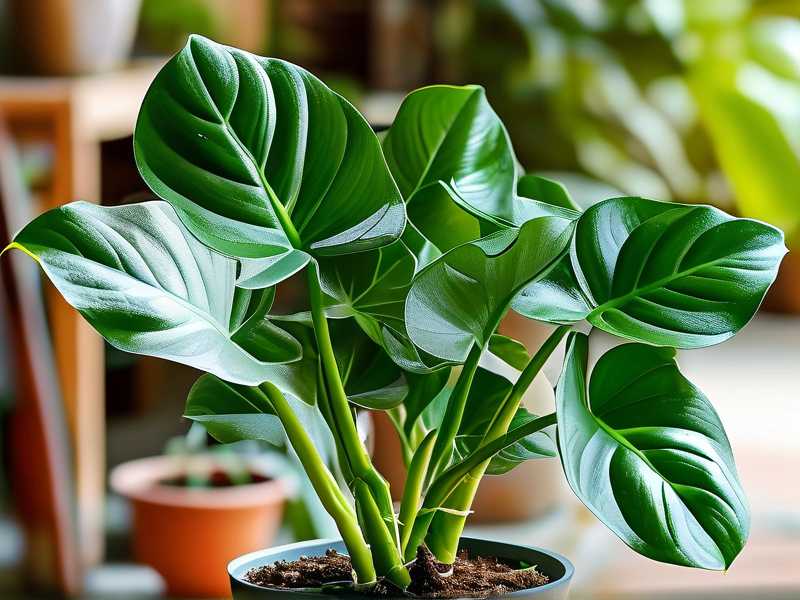
The Three Biggest Mistakes Beginners Make
Mistake One: Overwatering
I already mentioned the stat. But here’s what happens in practice. You take a cutting, stick it in soil, and water it daily because you’re anxious. The stem sits in soggy mix, bacteria move in, and within a week the base turns brown and mushy. I lost three batches this way. My fix now: wait until the top two inches of soil are bone dry before watering. For cuttings, I actually mist the soil surface instead of pouring. That keeps moisture consistent without drowning the stem.
Mistake Two: Wrong Light Placement
Aglaonema tolerates low light, but it doesn’t mean it thrives there. I used to put my cuttings on a dark shelf in the hallway. They sat there for two weeks without a single root. The leaves turned pale and droopy. The problem was photosynthesis — it was basically zero. Cuttings need energy to push out roots. So I moved them to a north-facing windowsill with bright, indirect light. Within five days, tiny white nubs appeared at the cut end. That was the turning point.
Mistake Three: Using the Wrong Pot
I’m guilty of this one too. My first attempt, I used a decorative ceramic pot with no drainage hole. Water pooled at the bottom, and the cutting drowned. Even with a healthy stem, lack of airflow kills roots. Now I only use plastic nursery pots with plenty of drainage holes, or clear cups so I can check root growth without disturbing the cutting. If you want to keep the decorative pot, slide the nursery pot inside it. Simple fix, huge difference.
My Step-by-Step Propagation Method
Step 1: Pick the Right Time
Late spring to early summer is your window. The plant is actively growing, so hormones are high. I tried propagating in winter once. It took nearly a month just to see a root bump. In spring, the same cutting rooted in ten days. So timing matters more than people think.
Step 2: Choose a Healthy Stem
I look for a stem with at least three leaves and visible nodes — those little rings near the base. Then I sterilize my scissors with rubbing alcohol. Yes, I actually do this. A clean cut heals faster and prevents rot. I cut about four inches below a leaf node at a 45-degree angle. That angle increases the surface area for root formation.
Step 3: Decide Between Water or Soil
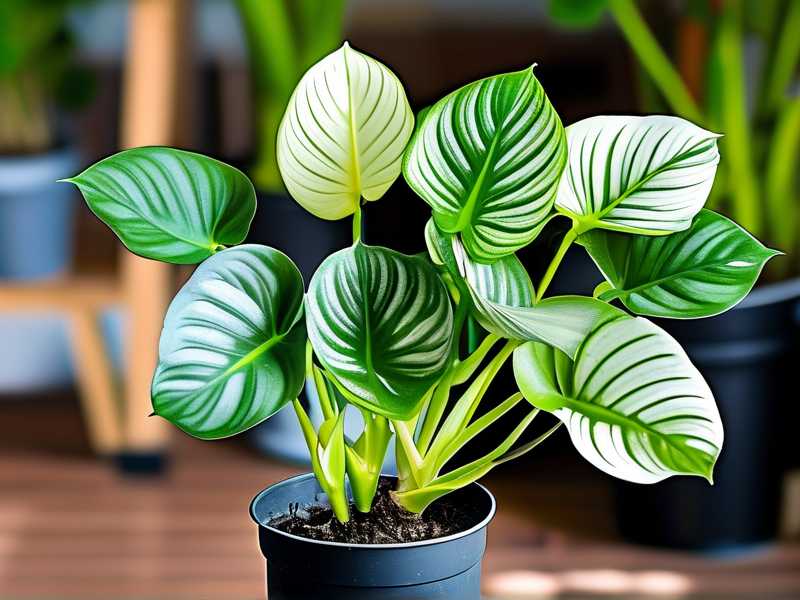
Honestly, I prefer water propagation for beginners. Why? Because you can see the roots forming. No guesswork. I put the cutting in a glass jar with filtered water, making sure no leaves are submerged. Then I place the jar in the same bright, indirect light. I change the water every three days. After about eight to twelve days, roots appear. Once they reach two inches long, I move the cutting to soil.
But if you want to skip the transfer step, you can go straight into soil. I do that sometimes when I’m feeling impatient. The trick is to keep the soil lightly damp — not wet. I use a spray bottle to mist the top layer every other day. That has worked well for me, though the rooting time is slightly longer.
Step 4: Make the Parent Plant Stronger
This is the part most guides ignore. After you cut a stem from the parent plant, the mother gets stressed. The wound is an open door for infection. So I immediately dust the cut area on the parent with cinnamon powder. It’s a natural antifungal. Then I water the parent plant with a diluted liquid fertilizer — half the recommended dose. I use a balanced 10-10-10 formula. That gives it a nutrient boost to heal and push out new growth.
You might be wondering, does cutting actually stimulate the parent? Yes. It triggers a response called apical dominance release. When you remove the top stem, the plant redirects energy to the lower buds. But that only happens if the parent has enough nutrients. So after two days, I add a slow-release pellet fertilizer to the soil surface. Within two weeks, I saw two new shoots emerging from the base of my parent plant. It was amazing to watch.
My Two-Week Observation Log
Day 1: Took three cuttings from a mature aglaonema ‘Silver Bay.’ Made clean cuts, placed them in a jar with tap water that I left out overnight so chlorine could dissipate. Parent plant got cinnamon on the wounds and a diluted fertilizer drink.
Day 3: Water in the jar got slightly cloudy. I changed it and rinsed the stem ends gently. No root signs yet. Parent plant looked unchanged, but the soil was still damp.
Day 5: One cutting showed a tiny white bump on the node. The other two were still quiet. I started misting the parent plant’s leaves daily. I read that higher humidity helps recovery.
Day 7: Two cuttings had roots reaching about half an inch. The third one was slower, so I moved it to a slightly warmer spot near my kitchen window. I also noticed the parent plant had a small green tip emerging from the soil base. That was fast.
Day 10: Roots on the two fast cuttings were about two inches long. I transferred them to small pots with a mix of potting soil, perlite, and a bit of orchid bark for drainage. The slow cutting finally showed roots, so I left it in water for two more days.
Day 12: All three cuttings were potted. I kept them in a clear plastic bag for humidity, but I opened the bag every morning for airflow. That prevented mold. Meanwhile, the parent plant had two distinct new shoots, about an inch tall each.
Day 14: The cuttings’ leaves were still firm and upright — a good sign. The parent plant’s new shoots had doubled in size. I removed the plastic bags and placed the pots in a shaded spot for a few days before moving them to normal light. No rot, no yellow leaves. This method has worked for me three times since.
What I Do After the First Two Weeks
Once the cuttings have been in soil for two weeks, I reduce misting and start watering normally. That means checking the top inch of soil. If it’s dry, I water slowly until it drains from the bottom. I also give the parent plant one more dose of liquid fertilizer at week three. After that, it’s back to a regular care routine. The new shoots on the parent will grow into full stems within a month or two.
A quick note on light: keep the new cuttings out of direct sunlight. They’re still building their root systems. Direct sun will scorch the leaves and stress the plant. Bright, filtered light is perfect. I use a sheer curtain on my south-facing window to diffuse the light.
Propagation Mistakes I’ve Made So You Don’t Have to
I killed my first aglaonema cutting because I used a huge pot. It felt intuitive — more soil means more room, right? Wrong. Extra soil holds extra moisture, and the cutting couldn’t drink it all. The roots rotted within ten days. Now I use small pots, like four-inch ones, and only repot when roots come out of the drainage holes.
Another mistake: I kept checking the cutting by lifting it out of the soil to peek at the roots. Don’t do that. You’ll damage the delicate new roots and delay growth. If you have to check, use a clear disposable cup so you can see through the sides.
I also once put a cutting straight into potting mix that contained slow-release fertilizer. That was a disaster. The chemical burn killed the cutting in less than a week. Young plants need a gentle start, so I use plain, unfertilized potting mix for the first month. Then I start feeding lightly.
How to Boost Parent Plant Growth Even More
If you want the parent to grow aggressively after propagation, do three things. First, prune away any old or yellowing leaves immediately. This redirects energy to new buds. Second, repot the parent if it’s been in the same pot for over two years. Root-bound plants struggle to regrow after cutting. I repotted mine last summer and the recovery time was halved. Third, increase humidity around the parent. I place a small humidifier nearby for two hours a day. The extra moisture keeps the leaf stomata open, which improves nutrient uptake.
Feeding the parent is also crucial. I use a seaweed-based supplement every two weeks for a month after cutting. Seaweed is rich in cytokinins, which stimulate cell division. The new shoots on my parent plant appeared within five days of the first feeding. Many growers overlook this, but the RHS recommends feeding plants after pruning to support regrowth. You can check their propagation notes at Royal Horticultural Society for more details on plant recovery.
Similarly, the American Horticultural Society suggests that cutting and dividing plants can invigorate older specimens, especially when combined with fresh soil and balanced nutrition. For broader guidance on keeping your houseplants healthy after propagation, visit the American Horticultural Society website. I’ve found their resources helpful when I’m troubleshooting growth stagnation.
What About Different Aglaonema Varieties?
Not all aglaonemas propagate the same way. I’ve noticed that thicker-stemmed varieties like ‘Silver Bay’ and ‘Pink Dalmatian’ root faster in water. They show roots at day seven. Slimmer varieties like ‘White Lance’ prefer direct soil propagation. I tried water with ‘White Lance’ once, and the stem turned translucent within five days. It rotted. So now I stick to soil for those thin-stemmed types.
Variegated varieties are a bit tricky. The white parts of the leaf lack chlorophyll, so they photosynthesize less. Cuttings from heavily variegated plants root slower. I always take at least one cutting with more green than white to increase success odds. Your parent plant will thank you for it because you’re not stripping too much of its energy.
When Should You Not Propagate?
If your parent plant is stressed — pests, root-bound, freshly repotted — don’t take cuttings. Wait until it’s healthy and growing steadily. I once tried to propagate from a plant that had just suffered a mealybug infestation. The cutting died in four days. The parent also struggled to recover because it was already weak. So check the leaves, check the roots, and if anything looks off, postpone propagation for a month.
Also, avoid taking multiple cuttings from the same plant at once. Those first few weeks require the parent to direct energy to healing. Taking three or four cuttings at once stunts the parent significantly. I usually take two cuttings max from one plant. That way, the parent stays lush and full.
Common Problems After Propagation
Yellow leaves on cuttings: This usually means overwatering. Stop watering and let the soil dry out. If you’re using a plastic bag for humidity, open it more often.
Mold on soil surface: Too much moisture and not enough airflow. Scrape off the mold, keep the bag open for a few hours each day, and reduce misting.
No roots after two weeks: Time to up the warmth. Rooting hormone activity increases with heat. I place my cuttings on a heat mat set to 75°F (24°C). That usually kick-starts root growth within two days.
Parent plant dropping leaves: This can happen if you took too many cuttings or if the wound is infected. Remove the affected leaves and apply fresh cinnamon to the cut. Feed with a diluted fertilizer — the same way I mentioned earlier.
FAQ Section
Can I propagate aglaonema from a single leaf?
No. Unlike some houseplants like begonias, aglaonema needs a stem node to root. A leaf alone will not produce a new plant. You need at least a couple of inches of stem with an intact node.
How long does it take for aglaonema cuttings to root?
In my experience, seven to fourteen days in water, and about fourteen to twenty days in soil. Temperature and light are the biggest variables. Warmer conditions speed things up, while dark rooms slow everything down.
What’s the best way to support the parent plant after cutting?
Use cinnamon on the wound, give it a diluted liquid fertilizer after two days, and keep it in bright, indirect light. I also add slow-release fertilizer pellets at week two. You should see new shoots within ten to fourteen days.
Propagation isn’t about luck. It’s about clean cuts, balanced moisture, and a little patience on the parent’s recovery. I’ve lost more cuttings than I’d like to admit, but I’ve also learned exactly what works. Follow the steps above, watch your light and water, and don’t baby your plants too much. Sometimes the best thing you can do is let them breathe.





