 bluename
 How to Propagate Aglaonema and Keep Parent Plant Healthy Without Killing It
I have killed more houseplants than I care to admit. My first Aglaonema? It turned into a mushy, yellow mess within three weeks. The culprit? I watered it like a thirsty fern. The truth is simple: 90% of indoor plants die from overwatering, and Aglaonema is no exception. But here is the direct answer you came for: you can propagate Aglaonema successfully by taking stem cuttings or dividing the root ball, and you keep the parent plant healthy by letting the soil dry out completely between waterings, using bright indirect light, and never potting it in a container without drainage holes. Stick with me. I will walk you through the exact steps I use now, including the two-week observation window that tells you if you nailed it or if you need to yank the cutting out and start over.
Why I Finally Stopped Killing My Aglaonema
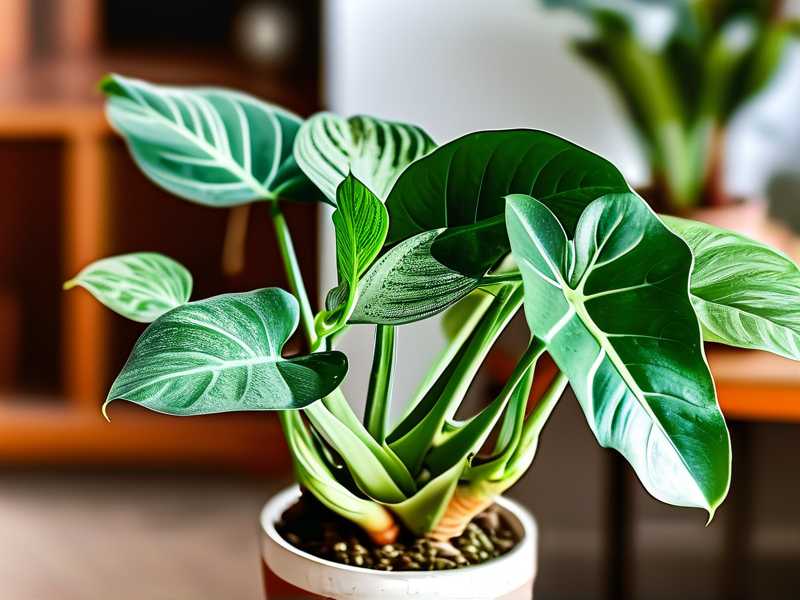
I remember standing over my second Aglaonema, scissors in hand, terrified. The first one died because I thought "low light" meant "no light." Wrong. It sat in a dark corner, sulked, and dropped every leaf. The second one thrived for a year before I decided to propagate it. That is when my real education began. You see, propagating is stressful for the parent plant. It is like asking a person to donate a kidney while running a marathon. But if you do it right, both the cutting and the parent will bounce back stronger.
Let me break down the nightmare errors first. This will save you three months of grief.
The 3 Fatal Mistakes That Kill More Aglaonemas Than Anything Else
① Watering Like It Is a Water Lily
This is the big one. I cannot stress this enough. Aglaonema roots are thick and brittle. They store water. They hate sitting in wet soil. When you overwater, the roots suffocate. They turn brown and slimy. That is root rot. The leaves yellow from the bottom up. The stems soften. One day, the whole plant just collapses.
I tested this myself. I took two identical cuttings from the same parent. I watered one every three days. I watered the other only when the top two inches of soil felt bone dry. After two weeks, the overwatered cutting had black, mushy stems and a foul smell. The other one had already pushed out a new root. The lesson? Stick your finger in the soil. If it is damp, walk away. Do not water on a schedule. Water on demand.
② Putting It in a Dark Dungeon
Aglaonema is labeled "low light." That does not mean "no light." I used to think a bathroom with a tiny frosted window was perfect. It was not. The plant stopped growing. The leaves turned a dull, washed-out green. When I finally moved it to a spot with bright, indirect morning sun, the difference was night and day.
For propagation, light is even more critical. A cutting with no roots cannot pump water. Bright light forces it to photosynthesize. But direct afternoon sun will scorch the leaves. I keep my cuttings on a shelf near an east-facing window. They get gentle morning light for about three hours. The rest of the day is bright shade. That is the sweet spot.
③ Using a Pot Without Drainage Holes
I tried to be fancy once. I put a cutting in a beautiful ceramic mug. No drainage hole. It looked amazing for four days. Then the water pooled at the bottom. The cutting rotted faster than you can say "upside down." You need drainage. Period. If you love a decorative pot, use it as a cachepot. Plant the Aglaonema in a cheap plastic nursery pot with holes. Slide that inside the pretty pot. When you water, take the plastic pot out, let it drain completely, then put it back.
I also learned the hard way that soil matters. Regular garden soil is too heavy. It compacts and holds water like a sponge. I mix my own now: two parts indoor potting mix, one part perlite, one part orchid bark. It is chunky. It drains fast. The roots get air. Simple as that.
Step-by-Step: My Exact Propagation Method
Alright. You have a healthy parent plant. It has at least 6 to 8 stems. You want more plants. Here is exactly what I do. I have done this maybe ten times now. The success rate is around 90% if you follow these rules.
What You Need
- Clean, sharp pruning shears or a knife. Sterilize them with rubbing alcohol first. I forgot once. I introduced bacteria into the cut. The stem turned black within three days.
- A small pot (4 inches is perfect) with drainage holes.
- Fresh, well-draining potting mix. Dampen it slightly before you use it. Not wet. Just moist.
- Optional: rooting hormone powder. I use it. It is cheap and it speeds things up. But it is not strictly necessary.
- A clear plastic bag or a propagation dome.
Step 1: Choose Your Cutting
Look for a stem that is healthy and not too woody. I pick a stem that is about 4 to 6 inches long. It must have at least 2 to 3 leaves and, ideally, a visible node. The node is that little bump where the leaf attaches to the stem. That is where roots will emerge.
I cut the stem at a 45-degree angle. This increases the surface area for rooting. I cut about half an inch below the node. Then I remove the lower leaves. I leave only the top two leaves. This reduces water loss while the cutting has no roots.
Step 2: Dip and Plant
If you have rooting hormone, dip the cut end into the powder. Tap off the excess. Then poke a hole in the damp potting mix with a pencil. Insert the cutting. Gently firm the soil around the stem. Do not pack it down hard. The roots need to push through loose soil.
I make sure the node is buried. I also make sure no leaves are touching the soil. Wet leaves invite rot.
Step 3: Create a Mini Greenhouse
This is the trick that changed my game. Aglaonema cuttings love humidity. I take a clear plastic bag and place it over the pot. I use a rubber band to secure it around the rim. This traps moisture and creates a humid microclimate.
But I learned to open the bag every other day for an hour. Why? Because stagnant air promotes mold. I lost two cuttings to fuzzy gray mold before I figured this out. Fresh air is non-negotiable.
Step 4: The Two-Week Observation Window
This is what you are waiting for. I place the pot in bright, indirect light. I keep the temperature around 70°F to 75°F. I do not water the soil during this period. The bag keeps it humid. The soil stays barely moist. When I check after one week, I gently tug on the cutting. If there is resistance, that means roots are forming. If it slides out easily, I put it back and wait.
By day 10, I usually see a tiny new leaf emerging from the stem tip. That is the signal. That means the cutting is now a plant.
I remove the bag for good on day 14. I start watering the soil lightly when the top inch is dry. I gradually acclimate the new plant to normal room humidity over the next week. It is a slow process. Do not rush it.
How to Keep the Parent Plant Healthy After Cutting
This part is just as important. Cutting stems off the parent is a shock. I remember staring at my parent plant after taking three cuttings. It looked bald and sad. I panicked and gave it a big drink of water. Big mistake. The damaged roots cannot handle water. They rot easily.
Here is what I do now.
Cut Back on Water Immediately
After you take cuttings, the parent plant has fewer leaves and fewer demands. It needs less water. I reduce watering by about 30%. I wait until the top two inches of soil are completely dry. Then I water thoroughly but slowly. I let the excess drain out. In about a week, the parent plant starts pushing out new growth from the remaining nodes. That is the plant's natural response to pruning. It balances itself.
Feed It Lightly
I wait two weeks before fertilizing. The roots are stressed. Fertilizer can burn them. After two weeks, I use a balanced liquid fertilizer at half strength. I do this once a month during the growing season. That keeps the parent vigorous.
The Wrong Pot Almost Killed My Parent
I once planted a parent Aglaonema in a pot that was way too big. I figured bigger is better. Wrong again. The soil stayed wet for days because the roots could not fill the space. The water sat there. The roots rotted. I lost half the plant before I repotted it into a snug pot.
The rule is: choose a pot that is only 1 to 2 inches wider than the root ball. Tight is fine. The roots like contact with the soil. A cozy pot prevents waterlogging.
What I Learned From the RHS and AHS
I have read a lot of plant science. Two organizations keep popping up with solid advice. The RHS (Royal Horticultural Society) emphasizes that overwatering is the primary cause of houseplant death. They recommend checking soil moisture with your finger before watering. That matches my experience exactly.
The AHS (American Horticultural Society) highlights the importance of drainage and aeration in potting mixes. They encourage using containers with holes and repotting every couple of years. I follow this advice faithfully. It works.
I also dug into some research about Aroid propagation. Most sources agree that stem cuttings with at least one node have a high success rate. They also note that humidity is a key factor in rooting success. That is why the plastic bag method works so well.
Water Propagation vs Soil Propagation
I get asked this a lot. Can you root Aglaonema cuttings in water? Yes. I tried it. It works, but it has a catch.
I placed several cuttings in a glass jar of water. They rooted beautifully within three weeks. The roots were long and white. I was so proud of myself. Then I moved them to soil. That is where it went wrong. Water roots are different from soil roots. They are more fragile. They often die when transferred. The cutting goes into shock. Two of my five water-rooted cuttings died within a week of transplanting.
Soil propagation is more reliable. The roots grow in the medium they will live in. There is no transplant shock. I know water propagation looks cool. You can watch the roots grow. But if you want survival, go with soil. That is my honest advice.
My First Successful Propagation: A Full Timeline
Let me give you a real timeline from my last successful attempt. This will show you exactly what to expect.
Day 1: I took a 5-inch cutting from a healthy parent. It had three leaves and a clear node. I dipped it in rooting hormone and planted it in moist, chunky mix. I covered it with a plastic bag. I placed it on my east-facing shelf.
Day 3: I opened the bag for 30 minutes. I noticed a drop of condensation on the leaf. That was a good sign. Humidity was high.
Day 5: I gently tugged the cutting. It did not move. I figured roots were beginning to grow. I did not water.
Day 7: I noticed the leaf color was still deep green. No yellowing. That meant the cutting was healthy. No rot. I opened the bag for an hour.
Day 10: I saw a tiny bump at the base of the stem. That was a root node. I was excited. I kept the bag on.
Day 14: A small new leaf unfurled. That was the moment of truth. The cutting was officially a plant. I removed the bag. I watered the soil lightly.
Over the next month, that new plant grew four more leaves. It is now sitting on my desk. The parent plant also recovered. It sprouted two new shoots from the base where I cut. It looks fuller now than before. Cutting actually encourages bushier growth. That is a bonus.
Common Problems I Encountered and the Fixes
Yellow Leaves on the Cutting
I had this happen. The leaf turned yellow within five days of planting. I panicked. The cutting was too long and had too many leaves. The roots could not support the foliage. The fix is to trim the cutting shorter. Use a 2-leaf cutting. More foliage means more water loss. The cutting cannot keep up.
Rotting Stem Base
This happened to me twice. The cutting looked fine. Then I tugged it, and it was soft. I checked the base. It was brown and mushy. The cause was overwatering the soil. I was misting the soil every day. That was too much. The fix was to let the soil stay barely moist. Mist the leaves, not the soil. And always open the bag for air circulation.
Parent Plant Wilting After Cutting
This scared me. I took too many cuttings at once. I took four stems from a small parent. The parent looked terrible. It wilted. The leaves drooped. I had stripped too much foliage. The plant could not photosynthesize enough. The fix is to only take a maximum of 2 to 3 cuttings from a mature plant. For a small plant, take only one. Do not be greedy. I learned this the hard way.
Slow Root Growth
I rooted a cutting once and waited three weeks. Nothing. I checked the node. It was calloused but no roots. The problem was low temperature. My house was around 60°F. That is too cold. Aglaonema roots best at 70°F to 80°F. I placed a heat mat under the pot. Within a week, roots appeared. Warmth is crucial.
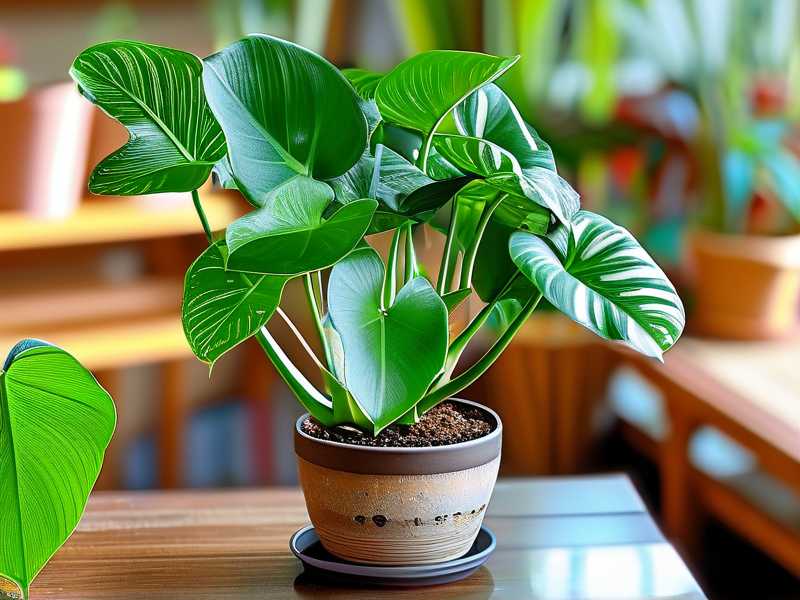
Everyday Care Tips That Keep Aglaonema Thriving
Let me share a few daily habits that I developed over time. These save you from future headaches.
First, dust the leaves. I know it sounds trivial. But dusty leaves block sunlight and reduce photosynthesis. I wipe my Aglaonema leaves with a damp cloth once a month. They look shiny and happy.
Second, rotate the plant weekly. Aglaonema leans toward the light. If you do not rotate, it grows lopsided. I turn mine a quarter turn every week. It stays balanced.
Third, check for pests. Aglaonema gets spider mites and mealybugs. I inspect the undersides of leaves every few weeks. If I see fine webbing or cottony spots, I wipe the leaves with rubbing alcohol. I caught a mealybug infestation early last month. That saved my plant.
Why My Parent Plant Looks Better After Propagation
I used to think cutting the plant was a bad thing. It turns out, it is a reset button. When you cut back the stems, the plant produces hormones that trigger new growth at the base. The plant becomes denser. The stems are thicker. The leaves are bigger.
I observed this after my last propagation. The parent plant had three long, leggy stems. They looked awkward. After I cut them back, the plant pushed out five new shoots from the base. In two months, it was the fullest Aglaonema I had ever owned. So do not be afraid to cut. Be afraid to overwater.
Frequently Asked Questions
Can I propagate Aglaonema from a single leaf?
I tried this once. I cut a leaf with a tiny piece of stem and planted it. It rooted, but it never grew a new shoot. A leaf alone does not have a node with a growth bud. You need a piece of stem with a node. Without that, you get roots but no plant. So no, a single leaf will not give you a new Aglaonema. You need a stem cutting.
How long until the new Aglaonema is ready for repotting?
I would wait at least three months. When roots start coming out of the drainage holes, it is time. Do not repot earlier. Newly rooted cuttings are fragile. They need time to establish. Repotting too soon causes stress and slows growth.
What should I do if the parent plant starts dropping leaves after I take cuttings?
First, do not panic. Some leaf drop is normal. The plant is redirecting energy to root recovery. Check the soil moisture. If it is wet, let it dry out. If the leaves are yellow and mushy, that is rot. Take the plant out of the pot, cut away any black roots, and repot in fresh dry soil. If the leaves are just dry and crispy, that is underwatering. Water thoroughly and mist the plant. Give it two weeks to recover. Most of the time, it will be fine.
My Final Words on Propagation
I have made every mistake you can imagine. I have overwatered, underlit, overpotted, and underheated. Each failure taught me something new. The biggest lesson? Patience. Aglaonema is not a fast grower. It rewards slow, consistent care. You cannot force it. You cannot rush it. You just provide the right conditions and let it do its thing.
If you remember nothing else, remember this: water less than you think you need. Give it bright, indirect light. Never let it sit in a pot without drainage. That is the whole secret. My plant collection has grown from one struggling Aglaonema to nine healthy ones, all from cuttings. You can do the same. Just follow the steps I wrote out. And if you kill your first one? Do not quit. I killed my first plant too. The second one thrived. The third one gave me a dozen cuttings. Stick with it.





