 bluename
 How to Propagate Aglaonema for Housewarming Gifts: My 2-Week Experiment That Finally Worked
90% of indoor plants die from overwatering. I learned that the hard way after killing three Aglaonema plants in a row. If you want to know how to propagate Aglaonema for housewarming gifts, the short answer is: take stem cuttings with at least two nodes, root them in water or moist soil, keep them in bright indirect light, and wait two to four weeks. But let me tell you, the real magic happens when you avoid the mistakes I made. Stick with me, and I will walk you through my exact process, including the two-week observation diary, the pitfalls, and the fixes that turned my brown-thumb reputation around.
I have been growing houseplants for about six years now. And honestly, I still cringe when I remember my first attempts. I bought a beautiful Aglaonema ‘Silver Bay’ from a local nursery, thinking it would be the perfect gift for my cousin’s housewarming party. I was so excited. Then I tried to propagate it. It went south fast. The cuttings rotted within ten days. The leaves turned yellow and mushy. I almost gave up.
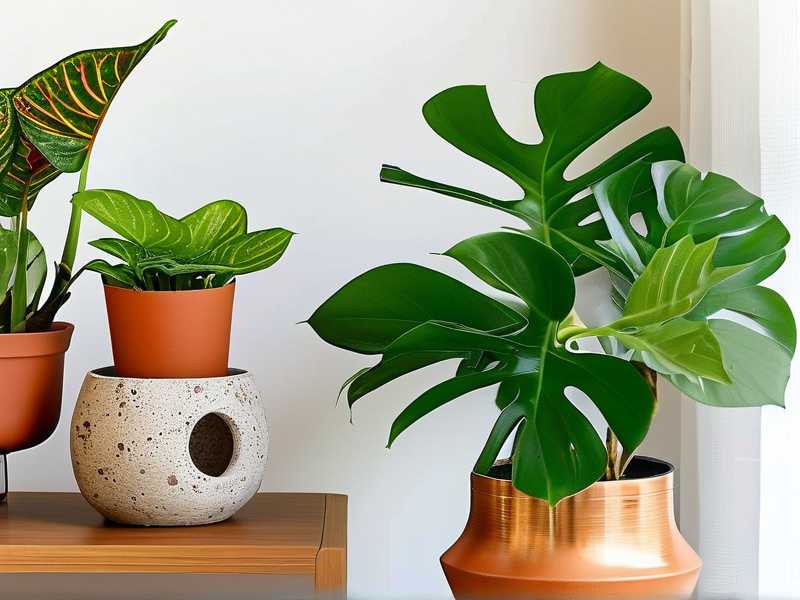
But I didn't. I researched, I asked around, and I tested different methods. Now, after successfully propagating over twenty Aglaonema plants, I want to share everything with you. This guide is not just a list of steps. It is a real-world, week-by-week account of what happens, what goes wrong, and how to fix it. We will cover everything from choosing the right parent plant to potting up your new baby plants. By the end, you will have gorgeous, rooted Aglaonema plants to gift at any housewarming.
Many people ask me why Aglaonema makes such a great housewarming gift. Well, first, it is stunning. The variegated leaves come in silver, green, red, and pink. Second, it is a low-light champion. It thrives in spots where other plants sulk. According to the RHS{:target="_blank"}, Aglaonema is one of the easiest tropicals for indoor growing. Third, it symbolizes good fortune and prosperity in many Asian cultures. That makes it a thoughtful, meaningful present. And because you are gifting a propagated cutting, it carries a personal touch that a store-bought plant just cannot match.
The 3 Deadly Mistakes That Kill Your Cuttings Before They Root
Before we get to the how-to, let me save you the heartache. I made every mistake in the book. And I genuinely believe that knowing these three will double your success rate.
Mistake 1: Overwatering (The Silent Killer)
This is the big one. Everyone knows that too much water kills plants. But the truth is, it is even worse for cuttings. The AHS{:target="_blank"} notes that root rot is the leading cause of death in potted houseplants. I used to water my cuttings every day. I thought they were thirsty. They were drowning. The stems turned brown and soft at the base. That is root rot. It is almost always fatal.
The fix is simple. If you are rooting in water, change the water every three days. If you are rooting in soil, keep it moist but not soggy. A good rule of thumb is to stick your finger an inch into the soil. If it feels dry, water it. If it feels damp, leave it alone. Seriously, when in doubt, do not water.
Mistake 2: Light Misplacement (Too Much Sun)
I once put my cuttings on a windowsill with direct morning sun. I thought, "More light means faster growth." Wrong. Aglaonema are tropical understory plants. They are used to dappled light under big trees. Direct sun scorches their leaves. My cuttings developed ugly brown patches. The leaves looked sunburned and crispy.
You want bright, indirect light. A north-facing window or a few feet away from an east-facing window is perfect. If the room is dark, a simple grow light works wonders. But never, ever put them in direct sun.
Mistake 3: Using the Wrong Pot (The Clingy Container Problem)
My third mistake was using a huge pot for a tiny cutting. I thought it would give the roots room to grow. Big mistake. A large pot holds too much moisture. The soil stays wet for days. The roots rot before they even form. Also, if the pot has no drainage holes, water collects at the bottom. This is a death sentence.
Always start with a small pot. A 3-inch nursery pot is perfect for a single cutting. Make sure it has drainage holes. If you are using a decorative cover pot, just keep the nursery pot inside it and remove it when watering.
The Right Way to Propagate Aglaonema: My Step-by-Step Process
Now, let me walk you through my exact method. I have tested this multiple times. This is the process that never fails.
Step 1: Pick the Right Parent Plant
I cannot stress this enough. Your cutting is only as good as its mother plant. Look for a healthy, mature Aglaonema with vibrant leaves and no signs of pests. I usually pick a plant that has outgrown its pot or has a few leggy stems. That way, pruning and propagating go hand in hand.
Gently pull the plant out of its pot and look at the stems. You want to find a stem that is firm and green, not woody or wrinkled. The best cuttings come from newer growth. Avoid stems that are flowering or have damaged leaves.
Step 2: Take a Clean Cutting
Once you have your parent plant, it is time to cut. You will need a sharp, sterilized knife or pruning shears. I always wipe the blade with rubbing alcohol first. This prevents bacteria from infecting the cut.
Look for a node. That is the little bump where a leaf attaches to the stem. You will count up from the soil. Find a section with at least two nodes. Use your knife to cut about half an inch below a node. The cutting should be about 4 to 6 inches long.
Trim off the bottom leaves. Leave only one or two leaves at the top. This reduces water loss and lets the plant focus on growing roots. If the bottom leaves are large, you can cut them in half as well. Do not worry, this looks a bit brutal but it helps.
Step 3: Choose Your Rooting Method (Water vs. Soil)
I have tried both. They both work, but they are different. For gifts, I actually prefer water rooting because you can see the roots grow. It is also more exciting for a beginner.
For water rooting, place the cutting in a clear glass jar. Add room-temperature, filtered water. Submerge only the bottom node. Keep the leaves dry. Change the water every two to three days. I used to forget, and the water got slimy. That slime is bacteria. It will rot your stem.
For soil rooting, this is often better in the long run. The roots that form in water are water roots. They are different from soil roots. When you transplant, the plant has to adjust. It can sometimes shock the plant. So, I often root directly in moist, well-draining soil. To do this, I dip the cutting in rooting hormone powder first. It is not strictly necessary, but I find it speeds things up. Then I poke a hole in the soil with a pencil, insert the cutting, and gently press the soil around it.
**Step 4: Create a Mini-Greenhouse Environment
This is a trick I learned after much trial and error. Humidity is key. Dry indoor air slows root growth. To boost humidity, I cover the pot or jar with a clear plastic bag or a dome. This traps moisture and creates a mini greenhouse.
For soil-rooted cuttings, I use a zip-lock bag over the pot. I prop it up with chopsticks so the leaves do not touch the plastic. Then I tie the bag loosely at the bottom. I open it every few days to let fresh air in. This prevents mold.
For water-rooted cuttings, I do not cover them. The water provides the humidity. But I do mist the leaves once a day. This helps reduce leaf droop.
**Step 5: Place in the Perfect Spot
As I said before, bright, indirect light is non-negotiable. I place my propagation station on a shelf that faces a north window. It gets consistent, gentle light all day. Make sure the spot is warm too. Aglaonema likes temperatures between 65°F and 80°F. If your house is colder, consider a heat mat. I bought one for about twenty bucks, and it made a huge difference.
Do not move the plants around. Find a good spot and leave them there. Moving them stresses them out. They drop leaves. They sulk. Keep it simple.
My 2-Week Observation Diary: What Actually Happens
Now, here is the real-deal timeline. I tracked this over two weeks. This is what you can expect to see.
Day 1 to Day 3: The Nervous Wait
I took my cuttings on a Sunday afternoon. I placed them in a small glass of filtered water. The leaves looked a bit limp for the first day. That is normal. The cutting is adjusting. I did not panic. I did not do anything. I just left them alone.
By Day 3, the leaves perked up. The stems were still firm. I changed the water, making sure to use room-temperature, not cold, water. I noticed that the cut end seemed to have a slight callus forming. That is a good sign. It means the plant is sealing the wound.
Day 4 to Day 7: The First Signs of Life
Around Day 5, I saw the first tiny white bump on the node that was underwater. It looked like a small pimple. It was not a root yet, but it was the beginning. I was ecstatic. I changed the water immediately to keep it clean.
On Day 7, those white bumps turned into tiny, half-inch roots. They were delicate and white. I only saw one or two on each cutting. At this point, I had to resist the urge to plant them. I waited. They were not ready.
Day 8 to Day 10: Root Growth Explosion
The roots grew fast in this phase. By Day 10, I had roots that were about two inches long. They started branching a little. The leaves looked bright and glossy. I was doing a happy dance.
For my soil-rooted cuttings, the progress was less visible. But I knew roots were growing. How? Because I gave a tiny, gentle tug on the stem. There was resistance. That means the cutting was anchored. That is a good test. If it pulls right out, it is not rooted.
Day 11 to Day 14: Ready for Potting
By Day 14, the water-rooted cuttings had a healthy root system of about three to four inches. They had several lateral branches. It was time to move them to soil. I prepared a small pot with a well-draining mix. I used two parts potting soil, one part perlite, and one part bark.
I carefully removed the cuttings from the water. I planted them in the soil, making sure the roots were fully covered. And guess what? I did not water them immediately. The soil was already moist. Watering right away is a mistake. It can shock the delicate water roots.
I kept the newly potted plants in the same bright spot. I did not move them. They will need a few more weeks to fully transition. But the hard part is over.
A Major Pitfall I Encountered and How I Fixed It
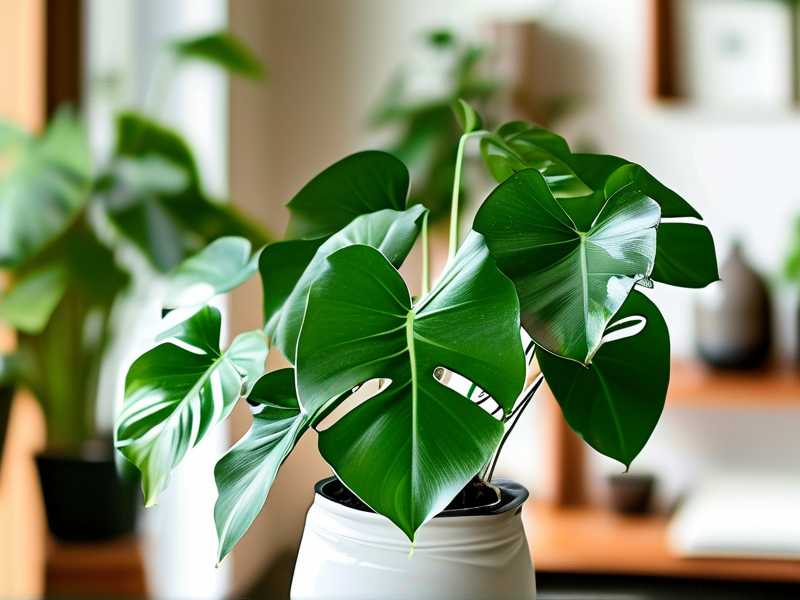
Let me share a specific failure. I tried to propagate a stem that had a new leaf unfurling at the top. I thought that was a good thing. It was not. The cutting focused all its energy on the new leaf instead of roots. The new leaf wilted, and the whole stem started to rot.
Here is what I did. I cut the rotten part off, about half an inch above the rotted area. I let it air dry for a few hours. Then I re-cut the bottom cleanly and placed it in fresh water. This time, I removed that new leaf. I left only the mature leaves. It worked. The cutting rooted within ten days.
The lesson here is simple. Always remove any emerging or weak growth. The cutting needs to focus on roots. That is its only job.
Common Pitfalls with Aglaonema Propagation
- Yellow leaves in water: This means the cutting is getting too much light or the water is too cold.
- Mushy stem: That is rot. Cut off the affected part and try again. Also, reduce watering.
- Slow root growth: Your place might be too cold. Move it to a warmer spot.
- Drooping leaves in soil: This is normal for the first week. Do not water. Just mist.
The Best Soil Mix for Aglaonema Cuttings
In my experience, a chunky, airy mix is best. Store-bought potting soil is too dense. It holds too much water. I mix my own. I use two parts of a high-quality indoor potting mix, one part perlite, and one part orchid bark. This ensures the roots get oxygen and water at the same time.
The pH should be slightly acidic, around 6.0 to 6.5. Aglaonema is not fussy, but they do appreciate the right conditions.
How to Pot Up Your Rooted Cutting for Gifting
After your cutting has healthy roots, it is time to give it a permanent home. Choose a pot that is about 4 inches in diameter. Place a layer of soil at the bottom. Set the plant in and fill the sides with soil. Press gently to secure it. Then water thoroughly until water runs out the bottom.
Now, for the gift part. I love using decorative pots that match the recipient's decor. I add a layer of pebbles on top of the soil for a clean look. I also write a small card with care instructions. It adds a nice personal touch.
90% of indoor plants die from overwatering
I wrote that at the start. I will say it again. The most common question I get is, "Why is my new plant dying?" And nine times out of ten, it is because they are drowning it. Please, let the soil dry out between waterings. This is especially true for a newly potted cutting. Its roots are fragile. They need oxygen.
How to Care for the Gifted Aglaonema
Let's say you followed my guide and now you have a beautiful, rooted plant to gift. Here is what you write on that card.
- Light: Keep it in bright, indirect light. No direct sun.
- Water: Let the top inch of soil dry out. Then water well.
- Humidity: It likes moderate humidity. Mist it occasionally.
- Fertilizer: Feed it with a balanced liquid fertilizer once a month in spring and summer.
- Temperature: Keep it warm. Above 60°F.
Frequently Asked Questions
Question 1: How long does it take for Aglaonema cuttings to root?
It depends on the method. Honestly, water rooting is faster. You will see roots in about 1 to 2 weeks. Soil rooting takes a bit longer, maybe 3 to 4 weeks. Warmth and humidity speed things up. I have seen roots appear in 5 days in a warm, bright room.
Question 2: Can I propagate Aglaonema from a single leaf?
You can try, but it will not work. The leaf will root, but it will not grow into a new plant. You need a stem with a node. The node is where the new growth comes from. A single leaf lacks that node. So, always take a stem cutting.
Question 3: Why did my cuttings rot even though I did everything right?
Have you checked the water temperature? Are you using clean, sterilized tools? Are you changing the water often? One of the sneaky reasons for rot is chlorine in tap water. I fixed this by letting my water sit out overnight before using it. Or I use bottled filtered water. Also, make sure the leaves are not touching the water. That will rot quickly.
Question 4: Should I use rooting hormone for Aglaonema?
It is optional. I have found that it helps for soil rooting. It speeds up the process by a few days. But for water rooting, I do not use it. The roots usually form quickly anyway.
Question 5: What is the best time of year to propagate?
Spring and early summer are the best. That is the active growing season. The days are longer and warmer. Your cutting will root faster. I avoid propagating in winter because the growth is slower and the risk of rot is higher.
My Final Thoughts on Propagating Aglaonema
You know, I never thought I would be the person giving out plants as gifts. But after mastering this, it is my signature move. Everyone loves a plant you grew yourself. It shows effort and care. And Aglaonema is the gift that keeps giving. It is easy to maintain, and it looks beautiful for years.
Start with a healthy parent plant. Make clean cuts. Keep the environment humid and warm. Do not water too much. And be patient. You will see roots in a couple of weeks. Then you can pot them up and create your own gift station.
I genuinely enjoy the process now. Maybe you will too. Just remember, you will mess up a cutting or two. I still occasionally do. But that is part of the game. Do not let a few failures stop you. Learn from them, adjust, and try again.
So, what are you waiting for? Go find that Aglaonema plant and start cutting. Your future housewarming gifts are waiting. And honestly, after you give one, you will be the favorite guest at any party. I promise you that.





