 bluename
 Gifting plants during the holidays is a thoughtful gesture, but buying them can be pricey. Propagating your own Aglaonema saves money and adds a personal touch that no store-bought gift can match. I will show you exactly how to do it right now: take a stem cutting with at least two nodes, remove the bottom leaves, and place it in water or moist soil. In my experience, water propagation works best for beginners because you can see the roots develop. Within two weeks, you will have a rooted cutting ready to pot and gift.
I killed my first three Aglaonema plants before I learned the ropes. It hurt to watch those beautiful leaves turn yellow and mushy. But those failures taught me valuable lessons that I now share with everyone who asks me about plant propagation.
Let me be honest with you. 90% of indoor plants die from overwatering. I learned this the hard way when I drowned my first Aglaonema in a pot without drainage holes. The roots sat in soggy soil for weeks before I noticed anything wrong. By then, root rot had taken over completely.
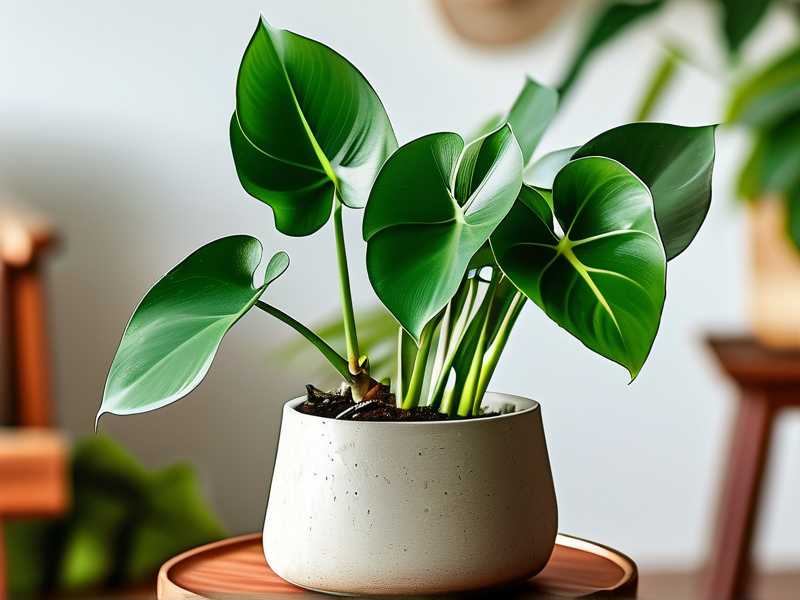
Why Propagate Aglaonema for Holiday Gifts
The holidays bring people together. A handmade gift carries more meaning than something purchased from a store. I discovered this when I gave my sister a propagated Aglaenema last Christmas. She still talks about it today.
Aglaonema, also known as Chinese Evergreen, makes an excellent gift for several reasons. It tolerates low light conditions. It purifies indoor air. It does not require constant attention. Most importantly, it symbolizes prosperity and good fortune. That makes it perfect for holiday giving.
The Critical Mistake That Kills Most Cuttings
Before I get into the step-by-step process, let me address the elephant in the room. Most propagation attempts fail because of three beginner traps. I fell into each one of them at different points in my journey.
Mistake Number One: Overwatering
I cannot stress this enough. Overwatering kills more cuttings than any other mistake. When I first started propagating, I thought more water meant faster root growth. I was completely wrong.
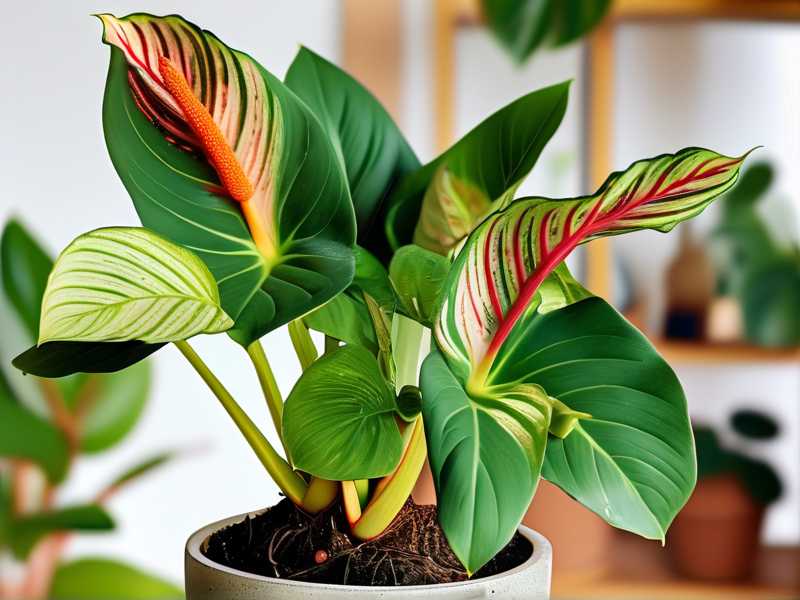
The roots need oxygen to develop. When you keep the cutting in water longer than necessary, or when you water the soil too frequently, the cutting suffocates. The stem turns brown and soft. The leaves droop and yellow.
I checked the RHS website for their guidance on this. They recommend letting the top inch of soil dry out between waterings. This applies to both mature plants and freshly potted cuttings.
Mistake Number Two: Wrong Lighting
Aglaonema cuttings need bright but indirect light. I put my first batch of cuttings on a windowsill with direct afternoon sun. Within three days, the leaves developed brown scorch marks.
Then, for my second attempt, I moved them to a dark corner far from any window. The cuttings sat there for weeks without producing any roots. They simply stalled.
The sweet spot? A north-facing window or a spot a few feet away from an east-facing window. That location provides enough light for photosynthesis without overwhelming the delicate cutting tissue.
Mistake Number Three: Wrong Pot Selection
I used a huge decorative planter for my first propagation attempt. It looked beautiful on my coffee table. But the excessive soil volume held too much moisture around the tiny root system. The cutting rotted before it ever had a chance to develop proper roots.
Now I always use small pots. A four-inch container works perfectly for one or two cuttings. This allows the soil to dry out at a reasonable pace, preventing root rot.
The American Horticultural Society emphasizes proper drainage in their growing guides. I learned that every pot needs drainage holes. No exceptions. Even for water propagation, the container should be clean and clear so you can monitor root growth.
Step-by-Step Propagation Guide
Now let me walk you through the exact process that works for me every single time.
Step 1: Choose the Right Parent Plant
Start with a healthy, mature Aglaonema. Look for a plant with vibrant leaves, no yellowing, and no pests. I always inspect the stem carefully. I want to see visible nodes along the stem. These small bumps are where new roots will emerge.
Select a stem that has at least three to four leaves. This ensures the cutting has enough energy to sustain itself during the rooting phase.
Step 2: Prepare Your Tools
Gather your supplies before you start. You will need:
- Clean, sharp scissors or pruning shears
- A small glass jar or clear cup
- Room-temperature water
- Well-draining potting mix
- Small pots with drainage holes
- Rooting hormone (optional, but helpful)
I always sterilize my cutting tools with rubbing alcohol first. This prevents introducing bacteria or fungus to the fresh cut.
Step 3: Take the Cutting
Locate a node on the stem. This is the point where leaves attach to the stem. Make your cut about half an inch below a node on a diagonal angle. The diagonal cut increases the surface area for root development.
Remove the lower leaves from the cutting. Leave the top two or three leaves intact. Submerged leaves will rot in water, creating a breeding ground for bacteria.
I typically take cuttings that are four to six inches long. This gives me enough stem for rooting while maintaining a manageable size for gifting.
Step 4: Choose Your Propagation Method
I have tried both water and soil propagation. Each method has its advantages.
Water Propagation:
Place the cutting in a clear glass jar filled with room-temperature water. The node should be fully submerged. The leaves should stay above water.
Change the water every three to four days. Stagnant water invites bacterial growth. Fresh water provides oxygen that stimulates root development.
Within one to two weeks, you will see small white bumps forming at the node. These will grow into roots over the following weeks.
Soil Propagation:
If you prefer soil, fill a small pot with moist potting mix. Create a hole in the center with your finger or a pencil. Insert the cutting, burying the node below the soil surface.
Firm the soil gently around the stem. Water lightly to settle the soil. Then, wait approximately two to three weeks before expecting any root growth.
Step 5: Provide the Right Environment
Place your cuttings in a location with bright, indirect light. Maintain a temperature between 65 and 75 degrees Fahrenheit. Avoid placing cuttings near heating vents or drafty windows.
I keep my propagation station on a kitchen counter away from direct sunlight. The kitchen stays consistently warm, which encourages faster root growth.
My Two-Week Observation Journal
I want to share what I observed during a recent propagation session. This will give you realistic expectations.
Day 1: I took two cuttings from my mature Aglaonema plant. Both measured about five inches long with two nodes each. I placed them in separate glass jars filled with tap water. I set them on my kitchen counter near a north-facing window.
Day 4: I changed the water for the first time. No visible changes yet. The cuttings looked exactly the same as when I started. I resisted the urge to poke at them or pull them out of the water to check for roots.
Day 7: Tiny white bumps appeared at the base of one cutting. These are called root primordia. They look like small dots along the stem. This is the earliest sign that rooting has begun.
Day 10: The first cutting had roots measuring about a quarter of an inch long. The second cutting showed the same development but slower. I noticed that the water level had dropped slightly, indicating that the plant was taking up water.
Day 14: Roots had grown to about one inch on the first cutting. The second cutting had roots reaching half an inch. Both cuttings showed healthy new root growth with no signs of rot or discoloration.
At this point, I transplanted them into small pots with well-draining soil. I watered them thoroughly and set them in bright, indirect light. The roots will continue to develop and establish in the soil within three to four weeks.
Common Problems and Solutions
Even with perfect technique, you will encounter some issues. Here are the problems I faced and how I solved them.
Yellow Leaves on the Cutting
Yellow leaves indicate stress. This often happens when the cutting loses too much moisture while developing roots. Remove the yellow leaves immediately. They draw energy away from root development.
Keep the remaining leaves clean and dust-free. Dust reduces the plant ability to photosynthesize, which slows down the whole process.
No Root Growth After Two Weeks
If you see no roots after two weeks, check the node position. The node must be submerged in water or buried in soil. I placed a cutting upside down once and the node never touched water.
Also, check the water quality. Hard water with high mineral content can inhibit root growth. Switch to filtered or distilled water.
Brown, Mushy Stem
Brown, mushy stems indicate rot. Cut away the affected area immediately. Trim the stem back to healthy tissue. Reset the cutting in fresh water.
Rot happens when bacteria multiply in stagnant water. Changing the water every few days prevents this problem entirely.
Rooting Hormone: Helpful or Hype?
I have experimented with rooting hormone on several occasions. In my experience, it speeds up the process by a few days. However, it is not essential for Aglaonema cuttings. This plant roots readily without any assistance.
If you decide to use it, choose a powdered rooting hormone. Dip the cut end into the powder, tap off the excess, and proceed with your propagation method.
Preparing Your Cuttings as Holiday Gifts
Once your cuttings have rooted, it is time to prepare them for gifting. Presentation matters. A beautiful gift shows the recipient that you put thought and effort into their present.
Select the Perfect Pot
Look for small, decorative pots that compliment the silver and green foliage of Aglaonema. Ceramic pots with drainage holes work well. Add a saucer underneath to protect surfaces from water damage.
I found that white or terracotta pots look stunning with the variegated leaves of the plant. They highlight the natural beauty of the foliage.
Create a Beautiful Display
Add a layer of small pebbles to the bottom of the pot. This provides extra drainage and prevents soil from washing out of the drainage holes. Fill the pot with well-draining potting mix.
Gently remove the rooted cutting from its propagation container. Place it in the new pot. Fill around the roots with additional soil, pressing lightly to secure the plant.
Water the plant thoroughly, allowing excess water to drain out completely. Place a layer of decorative moss or small stones on top of the soil for a polished look.
Add a Personal Touch
Attach a small tag to the plant with care instructions. Write a heartfelt message telling the recipient how to care for their new plant. This personal touch makes the gift even more meaningful.
I like to write something like, "This Aglaonema was propagated from my own plant. I hope it brings you joy and prosperity this holiday season."
Shipping Considerations
If you are mailing the plant to someone, package it carefully. Wrap the pot in bubble wrap to prevent breakage. Secure the plant upright in a sturdy box. Add packing peanuts to prevent shifting during transit.
Water the plant thoroughly before shipping. This ensures it stays hydrated for several days without additional care.
Seasonal Care Tips for Gift Recipients
The recipient will need basic care information to keep their new plant thriving. I always include these simple instructions with my gifts.
Light Requirements
Aglaonema prefers low to medium light conditions. This makes it perfect for offices and rooms without bright natural light. Avoid direct sunlight. It will scorch the leaves.
Watering Schedule
Check the soil moisture once a week. Stick your finger about an inch into the soil. If it feels dry, water the plant. If it feels moist, wait a few more days.
Remember the statistic I mentioned earlier? 90% of indoor plants die from overwatering. The recipient will likely appreciate this reminder.
Temperature and Humidity
Aglaonema grows well in average home temperatures between 65 and 80 degrees Fahrenheit. It appreciates higher humidity. Misting the leaves occasionally or placing the pot on a tray with pebbles and water increases humidity around the plant.
Fertilizing
Wait at least three months before fertilizing a newly propagated plant. The fresh soil contains enough nutrients for initial growth. Then, use a balanced liquid fertilizer at half strength every four to six weeks during the growing season.
Frequently Asked Questions
How long does it take for Aglaonema cuttings to root?
Typically, roots appear within one to two weeks. Full root systems develop within four to six weeks. The exact timeline depends on environmental conditions. Warmer temperatures and bright, indirect light speed up the process significantly.
Can I propagate Aglaonema from a single leaf?
Technically, yes, but the success rate is much lower than stem cuttings. A single leaf without a node will not produce roots. You need a stem section with at least one node. The node contains dormant buds that develop into roots and new growth.
What should I do if the cutting starts to wilt?
Wilting indicates moisture stress. Check the water level in your propagation container. Make sure the node remains submerged. Mist the leaves daily to reduce water loss. If the cutting continues to wilt, remove the lower leaves to reduce the amount of tissue requiring water.
Final Thoughts on Gifting Propagated Aglaonema
I have given dozens of propagated Aglaonema as gifts over the years. Each recipient has been genuinely grateful for the thoughtfulness of the present. There is something special about receiving a plant that someone nurtured from a single cutting.
The process takes time and patience. But it does not require extraordinary skill. With the right technique, anyone can successfully propagate Aglaonema.
Start your cuttings at least eight weeks before the holidays. This gives you plenty of time for rooting, potting, and establishing the young plant before gift-giving. Your friends and family will appreciate the effort you put into creating a personalized, living gift.
I still remember the satisfaction I felt when I gifted my first propagated plant. The recipient was amazed that I had grown it myself. That moment made all the failed attempts worthwhile.
So go ahead and try it. Your first propagation might not be perfect. Mine certainly was not. But with each attempt, you will improve. And the people receiving your gifts will treasure them for years to come.





