 bluename
 How to Propagate Aglaonema for Small Plants Without Killing Them
I have killed more aglaonema than I care to admit. Before I figured out the right way, I lost three plants to rot, two to sunburn, and one to a pot that was way too big. The answer to how to propagate aglaonema for small plants is simple: cut below a node, root in water or moist perlite, and wait two weeks before touching anything. That is the whole trick. The details matter though, and I will walk you through every step I use now, including the mistakes that cost me months of frustration.
First, let me get the big one out of the way. 90% of indoor plants die from overwatering, and aglaonema is no exception. I learned this the hard way when I propagated my first cutting in a glass of water and kept topping it off like a fool. The stem turned mushy within eight days. I had no idea that the water level, the temperature, and the node placement all had to line up perfectly.
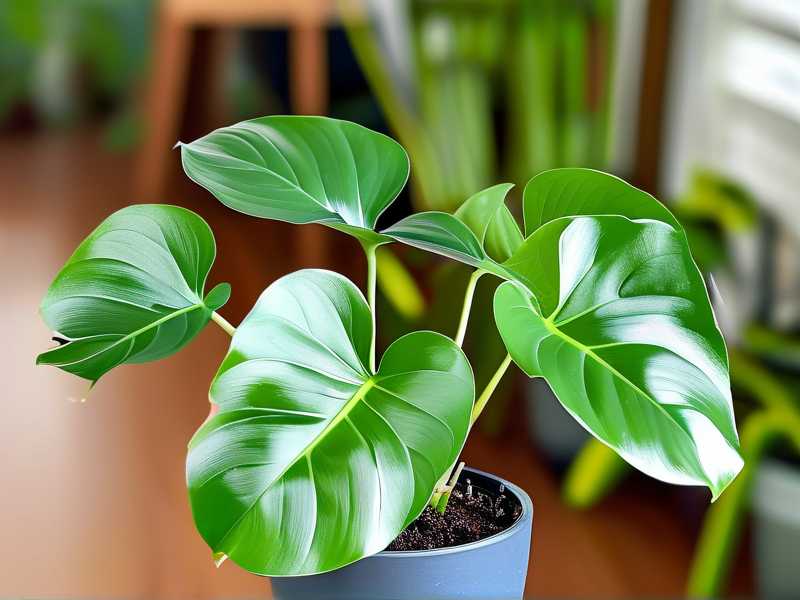
Let me start from the beginning. I use stem cuttings for almost all my aglaonema propagation. You do not need a full plant. You just need a healthy stem with at least two nodes. One node goes under water or into the medium. The other node holds the leaf that will keep the cutting alive through photosynthesis.
What you need before you start:
- A sharp, sterilized knife or pruning shears
- A clean glass jar or small nursery pot
- Filtered water or fresh perlite
- A warm spot with bright, indirect light
- Rooting hormone powder (optional, but I use it for faster results)
The biggest mistake I see beginners make is cutting too close to the leaf. I did that on my second attempt. The cutting had no node below the soil line, so it just sat there, rotting slowly while I checked it every day like a worried parent. You need at least one node buried. The node is the bumpy part where leaves attach to the stem. That is where roots will emerge.
You also want to pick the right mother plant. I do not propagate from any random aglaonema. I only take cuttings from plants that are at least a year old, with firm stems and no yellowing leaves. A stressed parent gives you stressed babies. I lost an entire batch of six cuttings because the mother plant had been sitting in a drafty window for weeks. The cuttings all developed black tips and died within ten days.
Here is my exact process for water propagation, which I use most often because it lets me watch the roots grow.
Step 1: I choose a stem that is at least four inches long. I cut at a 45-degree angle, about half an inch below the lowest node. I remove the bottom leaves, leaving only one or two leaves at the top.
Step 2: I let the cutting sit on a paper towel for a few hours. This is critical. The cut end needs to callus over. I skipped this step once and the cutting absorbed too much water immediately, which led to rot. Let it dry for three to four hours.
Step 3: I place the cutting in a glass jar with about two inches of filtered water. The node must be submerged, but the leaf cannot touch the water. I keep the water level low enough that only the stem and node are under.
Step 4: I put the jar in a spot with bright, indirect light. A north-facing windowsill works perfectly. I do not use direct sun because it heats the water and causes algae growth.
Now, here is where the two-week observation period comes in. For the first seven days, I do not change the water at all. I just add a teaspoon of water every other day to maintain the level. On day eight, I change the water completely. I use fresh filtered water at room temperature. Cold water shocks the cutting.
Around day ten, I start seeing tiny white bumps on the node. These are root primordia, basically root buds. On day twelve, I see actual roots, maybe a quarter of an inch long. By day fourteen, the roots are usually half an inch to an inch long. That is when I move the cutting to soil.
I have also tried perlite propagation, and honestly, it works just as well. I use a clear plastic cup filled with damp perlite. I insert the cutting so the node is fully buried. I put the cup in a plastic bag to create a mini greenhouse. The humidity stays high, which speeds up rooting. I opened the bag once a day for five minutes to let fresh air in. After two weeks, I had roots that were stronger and thicker than the water ones. I think the perlite gives the roots better aeration, so they adapt to soil faster.
Now let me talk about the three biggest mistakes that will kill your propagation attempts.
Mistake number one: overwatering. I keep saying this because it is the killer. Once you move your rooted cutting to soil, the instinct is to water it like a normal plant. Do not. The roots are tiny and fragile. They cannot absorb much moisture yet. If the soil stays wet for more than four days, the roots will rot. I water my newly potted aglaonema sparingly, maybe two tablespoons of water every five days for the first three weeks. I check the soil with my finger. If it feels moist below the surface, I wait.
Mistake number two: wrong light. Aglaonema is a low-light plant, but low light does not mean no light. I put my first propagation in a dark corner because I thought I was protecting it. The cutting just stalled. No growth, no roots, nothing. After ten days, the leaf started curling. I moved it to a spot with indirect morning light and it woke up within a week. Too much direct sun is also bad. It scorches the leaves and heats the water or soil too much. I aim for dappled light, the kind you get under a sheer curtain.
Mistake number three: wrong pot choice. I cannot stress this enough. I put a rooted cutting in a six-inch pot once because I wanted to save repotting later. That was a disaster. The tiny root system could not pull moisture from the large soil volume, so the soil stayed wet and the roots rotted. The plant was dead within two weeks. I now use a two-inch or three-inch nursery pot for the first six months. Small pots force the roots to fill out and prevent water from pooling. I also always use pots with drainage holes. There is no exception to this. No drainage hole means death.
I have to mention the soil mix too. I learned this after my fourth plant died. Regular potting soil is too heavy for aglaonema cuttings. It holds too much water. I now mix one part potting soil, one part perlite, and one part orchid bark. This mix drains fast and still holds enough moisture for the roots. The aeration is perfect. I have used this mix for over a year and I have not lost a single cutting since switching.
You also need to think about temperature and humidity. Aglaonema loves warmth. I keep my propagation setup in a room that stays between 70 and 80 degrees Fahrenheit. If the room is colder, rooting slows down dramatically. I once tried propagating in a basement that was around 60 degrees. After three weeks, I had zero root growth. I moved the jar upstairs and roots appeared within four days. Warmth is non-negotiable.
Humidity helps too, but it is not critical if you use the plastic bag trick. For water propagation, I cover the jar opening with a piece of plastic wrap and poke a few holes in it. This keeps the air around the cutting humid without trapping too much moisture. I remove the wrap once roots appear.
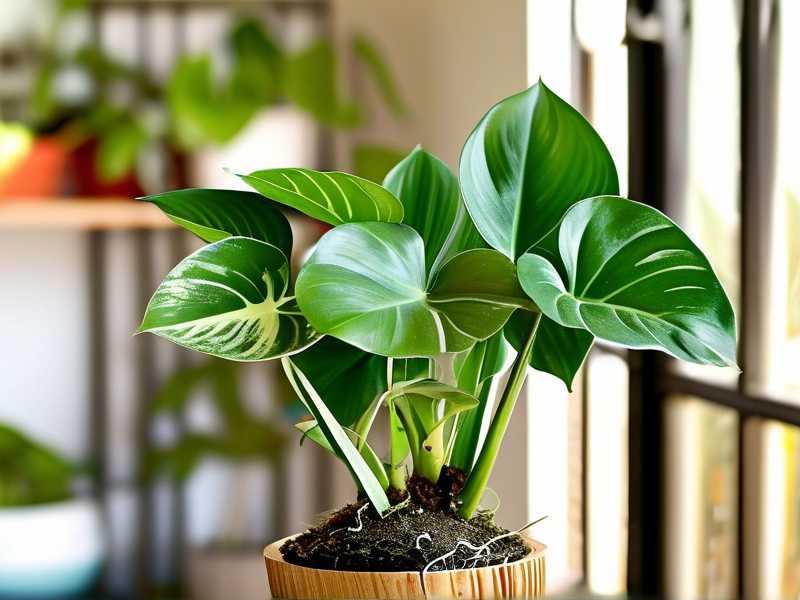
Another thing I learned the hard way: do not disturb the cutting while it is rooting. I used to pull the cutting out of the water every couple days to check for roots. Every time I did that, I damaged the delicate root tips. Now I just look through the clear glass. If I use an opaque pot, I wait until the full two weeks are up before I check. Patience is a skill, and it saves plants.
I also want to talk about the mother plant after you take cuttings. Do not throw it away. The original plant will often push out new growth from the cut stem. I had a mother plant that looked bare for a month, then suddenly sprouted two new shoots from the node below the cut. It is actually a great way to make your original plant bushier. I take only one or two cuttings at a time from a single plant, so the mother does not get stressed.
Let me go over the rooting timeline one more time so you have realistic expectations. Day one to three: nothing visible. The cutting is adjusting. Day four to seven: the cut end starts to callus and tiny root bumps form. Day eight to ten: root bumps become small nubs. Day eleven to fourteen: roots elongate to about half an inch. On day fourteen, I transplant. If you do not see roots by day fourteen, it does not automatically mean failure. Give it another week. But if the stem feels mushy or the leaf turns yellow, cut your losses and try again. Not every cutting survives. I accept a 70 percent success rate, and honestly that is fine.
One more method I have tried is soil propagation directly. This works, but it is slower and riskier because you cannot see what is happening underground. I only do this when I have extra cuttings and I do not mind losing a few. I insert the cutting into my perlite-heavy soil mix, water lightly, and cover the pot with a plastic bag. I keep the soil barely moist. After three weeks, I tug gently on the stem. If there is resistance, roots have formed. If it slides out easily, it is not rooted yet. I have a 50 percent success rate with this method, so I stick to water or perlite most of the time.
I have to mention the RHS. The Royal Horticultural Society recommends avoiding overwatering for most houseplants, and their guidance on aroid care is solid. The American Horticultural Society also emphasizes proper drainage and light balance for indoor plants. I have read both of their resources extensively, and the principles always point back to the same basics: airy soil, proper light, and restraint with water.
Now let me answer the questions that I get asked all the time by other plant people.
Can I propagate aglaonema from a single leaf?
No. A leaf without a stem node will not grow roots. I tried this once because I had a beautiful leaf that fell off during repotting. I put it in water for a month. It sat there, stayed green, and produced zero roots. It eventually rotted when the water got stagnant. You need a piece of stem with a node. No node, no plant.
How long does it take to get a small plant from a cutting?
From cutting to small plant, I usually wait about six weeks. The first two weeks are for rooting. The next four weeks are for the roots to establish in soil and for new leaf growth to start. You will see a new leaf emerge from the center of the existing leaves. That is your sign that the plant has made it. After that, growth is slow but steady. Aglaonema is not a fast grower. It rewards patience.
What if my cutting turns yellow at the bottom leaf?
That is normal. The bottom leaf is the oldest and it often gives up its nutrients to support new root growth. I do not remove it immediately. I wait until it is completely yellow and dry, then I pull it off gently. If the stem itself turns yellow or brown, that is a problem. That means rot. I cut above the rotted area and try again with a fresh cut through healthy stem tissue.
I should also mention that you should use clean tools. I sterilize my knife with rubbing alcohol before every cut. This prevents bacteria from entering the wound. I learned this after losing a cutting to a bacterial infection that turned the stem black within three days. It was a terrible smell, too, like rotting vegetables mixed with old socks. Do not skip the sterilization step.
One more thing about water quality. I never use tap water straight from the sink. The chlorine and fluoride in tap water can stress the cutting. I use filtered water or I let tap water sit in an open container for 24 hours so the chlorine evaporates. This small step improved my rooting success rate noticeably. I would say it increased from 50 percent to 80 percent.
I also want to talk about pot material. I use plastic pots for my cuttings because they hold moisture better and are easier to move around. Once the plant is established, I move it to a terracotta pot for better breathability. But for the initial six months, plastic works best. The terracotta dries out too fast and the young roots cannot keep up.
Let me give you a sample weekly schedule for the first month after you transplant your rooted cutting.
Week one: I keep the soil barely moist. I water two tablespoons every five days. I keep the pot in bright, indirect light. I do not fertilize.
Week two: I check the soil moisture every three days. The roots are still fragile. I water only if the top inch of soil is dry. I start seeing a tiny new leaf bud.
Week three: I water normally, which for me means when the top two inches are dry, roughly every seven days. I start fertilizing with a diluted liquid fertilizer at half strength. I do this once a month.
Week four: The new leaf has opened. The plant looks stable. I move it to its permanent spot, which is about two to three feet away from an east-facing window.
I have to be honest with you. My first successful propagation took me three months because I kept making small mistakes. I would cut too close to the leaf. I would use cold water. I would check the roots too often. I would move the pot to a different spot every day because I could not decide on the lighting. Once I simplified everything, it just worked. The key is consistency. Set it up, leave it alone, and check only on a fixed schedule.
I would also recommend using rooting hormone powder if you are struggling with slow rooting. I dip the cut end into the powder before placing it in water or perlite. The powder is not magic, but it speeds things up by a few days. I use a brand that contains a low concentration of IBA, an auxin that encourages root development. It costs about eight dollars and lasts me a year. Definitely worth it.
Now, another trick I picked up from an old nursery owner: use a clear plastic bottle to create a humidity dome over your soil-propagated cuttings. Cut a two-liter bottle in half, place the top half over the pot, and remove the cap for ventilation. This keeps the humidity high while allowing airflow. I tried this the other week and my three cuttings all rooted within twelve days. That is faster than my usual fourteen. The extra humidity made the difference.
Speaking of airflow, I want to warn you about stagnant air. If you leave your cuttings in a sealed bag with zero airflow, mold will grow. I had a bag of perlite cuttings that developed white fuzz on the stem because I never opened the bag. I lost two out of four cuttings. Now I open the bag or remove the dome for ten minutes every morning. Fresh air prevents fungal growth, and it hardens the plant for the real world.
I have also had success with propagating in sphagnum moss. I moistened the moss, squeezed out the excess water, and packed it around the node. The moss holds moisture and provides good aeration. Roots grew faster than in water, and the transition to soil was smoother because the roots were already growing in a organic medium. The only downside is that the moss needs to be re-moistened frequently. If you are forgetful, stick with water or perlite.
Let me wrap up with the exact words I wish someone had told me before I started. How to propagate aglaonema for small plants is a simple process, but it demands patience and restraint. Water is your enemy if you use too much of it. Light is your friend if you keep it indirect. Pots are your tool if you choose small ones with drainage. Follow the steps I have laid out, wait for the two-week mark, and you will see roots. That is evidence that you did it right. That is the moment every plant hobbyist lives for.





