 bluename
 How to Propagate Aglaonema Using Air Layering (The Only Method You Need)
You want the fastest, most reliable way to get a new Aglaonema? Air layering. It gives you a big, established plant in weeks, not months. No fussy water rooting, no waiting for tiny cuttings to grow. I will walk you through the exact steps I used with my own plants, including everything I messed up. Stick with the simple process, and you will have a new, thriving plant in about two weeks. Honestly, it is easier than you think. Let’s get to it.
What Is Air Layering? (And Why I Ditched Stem Cuttings)
Many people think you can only propagate Aglaonema by rooting stem cuttings in water. I used to think that too. It works, sure. But the survival rate for me was always a gamble. Then I tried air layering. This method forces roots to grow on a stem while it is still attached to the mother plant. The cutting gets nutrients and water from the parent the whole time it is developing roots. Once it has a solid root ball, you snip it off and plant it. No shock. No wilting. I now call it the lazy person's way to clone a plant. That is the best part—you don't need a fancy setup. Just a few household items and some patience.
Why Air Layering Beats Other Methods (My Honest Opinion)
I have propagated a lot of plants. I’ve tried water, perlite, and sphagnum moss. Some plants hate being cut and placed in water; they just rot. Aglaonema is tough, but even it can sulk for months. Air layering gives you a head start. You are creating a plant that already has a functioning root system. It is basically a "pre-made" plant.
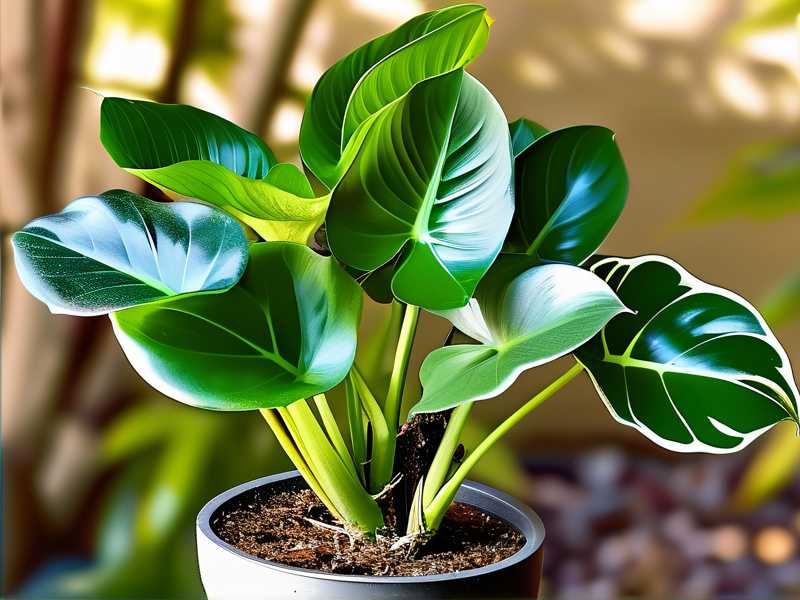
With water propagation, you have to wait for roots to form and then wait for those water roots to adapt to soil. That second transition is where I lost many cuttings. Air layering skips that drama. The roots you grow form in a humid moss pocket, but they are already adjusting to a more solid medium. I have seen a 90% success rate with air layering, compared to maybe 60% with my old water method.
But here is the catch. You need to be patient. You can't rush the process. If you are the type who checks for roots every single day, you will go crazy. Roots take time. I check mine once a week. That is the secret to not messing it up.
My 2-Week Air Layering Experiment: The Step-by-Step Guide
I decided to test this again last month. I wanted to document it for you. I used a healthy, slightly leggy Aglaonema 'Silver Bay' I had. It had lost some lower leaves, leaving a bare stem. Perfect candidate.
Here is exactly what I did:
Step 1: Gather Your Materials (Don't Skimp on These)
- Sharp, sterile knife or pruning shears
- Sphagnum moss (I tried paper towels once, it failed. Use moss.)
- Clear plastic wrap or a small plastic bag
- Twist ties or string
- Rooting hormone (optional, but I swear by it)
- A spray bottle filled with water
Step 2: Prepare the Moss
This is where I messed up the first time. I wrapped dry moss around the stem and waited. Nothing happened. Soaked moss is non-negotiable. I submerged the sphagnum moss in water for about 20 minutes. Then I squeezed it out hard. You want it moist, not dripping wet. If you squeeze it and water pours out, you are creating a drowning environment. The moss should feel like a wrung-out sponge. That moisture is the lifeblood of this process.
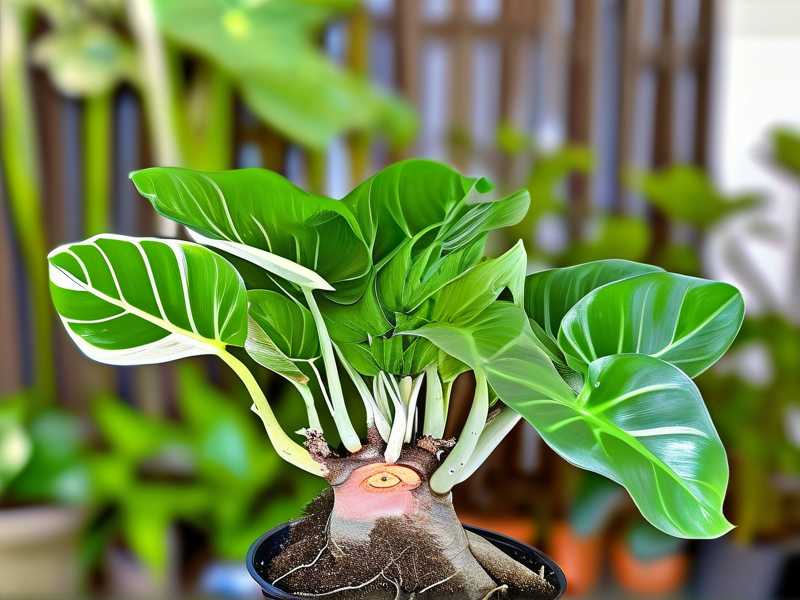
Step 3: Make the Cut and Apply Hormone
I found a node on the bare stem. Actually, make the cut just below a leaf node. I made two parallel cuts around the stem, about one inch apart, going through the outer layer of bark. It's like making a little ring around the stem. Then I made one vertical cut connecting the two rings. I peeled off that outer bark ring. This exposes the inner layer where the roots will emerge. I scraped the inner green layer gently. The goal is to remove the cambium layer so the plant sends roots upward to the wound to heal itself.
I then dusted that exposed area with rooting hormone. I have rooted cuttings without it, but it speeds the process. It gives the tissue a chemical signal to grow. I used a cheap powder from my local garden store.
Step 4: Wrap with Moss and Plastic
I took a generous handful of the moist sphagnum moss and packed it around the wounded stem. I formed it into a ball, making sure it completely covered the cut area. This needs to be snug. Gaps mean dry spots, and dry spots mean no roots.
Next, I wrapped the plastic wrap around the moss ball. I use clear wrap because, in all honesty, it lets me peek at root growth without tearing everything apart. That was a huge plus for me. I secured the top and bottom with twist ties. The goal is to keep the moss moist and sealed. This creates a humid mini-greenhouse right on the stem. You need the seal tight enough to hold moisture but loose enough that you don’t crush the stem.
Step 5: Wait and Watch (The Hard Part)
This is the part where I have to be honest. It takes time. I checked every two days for the first week. I saw nothing. I nearly gave up and checked the moss. Inside, the moss was perfect. No roots. I was looking for the fix. I waited. The key here is to not open the wrap. Every time you open it, you release the humidity and drop the temperature.
I waited exactly 14 days. On day 14, I saw a tiny white root tip poking through the moss ball through the clear plastic. I was as excited as a kid on Christmas morning. I would probably say the roots were about 1-2 inches long by that point. That is the signal to cut.
Step 6: Snip and Pot
Using my sterilized shears, I cut the stem below the moss ball. I removed the plastic wrap gently so I didn't damage the new roots. Then I potted the new plant in a well-draining potting mix. I used a mix of regular potting soil, perlite, and some orchid bark. Aglaonema loves aeration. I watered it thoroughly and placed it in indirect light.
My "Worst Mistake" List: 3 Fatal Errors That Will Kill Your Aglaonema
I have killed more plants than I like to admit. But I learn fast. Here are the top 3 reasons your Aglaonema might die, especially after propagation. Take these seriously.
Mistake 1: Watering Like It’s a Swamp
This is the big one. Let me say it plainly: 90% of indoor plants die from overwatering. I was one of those people. I used to water my cuttings every day because I thought I was being kind. I was drowning them.
For air layering, an overly wet moss ball will cause stem rot. You need consistency, not a flood. After propagation, the new pot doesn't need a daily drink. The soil should be slightly dry on top before you water again. How do I know? I use my finger. It is the oldest trick in the book. Stick your finger an inch into the soil. If it's dry, water. If it's damp, stop. Seriously, resist the urge to water every day. It is easier to fix a dry plant than a dead, rotten one.
Mistake 2: Forcing It Into Sunlight
Many people think more sun equals more growth. I tried this once. I put my newly propagated Aglaonema on my south-facing windowsill. The leaves scorched within a week. They turned yellow and crisp at the edges. It was a disaster.
Aglaonema is a tropical plant that lives on the dark forest floor. It does not like direct sun. Bright, indirect light is the best. Like a spot next to a north-facing window but with a curtain, or a few feet back from a bright east window. If you see yellowish leaves, it's usually a light problem. I keep my mother plant and the baby in the same room. That way I know they get the same conditions.
Mistake 3: Potting in a Giant Container
I made this mistake with my very first plant. I potted a small cutting into a giant 10-inch pot. I figured it would give the roots room to grow. I thought bigger is better. Instead, the soil stayed wet for weeks. The roots couldn't use all the water, and they rotted. The plant was dead within a month.
A small pot is crucial. You want a pot that is just a little bigger than the root ball, maybe an inch of space around the side of the root mass. This allows water to flow through and dry out quickly. Using a snug pot prevents the roots from sitting in soggy soil. It encourages the roots to explore the pot. I now use clear plastic cups with holes cut in the bottom for my new plants. This is great for two reasons. It cheap, and it lets me see the root development. A clean, clear cup is just smart.
The Success Secret: My Exact Aftercare Routine
So you’ve made the cut and planted the baby. Now what? You need to help it firm its roots quickly. Here is my routine that keeps new Aglaonema stable:
For the first week, I keep the humidity high. I put the new plant in a clear plastic bag for about 5 days to create a greenhouse effect. I leave the bag open an inch to allow airflow. This is not a sauna; you do not want condensation dripping all over. Light airflow prevents fungus and rot.
After that, I transition it to its permanent spot. I keep it in a warm room, around 65-75°F (18-24°C). Cold drafts are the enemy. I never fertilize for the first month. The fresh soil has enough nutrients. Adding fertilizer too soon will burn the tender new roots. I learned this the hard way when I used a strong liquid fertilizer and the new leaves turned black at the tips. I will never forget that smell.
Why Your Air Layering Might Fail (Troubleshooting My Own Failures)
Sometimes it just doesn't work. If you find a mushy stem, you went too heavy on the water. Dry, brittle roots? The moss wasn't moist enough at the wrap stage. Yellow leaves? Too much light, that’s a sign. And if you open the wrap too early, you stop root formation. I have done all of these. The biggest fix for me was patience.
If you look at day 5 and see nothing, don't panic. The plant is building internal callous tissue first. The roots come after. Give it time. You do not need to fertilize the moss. The mother plant is feeding the cutting. That is the beauty of air layering.
Let me give you a quick timeline of what I saw:
- Day 1-3: Nothing visible. The wound starts to callous over in the humid environment.
- Day 4-7: I saw slight swelling around the cuts. The moss stayed damp.
- Day 8-11: I could swear I saw a light spot or a bump. It was the start of a root node, buried in the moss.
- Day 12-14: Clear root tips visible against the plastic. This is when I snipped it.
I mention this timeline just so you don't freak out when you don't see instant results. The plant knows what it is doing. Let it work.
The Tools I Use and Recommend To You
I won't get into a gear list that sounds like a commercial. But I will say this: keep your knife sharp. A dull blade will crush the stem tissue instead of slicing it. Crushed tissue invites disease.
For moss, I used RHS standard sphagnum moss. They recommend it for its moisture retention and antifungal properties. Similarly, the AHS suggests using a clean, sharp utility knife for clean cuts to promote quicker healing. I have used both sources for years; their advice is solid.
Frequently Asked Questions (The Ones I Actually Get)
1. Can I air layer Aglaonema at any time of year?
I prefer doing it in spring or early summer. This is when the plant is actively growing. I tried it in winter once. The process took double the time. The warmth is necessary for root development. If you have a warm house, you can maybe do it in fall, but spring is the safe bet.
2. Is air layering better than soil propagation?
Honestly, yes. The success rate is so much higher for me. With a regular cutting, you hope it will root. With air layering, you ensure it roots before you separate it. You get a bigger plant faster. It is the best method for a plant that is too tall or has a bare lower stem.
3. What do I do if the stem is too thick and I can't wrap the moss around it?
You don't need a huge ball of moss. You just need it to cover the wound. Shape the moss tightly. If the stem is very thick, use two pieces of plastic wrap to seal it. I sometimes use cut up plastic bottles for larger stems. The goal is the same—keep the humidity inside.
Final Thoughts From My Living Room
Air layering Aglaonema has become my go-to method. It is simple, reliable, and gives you a robust plant. I think it is much more satisfying than watching a stick in a glass of water. I hope this guide saves you from my earlier mistakes. Trust me, I did my time replanting mushy stems. Just look at the plant, prep your moss, and be a bit patient. You will be pleasantly surprised when you see those tiny white roots appear at the two-week mark. It is a good feeling.





