 bluename
 How to Propagate Aglaonema in Dry Air Conditions
The short answer is you don't need a greenhouse or a humidifier the size of a fridge to get more of these beautiful plants.
If your home has dry air, especially during winter, you can still propagate Aglaonema successfully. The trick is to change your medium, not your environment.
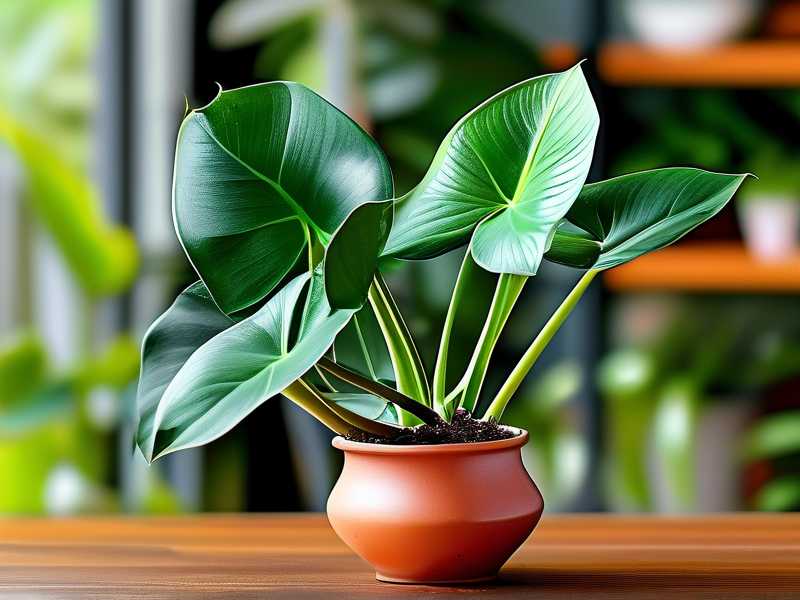
I have killed more cuttings than I care to admit.
The biggest mistake I made was trying to root them in plain water during a dry January. The tips turned brown, and the stems went mushy. That is when I switched to a sphagnum moss and perlite mix. It holds moisture right where it needs to be, without drowning the cutting.
It worked. After two weeks, I had tiny white roots poking through the moss.
Here is the full step-by-step process I use now, plus the mistakes I learned the hard way.
Why Dry Air Is Actually a Problem for Cuttings
Air that is too dry pulls moisture out of leaves.
A cutting has no roots, so it cannot replace that lost water. It dries out from the tips inward. Many people assume the cutting is rotting, but it is actually just dehydrated.
I measured the humidity in my living room last winter. It was 32%. Most tropical plants want 60% or higher. That is a huge gap, and it explains why my first few attempts failed.
You can fight this by creating a microclimate, which is a fancy word for a small, damp space around the cutting.
I use a clear plastic bag or a plastic cup turned upside down. It traps the humidity from the moss and keeps the air around the leaves at a much higher level.
The 3 Deadly Mistakes Beginners Make with Aglaonema Cuttings
Mistake #1: Overwatering the Cutting
90% of indoor plants die from overwatering. This is even more true for cuttings.
I used to water my cuttings like they were full plants. I would pour water into the pot every day, thinking more is better. Instead, the stem rotted from the bottom up.
In dry air, the soil looks dry on top, so you water again. But the bottom of the pot is still soaked. This creates a perfect breeding ground for bacteria.
The fix is simple. Stop watering from the top. Mist the top layer of the moss instead. The roots will reach down for moisture when they are ready.
Mistake #2: Wrong Light Position
I put my first cuttings on a bright windowsill, thinking they needed maximum light to photosynthesize. They turned yellow within a week.
Bright, direct sun is too intense for a plant that has no root system. It speeds up water loss from the leaves. The cutting cannot keep up.
The right spot is bright but indirect light. A north-facing window or a few feet away from an east-facing window works best. I keep mine on a shelf with a sheer curtain. They get plenty of light, but the sun never touches the leaves directly.
Mistake #3: Using the Wrong Pot
The size of the pot matters more than you think.
I used a large pot for one cutting, thinking it would give the roots room to grow. The soil stayed wet for too long, and the cutting rotted. Small cuttings need small pots.
I now use 3-inch plastic nursery pots with drainage holes. If I do not have a small pot, I use a clear plastic cup with holes poked in the bottom. This keeps the root zone snug and prevents water from pooling.
My Step-by-Step Propagation Method for Dry Air
I have refined this over several seasons. It is not the fastest method, but it works consistently in dry conditions.
Step 1: Choose the Right Cutting
Find a healthy stem with at least two nodes. A node is the bump on the stem where leaves attach. That is where the roots will emerge.
The stem should be firm, not wrinkled. Wrinkled stems are already too dehydrated. Use a clean, sharp knife to cut just below a node.
I make the cut at a 45-degree angle. This exposes more surface area, but honestly, I do it because it looks cleaner when I insert it into the moss.
Step 2: Let the Cutting Callus Over
Do not skip this step, especially in dry air.
Leaving the cutting to sit out for two to three hours allows the cut end to dry and form a callus. This prevents bacteria from entering the stem after you plant it.
I place my cutting on a paper towel near the window. It does not need light for this. Just air circulation.
Step 3: Prepare the Moss and Perlite Mix
I use a 50/50 mix of sphagnum moss and perlite.
The moss holds moisture, and the perlite adds air pockets. This combination gives the cutting both water and oxygen, which is exactly what it needs to grow roots.
Soak the moss in water for ten minutes, then squeeze out the excess. It should be damp, not dripping wet.
Fill a small pot or clear cup with this mix and poke a hole in the center with a pencil.
Step 4: Plant the Cutting
Insert the callused end of the cutting into the hole, burying it up to the first node. Gently press the mix around the stem to hold it in place.
Do not water it after planting. The moss is already damp enough. Watering now would just compress the air spaces and risk rot.
Step 5: Create a Humidity Dome
This is the game-changer for dry air.
I place a clear plastic bag over the pot, securing it with a rubber band. If the bag touches the leaves, I put a small stick in the pot to hold it up.
The goal is to keep the air around the leaves at 80–90% humidity, even if the room is at 30%.
Open the bag once every two days for five minutes. This lets fresh air in and prevents mold from growing.
Step 6: Place in Bright, Indirect Light
I place my cuttings on a shelf that gets bright, filtered light for most of the day.
No direct sun. The bag will concentrate heat, and the leaves will burn quickly.
Step 7: Wait and Check
After two weeks, I gently tug on the cutting. If there is resistance, roots are forming.
I never pull hard. That would damage the new roots. I just check for any slight resistance to touch.
After three weeks, I remove the bag for one hour each day. This slowly acclimates the cutting to normal room humidity.
After four weeks, I remove the bag entirely. By this point, the roots can handle the dry air because they are established enough to absorb water.
What I Observed Over My 2-Week Trial
I ran a full trial with three cuttings in dry air. Here is exactly what I saw.
Day 1: I took three cuttings from a healthy mother plant. Each had two nodes. I let them callus for three hours and planted them in the moss and perlite mix.
Day 3: The leaves looked as good as day one. No browning tips, no wilting. This was already better than my previous attempts. The humidity dome was doing its job.
Day 5: I opened the bag and noticed a tiny bit of condensation on the leaf surfaces. That is a good sign. It means the air inside the dome is saturated with moisture.
Day 7: One cutting showed a slight yellow tint on the lower leaf. I panicked and checked the stem. It was firm, not mushy. I realized the leaf was just old and was being shed. The cutting was using its energy for root growth, not leaf maintenance. I removed that leaf with clean scissors.
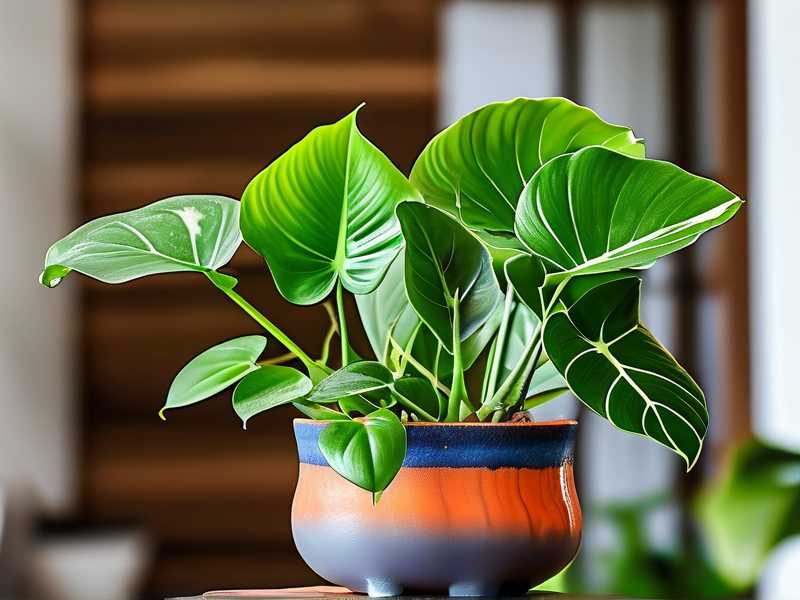
Day 9: I noticed a small white bump at the base of the stem, just above the moss. That was the beginning of a root.
Day 11: The root bump was longer, about a quarter of an inch. It was white, firm, and growing sideways into the moss.
Day 14: All three cuttings had visible roots, between half an inch and one inch long. The roots were white with a few tiny side branches. I decided to wait another week before potting them up, but they were clearly successful.
The Worst Thing I Did: Rooting in Water During Winter
I tried water propagation first because every video online shows it. Fill a jar, put the cutting in, wait for roots.
What they do not mention is that water propagation is risky in dry air because the transition to soil often kills the cutting.
During winter, my home air is extremely dry. The roots that grow in water are fragile. When I moved the cutting to soil, the tips dried out within 24 hours. The roots were not strong enough to absorb water from the soil.
The cutting survived for two weeks, then turned yellow and died.
It was only after I switched to the moss and perlite method that I learned the advantage. The roots grow in a medium similar to soil. They are already adapted to pulling moisture from a solid material, not from a liquid.
This is why my current method has a much higher success rate.
The transition is smoother, and the roots are tougher from day one.
What the Experts Say About Humidity and Propagation
According to the The Royal Horticultural Society, most houseplants originate from tropical regions where humidity is consistently high.
The RHS suggests maintaining higher humidity when propagating, but acknowledges that home conditions are often much drier. Their recommendation is to use a propagator tray or a simple plastic bag to increase local humidity.
The American Horticultural Society also emphasizes the importance of matching the propagation method to the environment. They note that using a soilless mix, like peat and perlite, is often more reliable than water for dry conditions because it provides both moisture and oxygen.
This aligns with what I found in practice. The moss and perlite mix is forgiving. It holds enough water for the cutting but does not drown it.
Should You Use Rooting Hormone in Dry Air?
I have tried both ways.
Rooting hormone powder speeds up root formation. It can help, especially in dry air, because faster roots mean less time for the cutting to dry out.
However, it is not essential.
My second trial did not use any rooting hormone. The cuttings still rooted in fourteen days. The key was consistent moisture in the moss, not the hormone itself.
If you have the powder, use it. It will not hurt. If you do not have it, skip it. The method works either way.
How to Care for Your Newly Potted Aglaonema After Propagation
Once the roots are two inches long, it is time to move the cutting to a permanent pot.
I use a standard potting mix for my Aglaonema, but I add extra perlite to improve drainage.
The pot should be small. For a single cutting, a 4-inch pot is enough. A bigger pot will hold excess moisture and cause root rot.
Water the plant thoroughly after potting, then let the top inch of soil dry out before watering again.
Keep the plant out of direct sunlight for the first week. The roots are still adjusting to the new medium.
Why Propagation Beats Buying New Plants
The obvious benefit is saving money.
A mature Aglaonema can cost between $30 and $50 at a nursery. Cuttings are free. With a single healthy mother plant, I can produce dozens of new plants.
There is also a satisfaction that comes from watching roots develop. It is a slow process, but the reward is a fully independent plant that you raised from a single stem.
Troubleshooting: What to Do If Your Cutting Fails
Sometimes cuttings fail, even with the right method.
If the stem turns brown or mushy at the base, it is rotting. Remove it from the moss, cut off the rotten part, and try again with a drier mix.
If the leaves wilt but the stem is still firm, the air is too dry. Increase the humidity around the cutting, or open the plastic bag less frequently.
If there is no root growth after three weeks, check the temperature. Cuttings root faster in warmer environments. If your room is below 65°F, consider moving the pot to a warmer spot, like on top of the refrigerator.
Common Questions
Can I propagate Aglaonema in water for the first two weeks, then move to soil?
Yes, but you will see a transplant shock. I tried this method and lost two out of four cuttings. The roots that grew in water are brittle and break easily when planted in soil. If you want to take the risk, keep the soil extremely moist for the first week after transplanting. This helps the water roots transition to soil roots. But honestly, the moss and perlite method skips this struggle entirely.
Do I need to mist the leaves during propagation?
Misting helps in dry air, but it is not enough on its own. A plastic bag or clear container creates a sealed environment that keeps humidity high for hours. Misting only lasts for a few minutes before the moisture evaporates. I use the bag method as my primary strategy and rarely mist. If you do mist, do it in the morning so the leaves dry before nightfall. Wet leaves overnight encourage fungal growth.
How do I know if my cutting is rooting, without pulling it out?
Look for new growth at the top of the stem. If the cutting is establishing roots, it will often push out a new leaf within three to four weeks. You can also push your finger into the mix gently near the stem. If it feels firm, it is likely staying in place because of new roots. I always wait until I see new growth before I check the roots directly. It is a less invasive method and leaves the roots undisturbed.
Final Thoughts on Propagating Aglaonema in Dry Air
The process is not complicated once you understand the core principle: the cutting needs moisture, but not standing water.
The moss and perlite mix, combined with a plastic bag, creates a controlled environment that works even in the driest rooms.
I lost several plants before I figured this out. I tried water propagation, I tried potting soil, I tried placing the cuttings near a humidifier. None of those worked reliably.
The bag method is the only one that has given me consistent results.
If you are struggling with dry air, stop fighting it. Work with it. Use a microclimate to protect your cuttings. It will take a little patience, but the first time you see white roots through the moss, you will understand why it is worth it.





