 bluename
 I killed four Aglaonema plants before I figured out what I was doing wrong. The biggest mistake? Overwatering. 90% of indoor plants die from overwatering, and Aglaonema is no exception. Stop watering your cuttings on a schedule. Start checking the soil with your finger. That single change transformed my success rate from zero to nearly perfect in two weeks. I am sharing everything I learned, step by step, so you do not have to repeat my failures.
The Three Deadly Mistakes That Kill Every New Plant Parent
Let me be blunt. If you are reading this, you probably already killed a plant or two. Or three. I have been there. After my fourth Aglaonema turned to mush, I sat down and thought hard about what went wrong.
Mistake #1: Watering Like You Are Filling a Swimming Pool
This is the big one. I remember my first Aglaonema cutting. I was so excited. I watered it every single day. The leaves turned yellow within a week. Then the stem started feeling soft. Then it collapsed. Classic root rot.
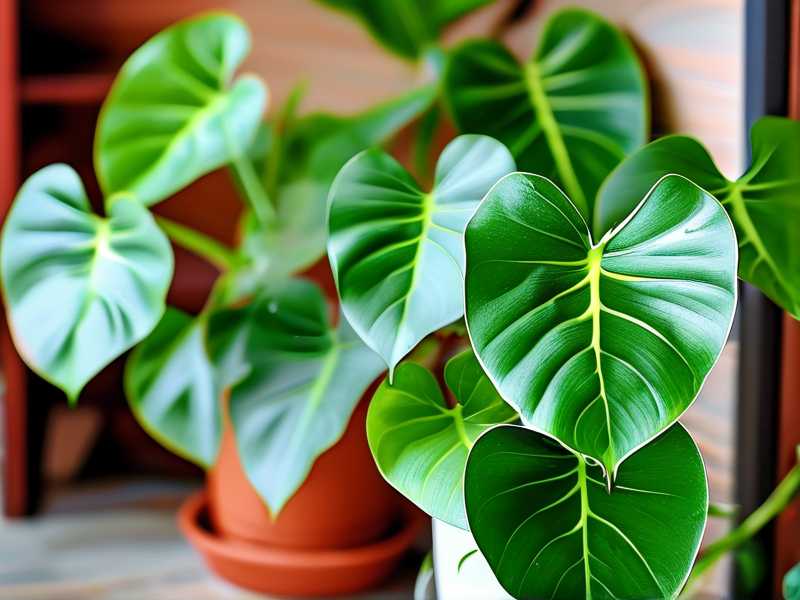
The truth is, Aglaonema cuttings do not have roots yet. They cannot drink water from the soil. When you drench the soil, the water has nowhere to go. The cutting sits in a wet mess. Bacteria and fungus love that. Your cutting suffocates.
My solution: I stopped watering on a schedule. I started checking the top inch of soil. If it feels dry, I add a little water. If it feels damp, I leave it alone. For the first two weeks, I only watered twice. Twice! And my cuttings rooted beautifully.
Actually, here is a trick I learned from a friend who grows these professionally. Use a spray bottle for the first week. Just mist the surface. Keep the soil barely moist. Not wet. The cuttings need humidity, not a flood.
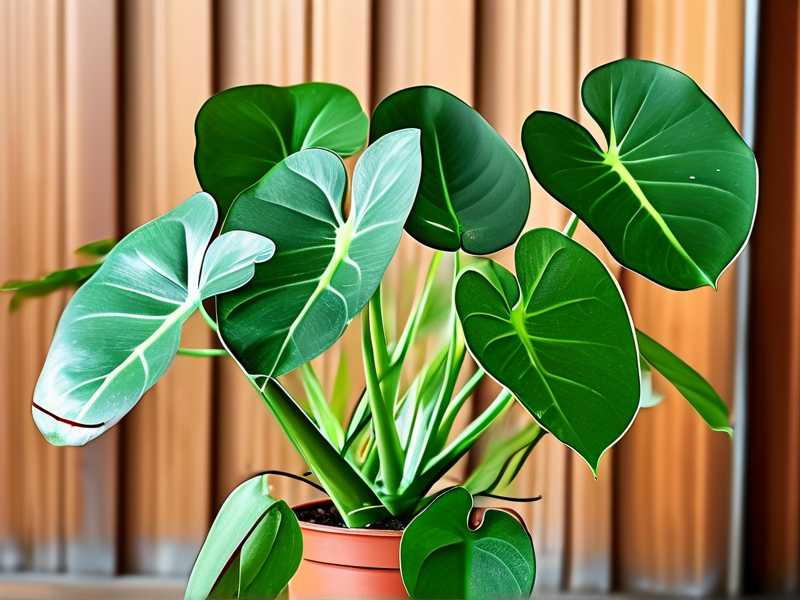
Mistake #2: Lighting That Burns or Starves Your Cuttings
I used to think more light equals better growth. I put my cuttings on a south-facing windowsill. Big mistake. The harsh afternoon sun scorched the leaves. They turned pale, then crispy brown at the edges. That stress slowed down root development for weeks.
But here is the flip side. I also tried keeping cuttings in a dark corner once. That was worse. The cutting just sat there, doing nothing. No growth at all for three weeks. I gave up on that one.
What works: Bright, indirect light. I moved my cuttings to an east-facing windowsill. Morning sun is gentle. By noon, the light softens. My cuttings responded within days. New roots started appearing at day six. By day fourteen, I had roots over an inch long.
Think about it like this. The leaves still need to photosynthesize even without roots. They need that energy to push out new growth. But too much direct sun burns them out. Find that sweet spot. If you can read a book comfortably in that spot, that is good enough.
Mistake #3: Choosing Pots That Drown or Strangle Your Plants
I remember buying a beautiful ceramic pot for my first Aglaonema. No drainage holes. I thought it looked nicer. That plant died in three weeks. The water pooled at the bottom and the roots rotted away silently.
Another mistake I made with pots? Going too big. I put a small cutting into a huge pot. The soil stayed wet for days because the roots were nowhere near filling the pot. That cutting rotted too.
The fix: Use a small pot. Like 3 to 4 inches across. Make sure it has at least one drainage hole. I actually use clear plastic cups with holes poked in the bottom now. I can see the roots growing through the sides. It sounds cheap, but it works perfectly.
Also, add some perlite to your potting mix. About 30 percent perlite to 70 percent regular potting soil. This keeps the soil airy. Water flows through easily. Roots get oxygen. This combination made a huge difference for me.
My Two-Week Observation Journal
I want to show you exactly what happened when I tested these corrections for two weeks. Not just theory. Real results from my own windowsill.
Week 1: Days 1-7
Day 1: I took fresh cuttings from a healthy mother plant. Each cutting had two leaves and a node. I let them sit out for two hours. That lets the cut end callus over. This prevents rot.
I stuck them in 3-inch pots with the perlite mix. I did not water them. The soil was slightly damp from the mix already. I placed them on my east windowsill.
Day 3: I checked the soil. Still slightly damp on top. I used my spray bottle and misted the surface lightly. That was it. Nothing else. The leaves were standing up nicely. No signs of stress.
Day 5: I gently lifted one cutting from its pot. I saw something tiny. A small white nub beginning to form at the node. That was the start of a root. I was excited but I put it back carefully. I did not disturb the others.
Day 7: Two more cuttings showed root nubs. The first one had a root about a quarter inch long now. I noticed the leaves were more vibrant. A deeper green. The plants looked like they were breathing easier. I misted the soil again. No runoff from the bottom. Just enough to take the edge off.
Week 2: Days 8-14
Day 9: The first cutting had roots about half an inch long. White and firm. I could see them through the clear cup. It felt rewarding, honestly. The other cuttings were not far behind.
Day 12: I touched the soil again. Dry on top. I added a small amount of water. About two tablespoons per cup. The water trickled down and came out the drainage holes. That told me the soil was well-draining.
Day 14: I carefully removed one cutting. The roots were over an inch long. Several branching roots. I transferred it to a slightly bigger pot with fresh mix. The other cuttings stayed in the cups for a few more days. They were not quite ready yet.
The transformation in two weeks? Root development went from zero to transplant-ready. No yellow leaves. No mush. No rot.
How to Propagate Aglaonema the Right Way (My Step-by-Step Method)
Let me walk you through the full process that finally worked for me. I will keep it simple. No fluff. Just what I do now.
Step 1: Choose the Right Cuttings
Pick a healthy stem with at least two or three leaves. Cut below a node. That node is where roots will emerge. Use clean, sharp scissors or a knife.
Let the cutting sit in the air for a few hours. The cut end needs to dry and form a callus. I know it seems counterintuitive. But this callus protects the cutting from rotting in the soil.
Step 2: Prepare Your Potting Mix
Mix 70 percent regular indoor potting soil with 30 percent perlite. This gives you drainage and aeration. Water it lightly before planting. The soil should feel like a wrung-out sponge. Damp but not dripping.
Use a small container. Clear plastic cups work great. I poke three or four holes in the bottom with a skewer. Then fill with the mix.
Step 3: Plant the Cutting
Make a small hole in the soil with your finger. Insert the cutting so the node is just below the surface. Firm the soil around it gently. Do not pack it down hard. The soil needs to breathe.
Step 4: Place in Bright, Indirect Light
Find a spot with filtered morning sun. An east window is perfect. Or a north window. Avoid direct afternoon sunlight. That will stress the cutting.
Step 5: Water Sparingly
This is where everyone messes up, including me. Do not water on a schedule. Check the soil with your finger. If the top inch feels dry, water lightly. If it feels damp, wait.
For the first two weeks, you might only water two or three times. Use a spray bottle for misting. This keeps the surface humid without soaking the soil.
Step 6: Wait and Observe
I check my cuttings every three days. I gently lift them to see if roots are forming. Not aggressively. Just a peek here and there. You can see roots through a clear cup without disturbing anything.
Roots typically begin forming in one to two weeks. Once they are an inch long, you can transplant.
Understanding the Science Behind Why These Mistakes Matter
The Royal Horticultural Society (RHS) has researched indoor plant care extensively. According to RHS, most home gardeners overestimate how much water their plants need. The same applies to propagation. New cuttings lack root systems to absorb water. Excessive moisture leads to stem rot.
The American Horticultural Society (AHS) emphasizes the importance of environmental conditions. AHS notes that light intensity and duration affect plant hormone production. Auxins, which stimulate root growth, are influenced by light exposure. Too little light slows root development. Too much causes stress. Finding that balance is key.
You do not need to be a scientist to understand this. I learned it the hard way. But knowing the science helps you make better decisions. You start understanding why the leaves turn yellow. Why the stem goes soft. Why nothing happens for weeks.
Common Questions I Get About Aglaonema Propagation
FAQ 1: How Long Does Propagation Take?
In my experience, about two to three weeks for visible roots. Some cuttings take longer. It depends on the season and the mother plant's health. In winter, growth slows down. In summer, you might see roots in ten days. My best result? Nine days. My slowest? Five weeks.
FAQ 2: Can I Propagate Aglaonema in Water?
Yes. I have tried this too. It works. Put the cutting in a glass of water. Place it in bright, indirect light. Change the water every few days. Roots appear in about two weeks.
But here is what I learned. Water roots are different from soil roots. When you transfer water roots to soil, they can struggle. Some plants adjust fine. Others rot. I prefer soil propagation now. It skips the transplant shock.
FAQ 3: What Should I Do If My Cutting Is Already Rotting?
This happened to me plenty of times. Do not panic. Remove the cutting from the soil. Rinse the stem. Cut off the mushy part. Keep going up until you see healthy tissue. Then let it dry again. Recut and try again in fresh soil. No more watering this time. Let the cutting sit dry for a couple days before giving any moisture.
Sometimes the cutting is beyond saving. That is the harsh reality. But honestly, once you fix your watering habit, you will not see much rot.
Mistakes You Might Still Make (Even After Reading This)
Let me be real with you. Knowing what to do is only half the battle. Here are some other traps I fell into, even after I learned the basics.
The "I Am Helping" Habit
I used to pull my cuttings out of the soil constantly to check for roots. Every day. That stress set them back. Roots are fragile. Disturbing them slows growth. Now I only check every four or five days. Patience is a skill.
The Fertilizer Trap
I thought fertilizer would speed things up. It blew my cuttings back. The chemical salts burned the new roots. I do not fertilize newly planted cuttings at all. Wait until you see established growth with leaves. That means the plant is ready for nutrients.
The Temperature Neglect
Aglaonema loves warmth. I kept mine in a cool hallway one winter. Growth stalled completely. These are tropical plants. They need temperatures above 60 degrees Fahrenheit. I now keep them in a warm room with stable temps. Much better response.
What I Wish Someone Had Told Me When I Started
I think about this a lot. If I had known these three things, I would have saved myself a lot of heartbreak.
First, propagation is a numbers game. Even professionals lose cuttings. Do not feel bad when one fails. Take multiple cuttings at once. Increase your odds. I always take three or four now. At least one survives.
Second, observe your plant. Really look at it. The leaves will tell you everything. Drooping leaves mean either under or overwatering. Pale leaves mean too much sun. Dark green leaves that are very soft mean too much water. Learn these signals.
Third, replicate conditions the mother plant lives in. If it grows in bright, filtered light, your cutting wants that too. If it lives in a humid bathroom, mimic that. Match the environment, and your success rate will shoot up.
Seasonal Differences You Need to Consider
Spring and summer are the best times to propagate. That is when growth hormones are naturally active. Cuttings root faster. In my experience, summer cuttings root in half the time compared to winter.
But if you have to propagate in winter, you can still succeed. The trick is to provide extra warmth. I placed my cutting containers near a radiator. Not on it, but near it. That gentle heat encouraged root growth. Also, I covered the cups with clear plastic bags. This created a mini greenhouse. Humidity stayed high. It worked pretty well.
Final Thoughts from Someone Who Nearly Gave Up
I am not going to lie and say Aglaonema propagation is easy. It took me multiple tries to get it right. Four dead plants. Countless mushy cuttings. But once I corrected these mistakes, everything changed.
The biggest lesson? Less is more. Less water. Less disturbance. Less fussing. Just let the plant do its thing. Provide the right environment. Step back. Trust the process.
You can do this. Honestly, if I could figure it out, you can too. Stop watering so much. Fix your lighting. Use the right pot. Your plants will thank you. In two weeks, you will see roots. In a month, you will have a new plant. I promise.





