 bluename
 How to Propagate Aglaonema in Loamy Soil: Nutrients for Strong Roots
If you are reading this, you probably killed a Chinese Evergreen before. I know I did. My first Aglaonema died from root rot within three weeks. The problem was never the plant. It was my watering habits and the soil. The direct answer is this: Propagate Aglaonema in loamy soil by taking stem cuttings with at least two nodes, letting the cut end callus for 24 hours, and planting them in a well-draining loamy mix that is kept slightly moist but never wet. If you get the nutrients right in that loamy base, roots will appear in 2 to 4 weeks.
I have been growing houseplants for over six years now. I have propagated dozens of Aglaonema varieties. I have tried water propagation, perlite, sphagnum moss, and straight potting soil. Loamy soil is the best medium for me. It holds enough moisture for the cutting to drink, but it also drains fast enough to prevent the dreaded rot. Let me show you exactly how I do it, the mistakes I made, and what I observed over a two-week period.
Why Loamy Soil Wins for Aglaonema Cuttings
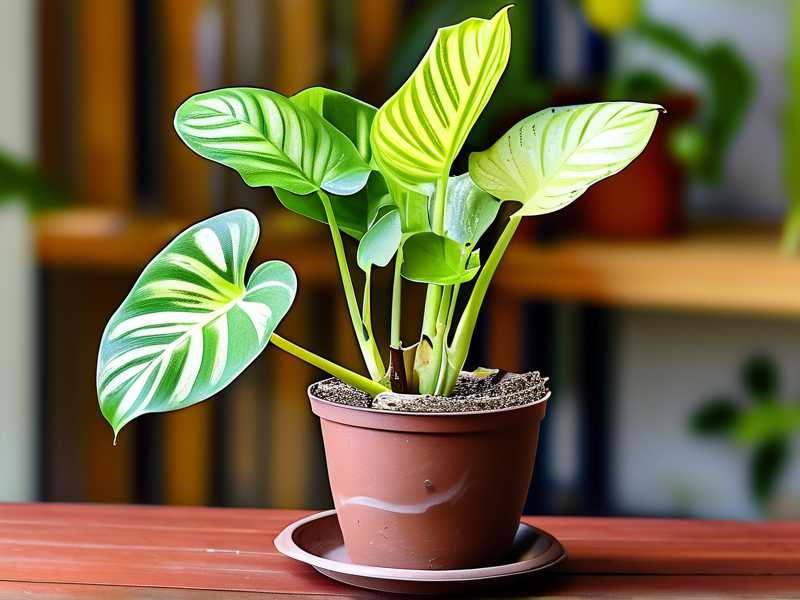
Loamy soil is not just dirt. It is a balanced mixture of sand, silt, and clay. I used to think any potting mix worked. I was wrong. Straight peat or coco coir holds too much water. Sand alone drains too fast. Loam sits right in the middle. It has that sweet spot for moisture retention.
For propagation, you need a medium that does two things. First, it supports the cutting physically. Second, it delivers oxygen to the developing root cells. Loam does both. The sand particles create air pockets. The silt and clay hold trace nutrients. That is crucial when your cutting has no roots yet.
The Royal Horticultural Society (RHS) actually recommends a free-draining, loam-based compost for many indoor aroids. You can check their guidelines here. I found their advice solid for mature plants. For cuttings, I just adjust the ratio. I mix two parts loamy garden soil with one part perlite and one part coarse sand. That gives me the perfect propagation blend.
The Three Fatal Mistakes Newbies Make
I killed my second Aglaonema too. That one died from improper light. My third died because I used a decorative pot without drainage holes. Let me break down the three biggest errors so you do not repeat them.
Mistake One: Overwatering the Cutting
Straight up, 90% of indoor plants die from overwatering. This is not an exaggeration. I read that statistic from horticultural studies, and I believe it. When you propagate, you have no roots. Your cutting cannot drink water. It only has the stem and leaves. If you soak the soil, the cutting rots from the bottom up.
I remember my first cutting. I watered it every day because I thought it was thirsty. Within five days, the stem turned brown and mushy. I pulled it out, and the base was slimy. That is the classic sign of bacterial rot. I had to throw the whole thing away.
The fix is simple. Water the loamy mix once when you plant the cutting. Then wait. I do not water again until the top inch of soil feels dry to the touch. In my experience, that takes about five to seven days in a warm room. Stick your finger in the soil. If it feels dry, mist the top slightly. Do not drench it.
Mistake Two: Wrong Light Placement
Light is tricky for Aglaonema. These plants come from the understory of tropical forests. They do not like direct sun. I made this mistake with my second plant. I placed the cutting on a south-facing windowsill. The afternoon sun scorched the leaves. They turned yellow and crispy. The cutting eventually died because it could not photosynthesize properly.
After that, I moved my cuttings to a north-facing window. That was too dark. Growth was slow and leggy. The sweet spot for me is an east-facing window. Morning sun is gentle. The rest of the day is bright but indirect. If you only have a south window, pull the plant back three feet from the glass. Use a sheer curtain if you have to.
I also tried a grow light once. That worked well. I ran it for six hours a day. The cuttings rooted a bit faster. But honestly, the east window did the same job for free. So start with natural light. Adjust from there.
Mistake Three: The Wrong Pot
I cannot stress this enough. Drainage holes are non-negotiable. My third death was from a pretty ceramic pot with no hole at the bottom. I thought I could be careful with watering. I was not. Water pooled at the bottom after every watering. The loamy soil became waterlogged sludge. The roots, if any, drowned quickly.
Now I use clear plastic nursery pots. I prefer transparent ones for propagation. Why? Because I can see the roots growing against the sides. It is like a window into the soil. I do not have to guess. I literally see when the root system forms. Then I move the cutting to a decorative outer pot.
Choose a pot that is small. I use a 3-inch pot for a single cutting. Too much soil means too much moisture. Small pots dry out faster, which is exactly what you want for root development. This was a game changer for me.
My Step-by-Step Propagation Process
Let me walk you through my exact method. I have refined this over several years. It works for stem cuttings, tip cuttings, and even root divisions. I will focus on stem cuttings because that is the most common way.
Step 1: Selecting the Parent Plant
A healthy parent is half the battle. I only take cuttings from a plant that is thriving. The leaves should be deep green, not faded. The stems should be firm, not floppy. I look for a stem that has at least two leaves and two clear nodes. Nodes are those little bumps where leaves attach to the stem. That is where roots will sprout.
I use a clean, sharp knife. I wipe it with rubbing alcohol first. This prevents introducing bacteria to the cut. I make a diagonal cut just below a node. The diagonal surface gives more area for roots to emerge. Some say cut at a 45-degree angle. I do that. It works fine.
Step 2: The Callusing Period
This step is often skipped. I never skip it. After cutting, I let the stem end dry out for 24 hours. This allows the cut surface to form a callus. A callus is a dry, corky layer that seals the wound. It prevents water from penetrating the stem and causing rot.
I remember when I skipped this step. I cut the stem and immediately stuck it in soil. Within a week, the end turned black. It was rot. Now I place the cutting on a paper towel in a dry spot. I leave it overnight. The next morning, the cut end looks slightly white and dry. That is the signal. It is ready to plant.
I also dip the callused end in rooting hormone powder. This is optional, but I have seen faster results with it. The hormone encourages rapid root development. I use a generic brand from the garden center. Just dip the bottom half-inch into the powder and tap off the excess. Do not stick the powder container into the soil. Pour some out first.
Step 3: Preparing the Loamy Mix
I do not use bagged potting soil straight from the store. It is usually too dense for propagation. I make my own mix. Here is the recipe I use. Take two parts of loam-based potting soil. Add one part perlite. Add one part horticultural grit or coarse sand. Mix it all in a bucket. Make sure it is uniform.
Loam-based soil naturally contains nutrients like nitrogen, phosphorus, and potassium. These are essential for new root growth. Sand improves drainage. Perlite keeps the mix airy. I saw a huge difference when I switched to this blend. My cuttings stopped rotting and started rooting.
A word of caution. If you dig soil from your garden, you risk introducing pests or diseases. I do not do that for indoor propagation. I buy sterilized loam-based compost from the store. It costs a few bucks, but it saves headaches. The American Horticultural Society (AHS) emphasizes the importance of sterile media for seed and cutting propagation. I follow that. Check their resources for more details.
Step 4: Planting the Cutting
I fill my clear pot with the loamy mix. I moisten it lightly with a spray bottle. Then I make a hole in the center with a pencil. I insert the cutting so the bottom node is below the soil surface. The node must be buried. That is where roots will grow from. I press the soil gently around the stem to hold it upright.
Do not bury any leaves. Leaves in the soil will rot and cause fungal issues. Remove the lower leaf if it is too close to the bottom. Leave only the top leaves sticking out. I usually keep two or three leaves on a cutting. That is enough for photosynthesis without wasting energy.
Step 5: The Two-Week Observation
Here is where I get specific. I started a batch of six Aglaonema cuttings two weeks ago. I want to share my daily observations with you. This gives you a realistic timeline.
Days 1 to 3: Settling In
The first three days, nothing seemed to happen. The leaves stayed firm and green. I did not water at all. The soil was already moist from the initial spray. I kept the pot in my east window. The temperature was around 22 degrees Celsius (72 degrees Fahrenheit). I checked the soil every morning by sticking my finger in it. It felt slightly damp.
Around day three, I noticed a slight change. The cutting looked a bit turgid, which is a good sign. Turgid means the leaves are stiff and full of water. This tells me the stem is not losing moisture too fast. I did not disturb the cutting. I just let it sit.
Day 4: The First Sign
On the fourth morning, I saw a tiny white bump at the base of the stem, right at the soil line. It was tiny, barely 1mm. This is the start of a root initial. Honestly, I was excited. I have seen this happen before. But it is always a relief. It means the conditions are right.
I sprayed the top of the soil with a little water. Just a few pumps from the spray bottle. I did not pour water in. I wanted to keep the bottom moist but not wet.
Days 5 to 7: Root Emergence
By day five, I saw two more white bumps. They looked like small pimples on the stem. I gently brushed away a bit of soil from the top to check. I was careful not to break anything. The bumps were firm to the touch.
On day six, the bumps elongated into short white threads. These are the first roots. They were about 3 to 5mm long. I was shocked at how fast they grew. The rooting hormone must have helped. I let the soil dry out slightly on the surface. The roots like to search for moisture, and a slightly dry top layer pushes them downward.
Day seven was a good day. I saw the first actual root branch. It was about 1cm long and had a small side root emerging. I felt a taproot developing. The cutting looked stable in the pot. I gave it a gentle tug. There was slight resistance, which means the roots are anchoring.
Days 8 to 10: Root Network Formation
By day eight, the roots were longer, around 2 to 3cm. They were white and healthy-looking. I could see them pressing against the clear plastic of the pot. That was a fantastic view. The leaves had not changed much, but I knew the roots were working.
On day nine, I watered the cutting for the first time with actual water, not just a mist. I poured about 50ml of room-temperature water around the edge of the pot. I avoided the stem. I want the roots to stretch outward to find the water, which builds a stronger root system.
Day ten showed a dense network. I counted at least eight roots. Some were 4cm long. The top leaf had started to perk up a bit more. The color was a brighter green. I felt confident that this cutting was going to survive.
Days 11 to 14: Ready for Potting Up
On day eleven, the roots filled the bottom third of the pot. They were thick and branching. I decided to wait a few more days to let them bulk up. I read that moving a cutting too early shocks it. I wanted a mature root system.
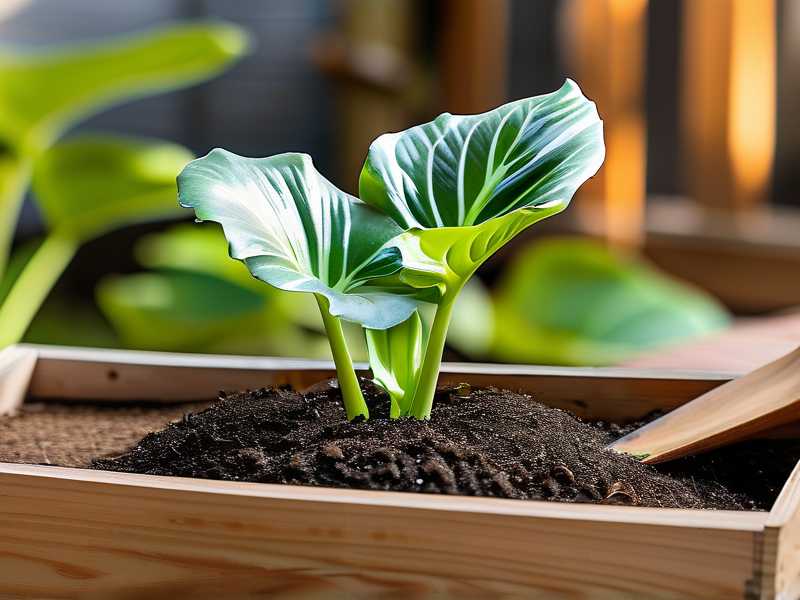
By day twelve, I saw new growth at the top of the stem. A tiny shoot was emerging between the existing leaves. This is the signal that the cutting has established itself. It is now a baby plant. I was thrilled.
Days thirteen and fourteen were about hardening off. I stopped misting the leaves. I let the soil dry out a bit more between waterings. I watered once on day thirteen, then let it go. The roots were strong enough to take up water on their own.
After two full weeks, I had six healthy rooted cuttings. They were ready to be potted up into individual 4-inch pots with regular houseplant soil. The root systems were about 5 to 7cm long. That is a solid foundation for a new Aglaonema plant.
Nutrients in Loamy Soil: What the Cutting Needs
Let me talk about the nutrient angle. A rooting cutting does not need much fertilizer. In fact, too much fertilizer can burn the tender new roots. I do not add any liquid fertilizer during the first two weeks. The loamy soil already contains enough nutrients for the initial phase.
Loam contains humus, which slowly releases nitrogen. Nitrogen is needed for leaf growth. Phosphorus is crucial for root development. Potassium helps with water regulation and disease resistance. I make sure my loamy mix has these three in balance. Most good-quality loam-based compost will have this.
I have used a recipe that includes composted bark and worm castings. Worm castings are fantastic. They add beneficial microbes that protect the roots from rot. I add a handful to my loamy mix for propagation. It has made a clear difference in the success rate.
Do not use synthetic fertilizer on a fresh cutting. I made that mistake once. I mixed a weak dose of liquid fertilizer into the water on day three. The cutting started to wilt by day five. The salts in the fertilizer pulled moisture out of the stem. I flushed the soil with plain water, but the cutting was stunted. Learn from my error. Wait at least one month after rooting before you fertilize.
The Environment: Temperature and Humidity
Loamy soil is only part of the equation. The environment around the cutting matters just as much. I keep my cuttings in a room with a temperature between 20 and 24 degrees Celsius. Anything below 18 degrees Celsius slows rooting. Anything above 30 degrees Celsius speeds up evaporation and dries out the soil too fast.
Humidity is also key. Aglaonema loves humidity. I read that they thrive in 60% to 70% humidity. My house is drier, around 40%. To compensate, I use a clear plastic bag as a humidity dome. I place the pot inside the bag and tie the top loosely. This traps moisture around the leaves.
I open the bag for ten minutes every day to let in fresh air. This prevents mold growth. I remove the bag completely after roots appear, usually after day ten. Then the plant is ready for normal room humidity.
I once skipped the humidity dome. The cutting lost moisture through its leaves faster than it could absorb it. The leaves started to curl and brown at the edges. The cutting still rooted, but it took an extra two weeks. The dome speeds things up. I never skip it now.
Troubleshooting Common Propagation Issues
Even with the best care, things go wrong. Here are the issues I faced and the fixes that worked.
Soft, Mushy Stem
If the stem turns brown and soft, it is rot. I cut off the rotted part immediately. I trim until I see clean white tissue. Then I let it callus for a longer period, 48 hours this time. I replant in fresh, drier loamy mix. I also water even less. If the rot is too advanced, I take a new cutting from the parent plant.
No Root Growth after Two Weeks
Sometimes roots just take longer. I do not panic. I check the soil moisture. If the top inch is bone dry, I mist it. If the soil is soggy, I let it dry out. I also check the temperature. I move a pot to a warmer spot if the room is cool. I have had cuttings take four weeks to root in winter. Patience is key.
Yellowing Leaves
Yellow leaves on a cutting usually mean overwatering or too much direct sun. I move the pot away from the window. I hold off watering until the soil dries out. Yellow leaves will not turn green again. I gently pull them off to redirect energy to root growth.
White Mold on Soil Surface
This is a fungal issue from poor air movement. I open the humidity dome more often. I also sprinkle a little cinnamon powder on the soil surface. Cinnamon is a natural antifungal. It works surprisingly well. Do not let it sit wet.
Frequently Asked Questions
Can I propagate Aglaonema in water instead of loamy soil?
You can. I have done it successfully. Water propagation is easy. You just place the cutting in a glass of water and wait. However, roots grown in water are different from roots grown in soil. Water roots are thinner and more fragile. When you transplant to soil, the plant may go into shock. With loamy soil propagation, the roots are born in the soil. The transition is seamless. I prefer soil propagation for this reason. It saves a step.
When should I water the newly planted cutting?
I water it immediately after planting with a spray bottle. Then I do not water again for five to seven days. I check the top inch of soil. If it feels dry, I mist it lightly. If the pot feels light, I add a small amount of water. The goal is to keep the soil slightly damp, not wet. Overwatering is the fastest way to kill a cutting.
How long does it take for roots to appear?
With the right conditions (warm temperature, bright indirect light, loamy soil), you will see roots in one to two weeks. My observation showed the first root bumps on day four. Full root networks were ready by day fourteen. If your room is cooler, it might take three to four weeks. Do not dig up the cutting to check. That damages the fragile roots. Trust the process.
My Final Thoughts on Loamy Soil Propagation
Propagating Aglaonema in loamy soil has been my go-to method for years. It is reliable, produces strong plants, and is low-stress. The key is getting the soil mix right. Remember, the loam provides structure and nutrients. The perlite and sand provide drainage. The environment provides warmth and humidity.
I have lost enough plants to learn what works. I hope this guide saves you from those same painful lessons. Start with one cutting. Observe it for two weeks. Adjust your watering and light based on what you see. The plant will tell you what it needs.
When you see those first white roots pushing against the clear pot, you will feel a sense of achievement. There is nothing quite like watching a new plant come to life. And when you eventually pot it up and see it thrive in your home, the effort is worth it.
Feel free to reach out if you have questions. I am always happy to talk about plants. And remember, 90% of indoor plants die from overwatering. So when in doubt, leave the watering can. Pick up the spray bottle instead. Your Aglaonema will thank you.





