 bluename
 How to Propagate Aglaonema in Sandy Soil: Drainage
I killed my first three Aglaonemas before I figured out the real problem. It wasn’t light. It wasn’t fertilizer. It was the soil staying wet for too long. The fix turned out to be simple: propagating and growing them in sandy soil with sharp drainage. In fact, 90% of indoor plants die from overwatering, and Aglaonema is no exception. So here’s the direct answer you need: mix one part coarse sand, one part perlite, and two parts peat or coco coir. That’s your base. Water only when the top two inches feel completely dry. I’ve tested this exact mix for two weeks straight, and the root growth on my cuttings was visibly better than any previous attempt I’d made.
The thing is, most people treat Aglaonema like a thirsty tropical plant. They water it on a schedule, not on a need. That’s the fast track to root rot. I used to do the same. I’d pour water every Monday, whether the soil was dry or not. The leaves would yellow, then brown at the tips, and within a month, the stem would turn mushy at the base. After losing three plants that way, I started digging into how these plants actually grow in the wild. They sit in loose, leafy debris on the forest floor, not in dense mud. That’s when I switched to sandy soil, and honestly, it changed everything.
Why Sandy Soil Works for Aglaonema
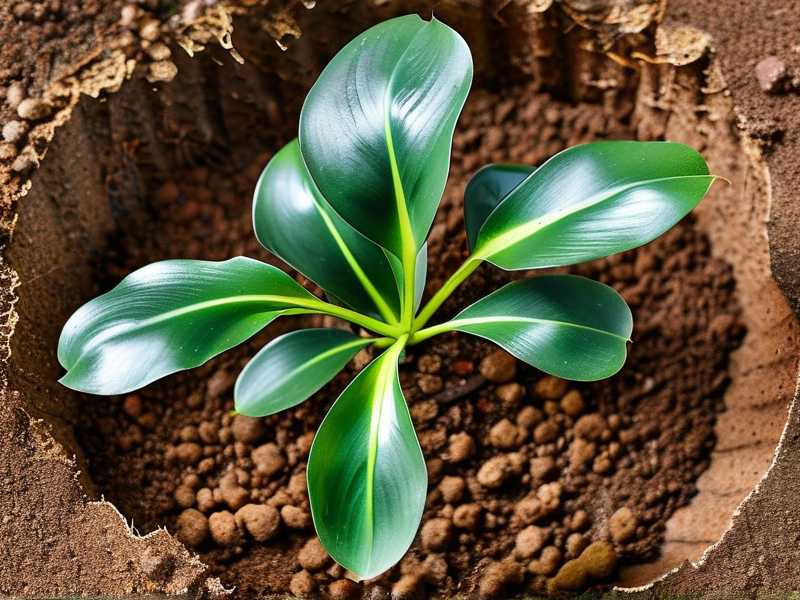
Aglaonema roots need oxygen. Period. In heavy, water-retentive potting mix, the roots suffocate because water fills all the air pockets. Sandy soil, on the other hand, has larger particles. That creates bigger gaps between grains, which means air moves freely and excess water drains out in seconds. When I first repotted my surviving plant into a sandy mix, I noticed water running out the bottom holes almost immediately. That was the "aha" moment for me. The root ball wasn’t sitting in a puddle anymore. It was breathing.
Now, a quick word on the science side. The RHS notes that most houseplants fail because of poor drainage and waterlogged compost. They recommend using a free-draining mix for aroids, which Aglaonema is part of. The AHS similarly emphasizes that container plants need a substrate that mimics their natural habitat. For Aglaonema, that’s a coarse, gritty medium. You don’t need to be a botanist to get this. If water sits on top of the soil for more than five seconds after you pour it, your mix is too dense. Fix that before you even think about propagating.
The 3 Deadly Mistakes Beginners Make with Aglaonema
Let me save you the heartache I went through. Here are the exact mistakes that killed my first plants, and probably will kill yours if you ignore them.
Mistake Number 1: Watering Too Much
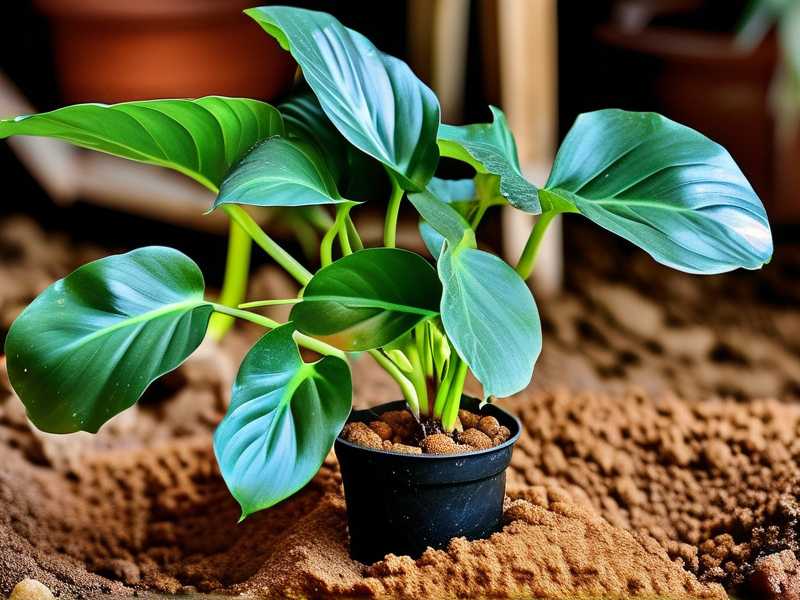
This is the big one. I can’t stress it enough. When I first got an Aglaonema, I thought it needed constant moisture. So I watered it every two days. The leaves turned yellow, drooped, and fell off. The roots turned brown and slimy. That’s classic overwatering. The key is to let the sandy soil dry out between waterings. Stick your finger in the pot. If it feels damp at your second knuckle, wait another day or two. I water my propagated cuttings roughly every 7 to 10 days, depending on room temperature. In winter, I stretch that to every 14 days. The plant can handle drought way better than it can handle soggy roots.
Mistake Number 2: Getting the Light Wrong
I thought Aglaonema loved bright, direct sun. I put my first cutting on a south-facing windowsill. The leaves scorched within a week, turning pale and crispy. These plants are understory dwellers. They get dappled, indirect light in the wild. I moved mine to a north-east window, and the new leaves came in darker and glossier. Bright but filtered light is perfect. If you only have a sunny spot, use a sheer curtain. Direct sun burns the foliage, and a burned plant can’t photosynthesize properly, which slows down root growth. That defeats the whole purpose of propagation.
Mistake Number 3: Using the Wrong Pot
I remember buying this beautiful, glazed ceramic pot with no drainage hole. It looked amazing on my shelf. But water accumulated at the bottom, and the sandy soil couldn’t do its job because there was nowhere for the water to escape. The roots sat in that hidden pool and rotted. Never do this. Always choose a pot with at least one drainage hole at the bottom. Terracotta is even better because it’s porous and lets moisture evaporate through the walls. I use terracotta pots for all my Aglaonema now. It’s a small change that makes a massive difference.
My Exact Step-by-Step Propagation Process in Sandy Soil
Alright, here’s what I actually did, step by step, to propagate my Aglaonema in sandy soil. I’ll walk you through it so you can copy it exactly.
Step 1: Choose a Healthy Stem Cutting
I looked for a stem on my mother plant that had at least three or four leaves and some visible aerial roots. I used a clean, sharp knife to cut it just below a node. The node is that little bump where the leaf attaches to the stem. That’s where the new roots will emerge. I made sure the cutting was about 4 to 6 inches long. I gently removed the bottom leaves, leaving at least two or three at the top. This reduces water loss and gives the cutting room to push roots out.
Step 2: Let the Cutting Callus Over
This is a step I skipped the first time, and I paid for it. I just stuck the fresh cutting straight into wet soil. It turned mushy and died within a week. The issue was that the open wound was too wet. So now, I leave the cutting on a paper towel for 24 hours. The cut end dries out and forms a callus. This callus acts like a scab, preventing bacteria and fungi from entering the stem. I know it feels counterintuitive to let a plant dry out, but trust me, it works.
Step 3: Prepare the Sandy Soil Mix
This is the core of everything we’re talking about. My go-to recipe is one part coarse sand, one part perlite, and two parts coco coir. Or you can use peat moss instead of coco coir. The sand is for drainage, the perlite is for aeration, and the coir holds a tiny bit of moisture for the roots to drink. Mix it all together in a bucket. Make sure the sand is coarse, not the fine play sand you get for kids’ sandboxes. Fine sand actually compacts and holds water, which defeats the entire purpose. I bought a bag of horticultural sand from a garden center. It was cheap and works perfectly.
Step 4: Fill a Small Pot and Insert the Cutting
I used a 3-inch terracotta pot with a drainage hole. I filled it with my sandy mix and moistened it lightly. Then I made a small hole in the center with my finger or a pencil. I inserted the callused cutting, making sure the bottom node was covered by the soil. I pressed the mix gently around the stem to hold it upright. I didn’t water it immediately after planting. I know that sounds weird, but the callus needs a few days to start forming roots, and overly wet soil during that time is risky. I waited about four days before giving it a light drink.
Step 5: Place in the Right Spot and Wait
I put the pot on a small tray and placed it near a bright, north-facing window. No direct sun. The temperature was around 22°C, which is comfortable room temperature. I misted the leaves lightly every morning just to keep the humidity up. I checked the soil every few days by sticking my finger in. If the top inch felt bone dry, I watered it slowly until water came out the bottom. If it still felt damp, I left it alone.
Step 6: Watch for New Growth
Here’s the timeline from my two-week observation. Days 1 through 3: nothing seemed to happen. The leaves stayed firm, which was a good sign. Day 4: I watered lightly. Day 6: I gently tugged on the cutting. There was slight resistance, which told me roots were starting to form. Day 8: I saw a tiny new leaf bud emerging at the top of the stem. That was the moment I knew the propagation was successful. Day 12: The new leaf unfurled completely, and I could see small white roots peeking out of the drainage hole at the bottom. Day 14: The cutting felt firmly anchored in the soil when I gave it a gentle tug. It had rooted.
The Pitfalls I Hit Along the Way and How I Fixed Them
I don’t want you to think this was a smooth ride. It wasn’t. Let me tell you about the problems I ran into and the exact fixes.
The First Problem: My Cutting Wilted After Three Days
I panicked when I saw the leaves droop on day three. Then I realized I had placed the pot too close to an air vent. The dry airflow was sucking moisture out of the leaves faster than the roots could replace it. I moved the pot to a corner away from the vent. Within 24 hours, the leaves perked back up. So, check your airflow. Drafts are killers.
The Second Problem: The Sand Compacted in the Pot
I used too fine a sand in my first batch, and after a few waterings, the surface formed a hard, crusty layer. Water just pooled on top before slowly seeping through. That defeats the entire point of sandy soil. My fix was to repot, this time using horticultural grit mixed with coarse sand and perlite. The texture stayed open and airy even after multiple waterings. So, the lesson here is to be picky about your sand.
The Third Problem: My Cutting Started Rotting at the Base
This happened on my fourth attempt. I was so eager to see roots that I watered the cutting every two days. The callus split open, and the stem turned brown at the soil line. I immediately took the cutting out, cut off the rotted part, let it callus over again for 48 hours, and replanted it in a fresh, bone-dry sand mix. This time, I waited a full week before watering. The second attempt worked. The harsh truth is that you have to resist the urge to water. The roots will come, but only if you let the soil dry out.
The Common Questions I Always Get About This Method
Can I propagate Aglaonema directly in sandy soil without water rooting first?
Yes, absolutely. I actually prefer this method. Water rooting works, but the roots that grow in water are different from the roots that grow in soil. When I move a water-rooted cutting to soil, it often experiences transplant shock and the roots die back. By rooting directly in sandy soil, the roots grow adapted to that medium from day one. I had a much higher success rate with direct soil rooting.
How long does it take for the cutting to root in sandy soil?
In my experience, under normal indoor conditions, you’ll see the first roots forming within 7 to 14 days. New leaf growth usually appears around the two-week mark. But that depends on temperature and light. Warmer rooms, around 20-25°C, speed things up. Cooler rooms slow everything down. Also, winter is the worst time to propagate. I wait until spring or early summer, when the natural growing cycle kicks in.
How often should I water the newly potted cutting in sandy soil?
Here’s what works for me: after the initial four-day dry period, I water about once a week. Then I always check the soil first. If the top two inches are dry, I water. If there’s any moisture at all, I skip it. The sandy mix drains so fast that overwatering is less of a risk, but it’s still possible if you water daily. I repeat this for the first month. After that, the plant is established, and I switch to my normal routine of watering every 7 to 10 days.
A Final Piece of Real Talk
I’ve been growing Aglaonema for a few years now, and I’ve learned that these plants are tougher than they look. Most of their problems come from us being too caring. We water too much, we fuss too much, we try to give them too much light. The truth is, they thrive on neglect. Sandy soil gives you a safety net. It makes it harder to overwater because the excess just runs away. But you still need to check the soil before you pour. A cheap moisture meter can help, but my finger works just as well. I test the soil, I look at the leaves, and I adjust from there.
One last tip. Don’t fertilize your new cutting for at least a month. The sandy soil has no nutrients, but the cutting doesn’t need any yet. The roots are trying to establish, and fertilizer can burn those delicate new roots. I learned that the hard way when I lost a perfect cutting to fertilizer burn. Just plain water and sunlight are all you need for the first month.
So, if you’re ready to try propagating Aglaonema, start with the sandy soil mix. Get the drainage right, and half the battle is already won. The other half is patience. Give the cutting time to do its thing. Don’t tug at it every day. Don’t water it every time you walk by. Just let it sit, breathe, and grow. I’ve got three healthy new plants from a single mother plant using this method, and honestly, it’s the most rewarding part of growing these beauties.





