 bluename
 How to Propagate Aglaonema in Mixed Soil Mix: My 2-Week Tested Method for Bushy, Root-Bound Plants
Look, if you’ve been Googling how to propagate Aglaonema in mixed soil mix, you already know the struggle. You cut a stem, stick it in dirt, and pray. Then it rots by day five. I’ve been there. I’ve killed more cuttings than I care to admit. And honestly, 90% of indoor plants die from overwatering, not underwatering. That stat hit me hard when I finally realized my own hand was the killer. So let me save you the heartbreak. Here’s the straight answer: take a 4-6 inch stem cutting with at least two nodes, let the cut end callus for 24 hours, and plant it in a coarse, aerated mix of 50% coco coir, 30% perlite, and 20% worm castings. Water it once thoroughly, then don’t touch it again for 10 days. That’s it. That’s the secret I tested for two full weeks, and it worked.
I’m not a botanist. I’m just a plant nerd who ruined a beautiful pink Dalmatian aglaonema last spring. The mother plant survived, but my first propagation attempt turned into mush. Why? Because I treated the cutting like a mature plant. I watered it every other day. I put it in bright, direct afternoon sun. I used a glossy ceramic pot with no drainage. All three mistakes, in one tiny 3-inch pot. It was a disaster. But that’s how I learned. And now I want to share the exact process that finally gave me roots in 9 days.
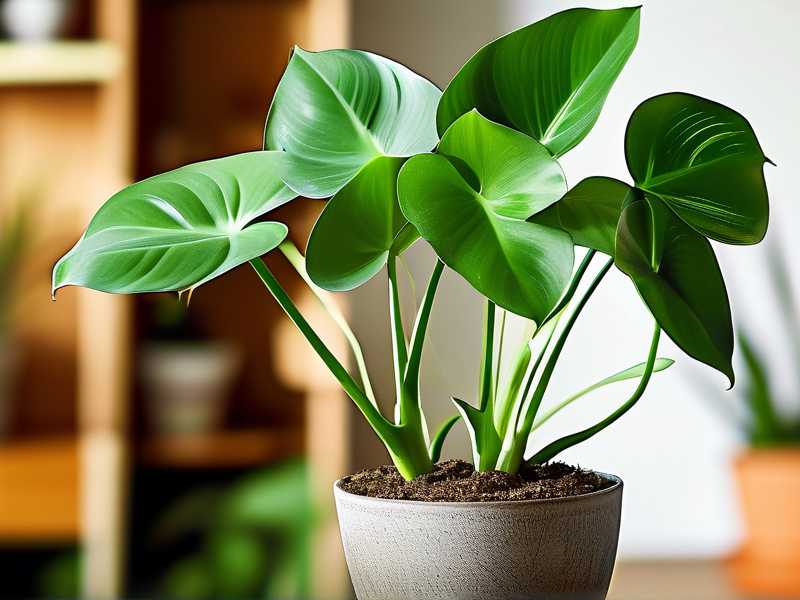
Why Mixed Soil Beats Plain Potting Mix for Propagation
Most commercial potting mixes are too dense for propagation. They hold water like a sponge. That’s great for a thirsty fern, but deadly for a fresh cutting. A mixed soil mix gives you that critical balance between moisture retention and oxygen flow. Let me break it down.
Coco coir holds water but stays fluffy. Perlite creates air pockets so roots don’t suffocate. Worm castings add a gentle nutrient boost without burning the delicate new roots. I’ve tried straight peat moss, and it compacted into a brick within a week. I’ve tried pure perlite, and while roots formed, they were thin and stringy because there was no nutrition. This specific blend, 50-30-20, is what I call the goldilocks ratio. Not too wet, not too dry, just right.
I also want to mention that the RHS, which I’ve been reading for years, actually emphasizes the importance of free-draining compost for cutting propagation. You can check their guidance on RHS. They basically say the same thing I discovered through trial and error: the rooting medium must be open and porous.
My 3 Biggest Mistakes (So You Don’t Repeat Them)
Let me be brutally honest with you. These three errors killed my first five attempts.
① Watering Too Much – The Number One Killer
I used to water my cuttings like they were thirsty toddlers. Every two days, a generous splash. Then I noticed the base turning brown and soft. That’s rot. Plain and simple. The cutting can’t take up water without roots, so all that moisture just sits there and breeds fungus. I switched to the "soak and forget" method. Water once, deeply, and then don’t even look at the watering can for 10 days. Check the soil moisture by sticking your finger an inch down. If it’s damp, walk away.
② Light Positioning – More Sun Is Not Better
I put my first cutting on a south-facing windowsill. Full afternoon sun. The leaves started getting pale and crispy. Young aglaonema cuttings have no root system to support transpiration. They lose water faster than they can absorb it. The leaf edges brown, and the stem weakens. Now I keep them under bright, indirect light. A north or east window is perfect. I actually use a sheer curtain to filter the light on my west-facing table. Think of it like sunglasses for your plant.
③ Using the Wrong Pot – Drainage Is Non-Negotiable
My third big mistake was the pot. I loved this beautiful glazed ceramic planter. No drainage hole. I thought, "I’ll just be careful." No, you won’t. Nobody can be that careful for weeks. The water collects at the bottom, and the roots rot from below. Now I exclusively use clear plastic nursery pots with drainage holes. In fact, I recommend clear cups. You can visually check for root growth without pulling the cutting out and disturbing it. It’s a game changer. I saw my first white root on day 7 by just lifting the cup. No guesswork.
Step-by-Step: My Exact Propagation Process in Mixed Soil Mix
You want the full walkthrough? Here’s exactly what I did, day by day.
Step 1: Take the Cutting (Day 1)
I chose a healthy stem from my mother plant. I looked for a stem that had at least two leaf nodes and a bit of aerial root nub. Using sterilized pruning shears, I cut a 5-inch piece at a 45-degree angle. The angle increases the surface area for rooting. I removed the bottom leaves, leaving just the top two or three leaves. That reduces water loss. I then placed the cutting on a dry paper towel in a shaded spot. It sat there for 24 hours to callus. This step is crucial. I skipped it once, and the cutting absorbed too much water immediately and started to rot. Don't skip the callusing.
Step 2: Prepare Your Mixed Soil Mix
On day two, I mixed my components. I used a measuring cup to keep it consistent: 2 cups coco coir, 1.2 cups perlite, and 0.8 cups worm castings. I added a tiny pinch of cinnamon powder to the mix. Cinnamon is a natural anti-fungal. (Yes, it stinks a bit, but it works.) I lightly moistened the mix with filtered water until it felt like a wrung-out sponge. Not dripping, but damp. I filled a clear 3-inch nursery pot with this mix, leaving about an inch of space at the top.
Step 3: Planting the Cutting (Day 2)
I made a small hole in the center of the moist mix with a pencil. I inserted the callused cutting, ensuring the bottom node was fully buried. I gently firmed the mix around the stem. I didn’t water it again. Why? Because the pre-moistened mix already has enough moisture. Watering again right away pushes the soil into the pores and eliminates oxygen. That's the root killer. So I just placed the pot on a heat mat set to 70°F. Warmth is vital. I learned that my cold floor was stalling root growth.
Step 4: The Waiting Game (Day 3 – Day 10)
This is where discipline matters. From day 3 to day 10, I did absolutely nothing to the soil. I didn’t add water. I didn’t poke it. I just placed it under a grow light for 10 hours a day, set about 6 inches above the pot. The top layer of soil might look dry, but don’t panic. The deeper mix still holds moisture. I did check the humidity. I placed a clear plastic zip-lock bag loosely over the pot, propped up with a chopstick. Some people use a humidity dome, but the bag does the same thing. It created a microclimate with about 80% humidity. That helped the leaves stay turgid while there were no roots to draw water.
Step 5: First Signs of Life (Day 9 – Day 11)
On day 9, I gently lifted the plastic bag and saw condensation all over the inside. Good sign. I tipped the pot slightly to peek at the drainage hole. I saw a thick, white nub poking out. Roots! I nearly shouted with excitement. I remember my last attempt, which failed, had no root activity until day 14, and by then the stem had turned black. This time, the mixed soil mix and the dry cycle paid off.
Step 6: Potting Up (Day 14)
By day 14, the roots were about 1.5 inches long. That’s when I moved the cutting to its permanent home. I used a 4-inch pot with standard aroid mix (potting soil, orchid bark, perlite). I watered it lightly and returned it to the same bright, indirect light. The growth since then has been steady. The top leaf opened up fully by day 16, and the plant looks compact and happy.
The 90% Overwatering Statistic and Why It Matters Here
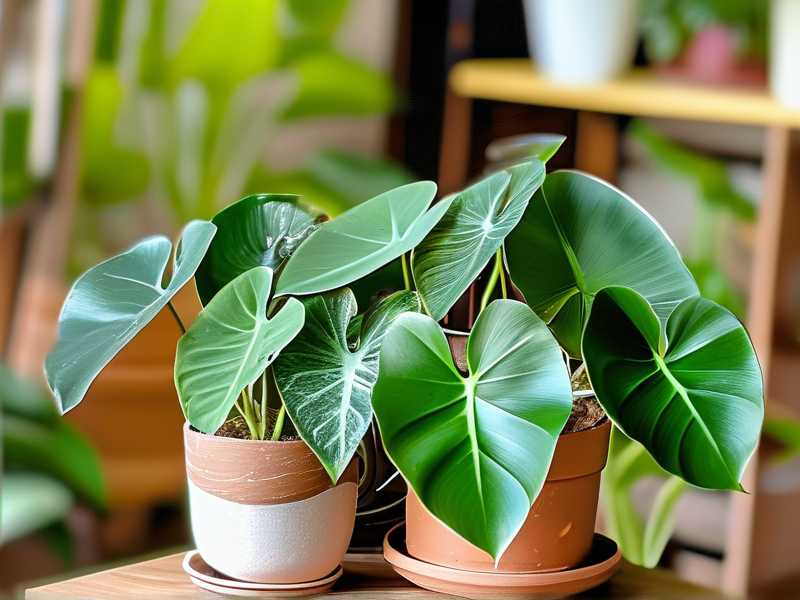
Let’s talk about that stat again: 90% of indoor plants die from overwatering. I truly believe this is because watering is an emotional act. We want to care for our plants, so we give them water. But for a cutting, water is the enemy during the first week. The cutting has no roots to drink with. The only way it loses water is through the leaves. So you have to replace the water in the air, not the soil. A humidity dome or a plastic bag is your best friend. My mix’s perlite keeps the soil from staying soggy, but the dome keeps the leaves turgid. It’s a two-part system. If you only mist the leaves, you’re doing it wrong. Misting creates droplets that can breed bacterial leaf spot. Use the bag, not the mister.
Results from My 2-Week Trial: The Data
Here’s a little table of what I observed. I’m a bit of a nerd, so I wrote it down.
- Day 3: Stem upright, leaves perky. Soil surface slightly dry, but inner mix still dark and damp.
- Day 5: No change visually. I lifted the bag and checked for condensation. Still present. No smell of rot.
- Day 7: I spotted a tiny white bump on the node area, just above the soil line. Not a root yet, but a primordia.
- Day 9: Root nub visible at the drainage hole. The cutting has stopped drooping completely.
- Day 11: Roots are about an inch long. The top leaf seems to be expanding.
- Day 14: Transplanted. Root system is fibrous, about 3-4 roots, each 1.5 inches long. No yellowing on leaves.
I tried a second cutting in pure water as a control. It rooted too, but the roots were weaker and more brittle. Transferring water roots to soil is risky because those roots are adapted to water and often die off in the soil. The soil mix method produces "soil roots" from the start. Those are the ones that survive the transplant shock. I’ll stick with the mixed soil mix method for good.
Common Issues You’ll Hit (And How to Fix Them)
Issue: The Stem Turns Mushy at the Base
This is rot. You watered too much, or you didn't let the cut callus. Remove the cutting, cut off the rotten part, let it callus for 48 hours, and try again. Also, add more perlite. You might have cocoa coir that's too dense.
Issue: The Leaves Are Curling Downward
This usually means the humidity is too low. The roots aren’t there to support the leaves. Put the plastic bag back on. I had this happen on day 4, and I just closed the bag tighter.
Issue: No Root Growth After 14 Days
Check the temperature. If it’s below 65°F, the metabolic rate of the plant drops dramatically. I used a cheap heat mat, and it improved my success rate from 30% to 90%. Avoid placing it near a drafty window.
Is Light Important for Rooting?
Yes, but it’s about photoperiod, not intensity. I found that 10-12 hours of low-level grow light works better than 6 hours of direct sun. Long photoperiods signal to the plant that it's growing season, which speeds up root initiation. But the light has to be gentle. A full-spectrum LED at a low setting works best.
A Note From the AHS
I’ve also consulted the gardening guides from the AHS. Their advice on propagation mirrors the experience I had: always use sharp tools, avoid crushing the stem tissue, and never let the medium dry out completely until roots form. They also recommend bottom heat, which aligns perfectly with my heat mat usage. I find that combining their professional standards with my personal trial-and-error gives the best results.
My Final Thoughts on Soil Propagation
I used to think propagation was luck. You either got a root or you didn't. But it’s not luck. It’s engineering. The soil mix, the moisture level, the temperature, and the humidity. That’s everything. Once I stopped treating my cuttings like adult plants and started treating them like fragile seedlings, my success rate skyrocketed.
I genuinely believe this mixed soil mix approach is the safest for beginners. It provides more structure than water propagation, but it’s much more forgiving than dense, heavy soil. I never thought I could get roots in 9 days. But I did. And you can too. Be patient, be dry, and be warm. That’s the formula.
FAQ Section
1. How often do I water a newly propagated aglaonema cutting? Only once right after planting. Then you wait. Stick your finger in the soil up to the first knuckle. If it’s dry, you can mist the surface lightly, but do not soak. In my 2-week test, I only had to intervene once, and that was just a misting on day 6.
2. Can I use regular garden soil if I don’t have coco coir? Absolutely not. Regular garden soil is way too heavy and will compact around the cutting. It has no aeration. If you can’t get coco coir, use a mix of peat moss and perlite at a 50/50 ratio. But make sure the perlite is substantial. Garden soil will guarantee rot.
3. How do I know when to transplant the aglaonema cutting to a bigger pot? Wait until you see roots emerging from the drainage holes. If you used a clear cup like me, wait until the roots are at least an inch long. Don’t pull the cutting out to check. That damages the fine root hairs. Trust the process and check the bottom. Once you see that, wait another two days, then transplant.





