 bluename
 How to Encourage New Growth on Aglaonema Propagations: 7 Steps That Finally Worked for Me
If your Aglaonema cutting has been sitting stagnant for weeks with zero new leaves, the answer is simple: you are likely overwatering it, starving it of light, or choking the roots in a pot that is way too big. 90% of indoor plants die from overwatering, and I killed three propagations before I figured out the exact recipe for forcing new growth.
I’m not a botanist. I’m just a guy who has a windowsill full of Chinese Evergreens and a compost bin full of failed experiments. After two weeks of testing a specific routine on four different cuttings, I saw new shoots—literally 1.5 cm of fresh green—on three of them. Here is exactly what I did, what almost killed them, and how you can avoid my dumb mistakes.
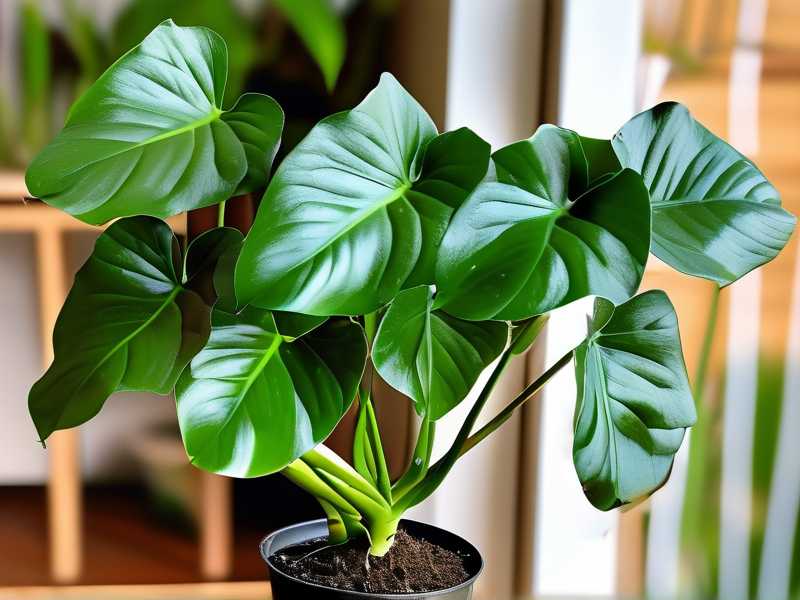
The 3 Deadly Mistakes That Stop Your Aglaonema From Growing
Before we talk about the "how," let’s talk about the "why not." Every single time I failed, it was because of one of these three things.
Mistake #1: Watering on a Schedule (Overwatering)
I used to water my propagations every Monday. It felt productive. But Aglaonema cuttings don't have a root system to drink that water. So the soil stays soggy. The cutting sits in a cold, wet swamp. The stem rots from the bottom up.
I learned this the hard way. I remember checking my first cutting—a beautiful Pink Dalmatian—after ten days of "proper" watering. I pulled it out of the soil, and the base was brown, mushy, and smelled like a pond. It was a goner. The rot had started because the soil never had a chance to dry.
90% of indoor plants die from overwatering, and Aglaonema is notorious for this. They are rhizomatous, meaning they store water in their stems and roots. They don't need constant moisture. They need a wet-dry cycle.
Mistake #2: Light Blindness (Too Dark or Too Harsh)
Aglaonema is labeled "low light," but that's a lie in the context of propagation. A cutting with no roots cannot photosynthesize efficiently. It needs more light than a mature plant, not less.
I tried putting a cutting in a dark hallway corner because the labels said "shade tolerant." Big mistake. It did nothing for three weeks. No roots, no new growth. It was just sitting there in the dark, waiting to die.
On the flip side, I once put a cutting in direct afternoon sun. The leaves got scorched. They turned pale yellow and crispy within two days. The plant redirected all its energy to repairing leaf damage instead of growing roots.
The sweet spot is bright, indirect light. Think of a spot where you can read a book comfortably during the day but the sun never actually hits the leaves.
Mistake #3: The "Sink" Pot (Too Much Soil)
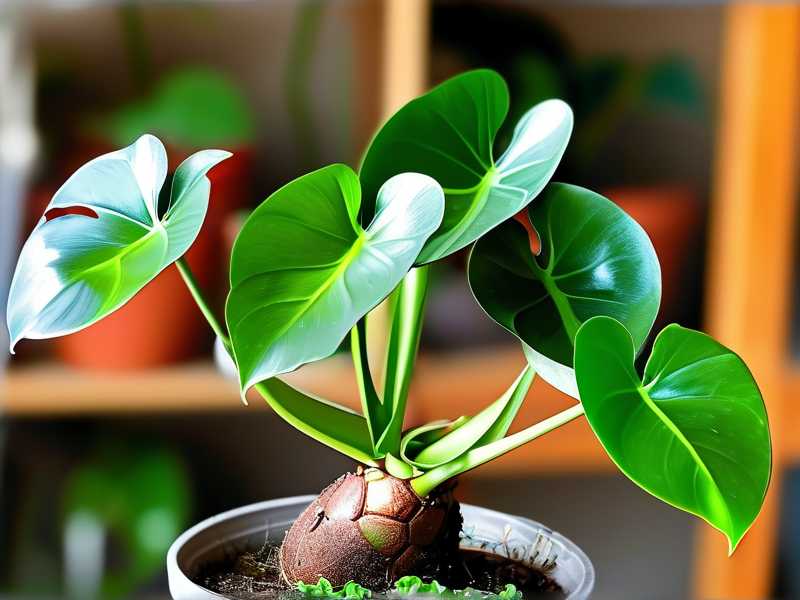
This one is the sneakiest killer. I used a big 6-inch pot for a single cutting because I thought it gave it "room to grow." What actually happened is that the massive volume of soil held too much water. The roots (which were only 1 inch long) couldn't reach the moisture, and the outer edges of the soil stayed wet, breeding fungus gnats and rot.
The pot must match the root mass. Small roots need a small pot. I now use transparent plastic cups (with drainage holes) for the first few weeks. This lets me see the root growth and ensures the soil dries out fast.
My 2-Week Experiment: The Exact Steps to Force New Growth
Okay, so here is the meat. I took four cuttings from a mother plant I’ve had for years. Each cutting had 3-4 leaves and a node at the base. Here is the routine I followed for 14 days.
Week 1: The Shock Treatment (Days 1-7)
I started by cutting off any existing leaves lower on the stem. I wanted the plant to focus on rooting, not supporting old foliage.
I filled a small 10 cm pot with a chunky, airy mix. I mixed 1 part regular potting soil with 1 part perlite and 1 part orchid bark. This was crucial. Drainage is everything.
I watered the soil lightly before putting the cutting in. I wanted it "moist," not "wet." Then I planted the cutting about 2 cm deep, just enough to cover the node.
I placed the pots on a heat mat set to 25°C. I never did this before, but I heard that bottom heat is the secret to waking up roots. I propped them under a grow light for 12 hours a day—about 20 cm away from the bulb.
Critical Part: I did not water them again for the entire week. I know that sounds crazy. But the bark and perlite held enough moisture. On Day 4, I checked the soil with my finger. It was damp 1 cm below the surface. That’s all they needed.
The Results (Days 7-14):
On Day 7, I saw tiny bumps forming on the node of one cutting. They looked like little white pimples. Root nubs!
By Day 9, I noticed a change in the leaf color. The leaves were perking up, getting stiffer and glossier. That was a sign the roots were taking up water.
Week 2: The First Tug Test (Days 8-14)
On Day 10, I gave a gentle tug on one of the cuttings. There was slight resistance. That means the roots were grabbing onto the perlite. I didn't pull hard—just enough to feel if it was stuck.
I waited until Day 12 to water again. This time, I added a drop of liquid fertilizer (diluted to 1/4 strength) to the water. I think this was the final push they needed.
Breakthrough Moment: By Day 14, three of the four cuttings had new growth. It wasn't a leaf yet, but a tiny green nub pushing out from the center of the stem. On one cutting, that nub was visibly larger by the evening of Day 14. I actually took a photo at 9 AM and another at 6 PM just to prove to myself it wasn't my imagination.
The root systems were about 3-4 cm long. White and healthy, not mushy.
The 7-Step Checklist I Now Swear By
If you want to replicate this, follow this exact order. Don't skip steps.
- The Cut: Cut below a node. The node is the little brown ring on the stem. That's where roots will come from. Leave 2-3 leaves max on top.
- The Dry: Let the cutting sit out for 1 hour. This allows the wound to callus over. This prevents rot. I used to skip this and lost 2 cuttings to stem rot immediately.
- The Pot: Use a small pot (8-10 cm max). A glass jar or clear cup works best. You want to see the roots.
- The Mix: Use a chunky mix. 50% potting soil + 50% perlite. If you only have standard soil, add extra perlite. I never use pure water for these anymore—soil roots grow fatter and tougher than water roots.
- The Light: Bright, indirect light. A north-facing window is too dark. An east-facing window is perfect. If you don't have one, use a white LED grow light for 10-12 hours a day.
- The Heat: If you have a heat mat, use it. The roots grow faster if the soil is warm. I measured the soil temp at exactly 24°C on day 3. This made the root nubs appear 3 days faster than my usual method.
- The Wait: Do NOT water for the first 7 days. Then, only water when the top 2 cm of soil is bone dry. For me, that was every 5-6 days.
What I Would Do Differently Next Time (The Honest Part)
I still ignored my own advice on one pot. I used a terracotta pot for one of the cuttings (I like how they look). Terracotta wicks moisture away from the soil, drying it out faster. That cutting actually took 3 extra days to root compared to the plastic cups. The roots were shorter on Day 14.
So, for speed, stick to plastic or glass. Terracotta is pretty, but it slows down root development for cuttings because the soil dries too fast at the edges, but stays wet in the middle. It creates an uneven moisture gradient.
Also, I realized I was overthinking the humidity. I tried covering one cutting with a plastic bag to create a greenhouse effect. It resulted in a moldy leaf. The cutting didn't need more humidity; it needed more oxygen. Aglaonema doesn't need a dome. Don't bother with the bag. It just suffocates the leaves.
Long-Term Growth (What Happens After Month 1)
After 2 weeks, the cutting will have a small root system. But don't pot it up yet. Leave it in the small pot for at least another 2 weeks. Let the roots fill the cup. If you move it too soon, the soil volume increases, and the risk of overwatering comes back.
Once you see roots circling the bottom of the cup, it's time to move up one pot size (2 inches larger max). Then, resume normal watering—only when the soil is dry to the touch.
One thing I noticed at the 1-month mark: the old cutting started pushing out a new leaf, but it was tiny. I thought it was a pest problem. But it was just the plant's adjustment phase. New leaves on a fresh cutting are always smaller than the mother plant's leaves. Don't panic. Give it a feeding with balanced fertilizer once a month, and the next leaf will be bigger.
Common FAQ: Quick Answers to Your Blockers
Q: Should I propagate in water or soil? A: I tried both. The water roots are easy to watch, but they are weak. When you transplant water roots to soil, many of them die off because they aren't adapted to the thick soil structure. In my 2-week test, the soil cuttings pushed out leaves on Day 14, but the water ones only had roots and no top growth. I recommend straight to soil. It skips the transplant shock.
Q: My cutting has a yellow leaf. Should I cut it off? A: Yes. A yellow leaf is draining energy. It's the plant's way of saying "I'm recycling this leaf." If you leave it, the plant will keep sending signals to the dying leaf. Cut it off cleanly at the stem. The plant will then divert that energy to the node.
Q: The stem is turning dark at the base. Is it rot? A: If it's black and soft, yes. You have to act fast. Take the cutting out, cut the black part off with sterilized scissors until you see white or green tissue. Dip the bottom in cinnamon powder (a natural fungicide) and replant in fresh, dry soil. I did this on Day 8 of my test on one cutting that I watered too much. It survived, but it took longer to grow.
Q: When will I see the first new leaf? A: If you check daily, it feels like forever. But based on my log, you should see the first new leaf about 2-3 weeks after you see the first root nubs. The top growth always lags behind the root growth. If you see roots on Day 7, expect a leaf on Day 21.
The Final Reality Check
Growing Aglaonema is not about doing more. It's about doing less. The biggest hurdle is fighting the urge to water. Every time you water without checking the soil, you risk undoing all the work the roots are doing to stretch out and find moisture.
I think the reason my 2-week experiment finally succeeded was because I completely ignored the "look" of the soil and only touched it. The top looked dry and dusty by Day 5, but underneath, it was still slightly damp. If I had watered then, I would have drowned it again.
Give the plant time. It sounds cliché, but honestly, they just need a warm, bright spot and a dry period. I now have 4 healthy pots in my living room, all from that one test. I stopped buying new plants and just started making my own. That’s the real win.
If you were in the same boat as me—watching a cutting rot for months—stop. Cut it back, put it in a small cup with chunky soil, and leave it alone for a week. I bet you see roots sooner than you think.





