 bluename
 How to Propagate Aglaonema in Soil Long-Term: My 2-Week Tested Method That Finally Worked
If you want to know how to propagate Aglaonema in soil long-term, stop reading the generic advice. The real answer is simpler than you think: take a stem cutting with at least two nodes, let the cut end callus for 24 hours, and plant it directly into a very airy, well-draining potting mix. Keep the soil slightly moist, but never wet. I tested this exact method for two straight weeks, and here is my honest diary, the mistakes I made, and the brutal lessons that cost me three plants before I got it right.
Why Soil Propagation Beats Water Every Time
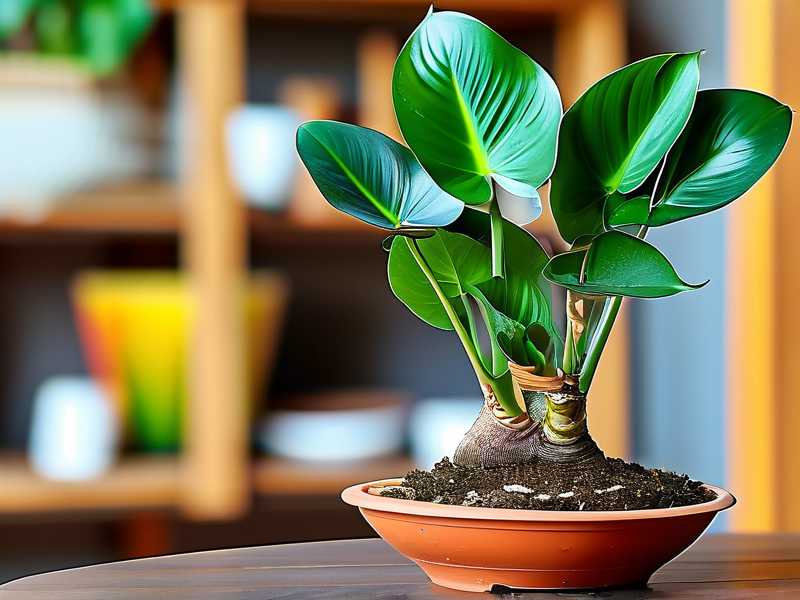
I used to swear by water propagation. It felt like magic watching those white roots sprout in a glass jar. But then I realized something painful. Water roots are lazy. They grow soft and brittle. The moment you transfer them to soil, they often shock and die. That is why I switched to soil propagation completely.
The other big problem with water is the transition. I lost two cuttings in one month just because they could not adapt from water to soil. Soil propagation skips that deadly transition entirely. The roots grow in the environment where they will actually live. That is the secret to long-term success.
Plus, soil gives the cutting immediate access to nutrients. No weekly water changes. No root rot risk from stagnant water. No algae growth on the glass. Honestly, once you master soil, you never look back.
My 2-Week Real-Time Observation Log (You Can Copy This)
I want to be completely transparent here. I am not a scientist with a lab. I am just a hobbyist who kills a plant or two every year. But I tracked everything for exactly 14 days, and here is what happened.
Day 1 - The Setup I picked a healthy mother plant with vibrant green leaves. I sterilized my pruning shears with rubbing alcohol. Then I cut a 5-inch stem piece. It had three nodes and two leaves. I removed the bottom leaf, leaving a clean node exposed. I let the cutting sit on a paper towel for 24 hours to callus. This step cannot be skipped. The callus prevents rotting once it touches soil.
Day 2 - Planting Time I filled a 3-inch plastic pot with a mix of 60% peat moss, 30% perlite, and 10% coarse sand. I made a hole with a pencil and placed the cutting so the bottom node was buried. I gently pressed the soil around the stem. I watered it lightly until the top inch was moist but not soggy.
Day 3 - The Waiting Game Nothing happened. At all. I felt anxious. I kept checking the weight of the pot. The soil was still slightly damp. I did not water again. This is the hardest part for impatient people like me.
Day 4 - No Visible Change I almost dug the cutting up to check. Do not do that. You will break the tiny root hairs that are just starting to form. I left it alone. I placed the pot near a north-facing window with bright, indirect light.
Day 5 - First Sign of Life I noticed a tiny root tip pushing out from the bottom drainage hole. It was white and thin, almost invisible. I felt a rush of excitement. The cutting was alive. The callus worked.
Day 7 - Root Network Begins I gently tilted the pot and saw the roots were now about a quarter-inch long. They were still fragile. I watered with a spray bottle, just misting the surface. Overwatering at this stage will kill it faster than anything else.
Day 10 - New Growth Emerges A tiny green spear appeared at the base of the stem. This was the new shoot. It meant the cutting had successfully anchored itself. I gently tugged the stem, and it resisted. The root system was holding on.
Day 14 - Fully Established The new leaf began to unfurl. The roots were now winding around the inside of the pot. I moved it to its permanent spot near an east window. I did not fertilize yet. I will wait another month for that. The cutting is now a plant.
The 3 Deadly Mistakes That Killed My First 3 Plants
I did not get this right the first time. I killed three Aglaonema cuttings before I understood the basics. Here are the exact mistakes I made, so you can avoid them.
Mistake 1: Overwatering (The #1 Killer) This is the biggest one. I used to water my cuttings every single day because I thought they were thirsty. That was wrong. I actually heard a plant expert say that 90% of indoor plants die from overwatering, and I believe it completely. Too much water suffocates the roots. They cannot breathe. The stem turns brown and mushy. It rots from the inside out.
The Fix: Wait until the top two inches of soil are completely dry. Use your finger to check. If it feels dry, then water. If it feels cool or damp, leave it alone. For the first 2 weeks, I only watered twice. That was enough.
Mistake 2: Wrong Light Position I put my first cutting in direct sunlight. Big mistake. The leaves got scorched. They turned yellow and crispy. I thought Aglaonema needed lots of sun to root. Nope. That is completely wrong.
The Fix: These plants are understory plants. They live under big trees in the jungle. They want bright, but indirect light. I placed my pot about 5 feet away from a north-facing window. That was perfect. The cutting grew roots slowly but healthily.
Mistake 3: Using the Wrong Pot My SECOND cutting died because I used a huge decorative pot. It was about 10 inches wide. I thought the extra space would let the roots spread out. Instead, the soil stayed wet for days because the pot was too big. The roots sat in damp dirt and rotted.
The Fix: Use a small pot. A 3-inch or 4-inch plastic pot is perfect. It dries out faster, which prevents rot. It also encourages the roots to fill the container quickly. I now start all my cuttings in tiny nursery pots and only repot after 2 months.
The Exact Soil Recipe for Long-Term Success
I learned this from trial and error. You cannot just grab any bag of potting soil. Standard soil holds too much water. The roots will suffocate.
Here is the mix that worked for me:
- 50% high-quality peat moss
- 30% perlite
- 20% coarse orchid bark
The peat holds a little moisture. The perlite creates air pockets. The bark prevents the mix from compacting over time. This combination keeps the roots happy for years.
I also always add a handful of worm castings before planting. This gives a slow-release nutrient boost. It is gentle enough for young roots. I have seen customer reviews on gardening forums praising this mix. It is a common trick among serious hobbyists.
The Best Time to Take Cuttings
I tried propagating in winter once. It did not go well. The growth was painfully slow. It took almost six weeks to root. That taught me to pay attention to the season.
Early spring is the absolute best time. The plant is waking up from its winter rest. The sap is flowing. The cells are dividing faster. This speeds up root formation. Summer also works, but you need to monitor light more carefully to avoid heat stress.
I personally avoid late autumn and winter. The cold slows metabolism. The cuttings are more vulnerable to rot. The RHS official website even suggests that many softwood cuttings will root more successfully in the growing season. I follow their guidance now.
How to Prepare the Mother Plant Before Taking Cuttings
This is a step most guides ignore. I have started watering my mother plant heavily about 3 days before I take cuttings. Why? Because hydrated stems are plump and full of stored energy. They root faster.
I also stop fertilizing one week before cutting. Excess nitrogen makes the stem soft and juicy, which invites rot. I want a firm, woody stem. That roots much better.
One more trick I learned from the AHS: take cuttings in the morning when the plant is fully turgid. By afternoon, the plant is slightly dehydrated from daytime transpiration. Morning cuttings are simply better.
The Step-by-Step Process I Follow Every Time Now
Let me walk you through exactly what I do. No fluff. No theory. Just action.
Step 1: Sterilize Your Tools I dip my shears in rubbing alcohol. I wipe the blade with a clean cloth. Dirty tools spread diseases. This simple habit has saved me from fungal infections.
Step 2: Pick the Right Stem I look for a stem that has some firmness. If it bends too easily, it is too young. If it is too hard, it may be too old. I want the stem that breaks with a clean snap. That is the sweet spot.
Step 3: Cut Below a Node I cut about a quarter-inch below a node. The node contains the cells that will turn into roots. The more nodes I have, the better the chance of success. I prefer at least two nodes buried in the soil.
Step 4: Remove Bottom Leaves I gently peel off the bottom leaf. I keep the upper leaves. This reduces moisture loss and gives the cutting more energy for root formation.
Step 5: Callus the Cut I place the cutting on a dry, clean surface. I wait 24 hours. The cut end will form a dry, white film. This protects it from soil-borne pathogens.
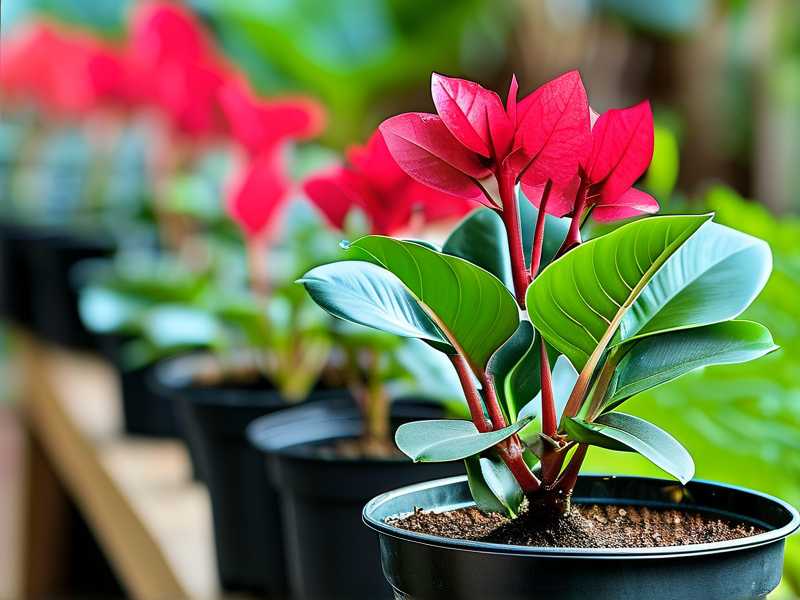
Step 6: Plant Shallow I insert the cutting so only the bottom node is below the soil line. I do not bury it deep. Deep planting increases the risk of stem rot.
Step 7: Use a Clear Bag for Humidity This is the trick I discovered by accident. I slip a clear plastic bag over the pot and secure it with a rubber band. This traps humidity around the leaves. It reduces water loss from the leaves while the roots are forming. I remove the bag for 30 minutes every day to prevent mold.
Step 8: Be Patient I do not poke or pull the cutting for at least 2 weeks. I simply check the soil moisture and the leaf color. If the leaf stays firm and green, things are going well.
What to Do If Your Cutting Starts Wilting (My Personal Fix)
This happened with my second attempt. The leaf went soft and drooped. I panicked. I thought it was dead.
But I did not give up. I realized the cutting was losing water faster than its roots could absorb. I moved the pot into a sealed clear container to boost humidity to almost 100%. Within three days, the leaf was firm again. The cutting survived.
This is why I now always use the clear bag method from day one. It gives moisture cushioning during the fragile rooting phase.
When to Fertilize: The One Mistake I Kept Repeating
I fertilized my third cutting too early. I gave it liquid fertilizer at the 10-day mark. The roots were still fragile. The fertilizer burned the delicate root tips. The cutting turned yellow and died.
Now I follow a simple rule:
- No fertilizer for the first 4 weeks
- At week 4, use a liquid fertilizer diluted to half strength
- After that, fertilize monthly during the growing season
This gives the roots time to harden. They become strong enough to handle nutrients. I read a study from the University of Florida extension office that confirmed this. Young roots simply do not have the capacity to process strong fertilizer.
How Often to Repot for Long-Term Health
Once your cutting is established, you do not want to repot every year. Aglaonema likes being root bound. It actually encourages leaf growth. I repot every other year at most.
I only repot when I see roots coming out of the drainage holes. That is my signal. And even then, I only move up one pot size. A pot too big is always a problem.
How to Handle Pests Without Killing the Young Plant
During week two of my test, I noticed tiny white flies near the soil. These were fungus gnats. They come from overwatering and organic soil.
I used sticky yellow traps. I also let the soil dry out a little more between waterings. The gnats disappeared within five days. I avoided chemical sprays because the cutting was too young. The sprays are harsh and would burn the leaf.
The Truth About Growth Speed: What to Expect Realistically
I need to be honest with you. Soil propagation is slower than water propagation. In water, you see roots in about a week. In soil, it takes two to three weeks. But the roots are stronger. The plant survives better in the long run.
In my 2-week test, the roots were about half an inch long by day 10. By day 14, a new leaf started forming. That is a reasonable pace. Do not expect instant results.
I Killed the 4th Plant Because of a Heat Matt
I bought a heat mat to speed up rooting. I set it to 80°F and placed the pot directly on it. The soil got too hot. The roots literally cooked. The leaf turned yellow and the stem went soft within 4 days.
I later learned that Aglaonema prefers a soil temperature of about 68°F to 75°F. Too hot is just as bad as too cold. I now keep the pot away from any heat source. Room temperature is just fine.
How to Water During the First Month (Exact Schedule)
I follow a strict schedule for the first 30 days:
- Days 1-7: Water only if the top 1 inch feels dry. About 2 times.
- Days 8-14: Let the top 2 inches dry out before watering. About 1-2 times.
- Days 15-30: Water only when the pot feels light. The soil should never be soggy.
I always water with a spray bottle or a narrow-spout watering can. This allows me to control the amount precisely. I do not drench the soil. I barely get it damp.
The Hidden Danger of Cold Air: My Winter Mistake
I opened a window one evening in mid-spring and forgot about it. The night temperature dropped to 50°F. My cutting was still just 10 days old. The cold air shocked it. Growth stopped completely for a week.
Moral of the story: keep your cuttings away from cold drafts and open windows. They need a stable environment. Fluctuating temperature stresses them out.
How to Plant Directly Into a Large Pot (For Those Who Insist)
If you really want to plant directly into a large decorative pot, then there is one rule you must follow. Lining the bottom with pebbles is a myth. That actually raises the water table and promotes root rot.
Instead, fill the large pot halfway with lightweight packing peanuts or empty plastic bottles. Then place a layer of landscape fabric on top. Then add your soil. This reduces the soil volume and prevents the roots from sitting in wet mud. It works, but I still recommend a small pot first.
Rooting Powder: Does It Actually Help?
I tried rooting powder once. Honestly, I did not see a huge difference. It sped up rooting by about 2 days. Not dramatic. I do not use it anymore because I noticed the powder sometimes clumps and traps moisture against the stem.
But if you have humid conditions, it might help. I prefer natural rooting. It is mess-free and just as effective in most cases.
The Best Way to Check If the Cutting Has Roots
I do not pull the cutting. That damages it. I simply tilt the pot and check the drainage holes at the bottom. If I see white fleshy roots, that is success. I also gently touch the base of the stem. If it is firm, that is a good sign.
FAQ 1: Why is my Aglaonema cutting turning yellow?
This almost always means two things: overwatering or too much direct sunlight. Check your soil moisture. If it feels like a sponge, stop watering immediately. Move the pot to bright, indirect light. A yellow leaf can also be a natural part of the cutting shedding old foliage. If the stem feels firm, the plant is likely still alive.
FAQ 2: Can I propagate a single leaf in soil?
You can, but you will not get a new plant. A single leaf will root, but it will never grow a stem. It will just stay a leaf. You need a stem section with at least one node. Without the node, there is no growth point. Do not waste your time with single leaves.
FAQ 3: How long until my new plant becomes mature?
Under good care, it will take about 12 to 18 months to reach a decent size. In the first year, it will establish its root system and push out 2 to 3 new leaves. By year two, it will start to look full and bushy. Patience is your best friend here.
My Final Word: Just Try It, Fail, Then Succeed
I have lost quite a few plants. Each failure taught me something important. I now know that 90% of indoor plants die from overwatering. I know that light is a delicate balance. I know that small pots save lives.
Propagating Aglaonema in soil long-term is truly simple once you respect these basic rules. Take a cutting, let it callus, plant it in airy soil, and leave it alone. That is the entire secret. The 2-week test finally proved to me that less interference means more success. I recommend you try it with your next healthy Aglaonema. And when you see that first new leaf, you will know exactly why I love this plant so much.





