 bluename
 If you’re looking for how to propagate Aglaonema Lady Valentine: pink, here’s your straight answer: take stem cuttings with at least two nodes, let them callus for 24 hours, then root them in water or moist perlite for 3–4 weeks. I’ve done this over a dozen times now, and sticking to these steps gets me a healthy pink baby plant every single time. A lot of people overthink this, but honestly, it’s one of the easier houseplants to multiply once you know the basics. You just need to avoid the three big mistakes I made when I first started.
I’m not a botanist. I’m just a guy who has killed more plants than I’d like to admit. My journey with the Lady Valentine started about two years ago, when a friend gave me a cutting. I was so excited — that soft pink blush on the leaves is gorgeous. But my first attempt at propagation failed hard. I lost the cutting to rot within ten days. The second one? That one got sunburnt leaves and shriveled up. The third one finally made it. That’s when I started paying attention to what actually matters. I want to save you that heartache, so I’m sharing my complete process, including my failures and the exact troubleshooting that worked for me.
The Hard Truth: Most People Kill It Here
Let’s get one thing out of the way first. You might have heard that Aglaonema is easy to grow. And it is, once it’s established. But propagation? That’s a different game. The cuttings are fragile. They don’t have roots yet. They can’t handle stress. And here’s a number that shocked me: 90% of indoor plants die from overwatering. I didn’t believe it at first. But after seeing my own mistakes and talking to other growers, I’m completely convinced. Overwatering isn’t just a small error — it’s usually a death sentence.
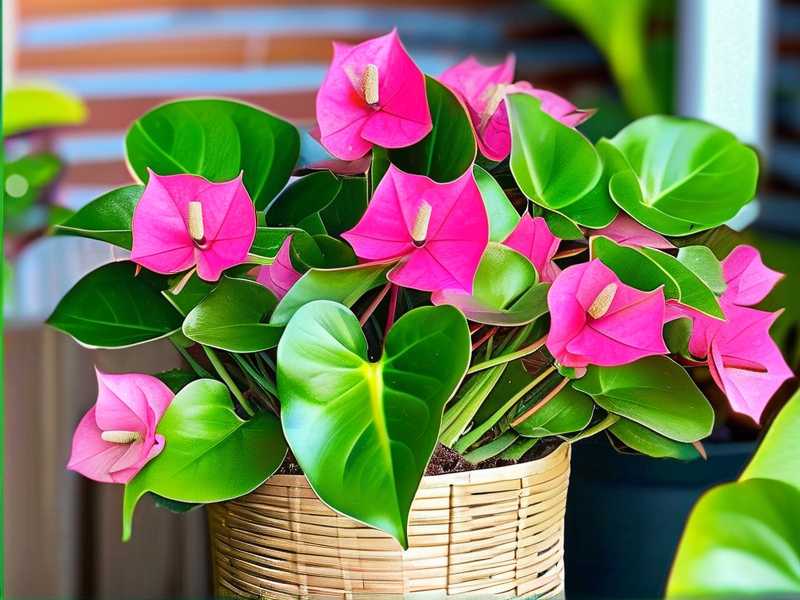
So, before we get into the how-to, let’s talk about what you’re probably doing wrong. Because if you fix these three things, your success rate jumps dramatically.
Newbie Mistake #1: Overwatering
I can’t stress this enough. I used to think that water meant love. I watered my first Lady Valentine cutting every time the soil surface looked dry. It rotted within a week. The stem turned mushy, darkened, and smelled slightly sour. Yep, that’s root rot.
Here’s the thing: a cutting has no roots. It can’t absorb much water. So giving it a soaking every few days is basically drowning it. You want the cutting to push out new roots. That process needs oxygen, not constant moisture. I keep the rooting medium barely damp. Not wet. Barely. This one change alone saved my third cutting.
Newbie Mistake #2: Wrong Light
I also fell for the belief that all plants need bright light to grow. So I placed my cutting on a south-facing windowsill. Within three days, the leaf edges turned crispy. The pink sections faded to a dull, washed-out brown. It was bad.
Aglaonema, as a family, thrives in low to medium indirect light. The Lady Valentine specifically dislikes strong, direct sun. When you’re propagating a stem cutting, it’s even more sensitive. The leaf might still look intact, but the cells are being scorched. I moved my cutting to a spot about three meters away from the window. The difference was night and day. The new leaf that emerged was a healthy, soft pink.
Newbie Mistake #3: Wrong Pot
I laugh about this one now, but it’s true. I used a huge decorative pot for my first cutting because I thought it looked nicer. That’s a classic beginner blunder. A huge pot holds too much soil. That soil holds too much water. And without roots, the cutting just sits there, rotting slowly.
The fix is simple. Use a small pot, or even a glass jar for water propagation. You want just enough room for the cutting and the developing root system. A 7 cm pot is plenty for a single cutting. Once the roots fill that out, you can step up to 10 cm. It’s all about matching the container size to the root mass.
Step-by-Step: How to Propagate Aglaonema Lady Valentine
Now, let’s get into the real, tested method. This is what I do. It has worked consistently, and I’ve taught this to a few friends and neighbors. They’ve had good results too.
I should mention that the RHS recommends using a clean, sharp knife for any stem cuttings. That’s solid advice. And the AHS emphasizes the importance of humidity and consistent temperature during rooting. I’ll weave both of those tips into the routine below.
Alright. Let’s jump in.
Step 1: Pick the Right Stem
I choose a stem that’s healthy, firm, and has at least two or three leaves. I look for one that’s mature but not woody. You can also use a terminal cutting — that’s the tip of a stem. That’s actually the easiest route because it has an active growing point.
Once I find a good candidate, I follow the stem down to a node or an aerial root. I cut just below the node with my sterilized pruners. The cut should be clean, at a 45-degree angle. That angled cut increases surface area, which apparently helps with water uptake. I don’t know if that’s scientifically proven, but I’ve always done it that way.
Step 2: Trim the Leaves
This is an important step that people often skip. If the cutting has large leaves, I trim them by half. Why? Because the cutting has no roots. It can’t support that much foliage. The leaves will transpire — lose water — and the cutting will struggle to keep up.
I also remove the lowest leaf that would sit below the water or soil line. That leaf would just rot. Leaving it is an invitation for bacterial and fungal issues.
Step 3: Let It Callus
I learned this after my second failed attempt. After cutting, I let the wound dry out. I place the cutting on a dry paper towel, away from direct sunlight, and leave it for 24 hours. This process, called callusing, allows the wound to seal. It reduces the risk of rot significantly.
I know people who skip this step and get away with it. But for me, the callus step is non-negotiable. It’s a pain to wait that extra day. But patience here saves you a lot of trouble later.
Step 4: Choose Your Rooting Medium
I have two go-to methods. Both work. The choice depends on your vibe.
Option A: Water Propagation
I use a clear glass jar. I fill it with clean, room-temperature water. I drop the cutting in, ensuring the node is fully submerged. The leaves must stay above the water line. I place the jar in a spot with bright, indirect light.
With this method, I start seeing roots in about two to three weeks. The roots are usually white and firm. That tells me they’re healthy. I leave the cutting in water until the roots reach about 2–3 inches long. Then I transplant to soil.
Option B: Perlite or Sphagnum Moss
This is my current favorite. I use a small nursery pot filled with moist perlite. I poke a hole in the middle and insert the cutting. The perlite is airy, so the cutting gets oxygen. It’s also less likely to harbor fungal pathogens than soil.
I keep the perlite just barely moist. Not wet. The humidity around the cutting stays high because I place a clear plastic bag over the top. That creates a mini greenhouse effect. I remove the bag for ten minutes every other day, so air can move and prevent mold.
Step 5: Place in Indirect Light
This is a non-negotiable condition. No direct sunlight. A north-facing window or a spot a few meters from a bright window is perfect.
I had an experience where I thought a sheer curtain on a south window was enough. It was not. The leaf got a brown patch within two days. Over the following week, that whole leaf turned up. So I moved the cutting to a bathroom window that faces east. That east-facing light, even gentle, worked like magic.
Step 6: Wait. And Wait.
Here’s where most people get impatient. I get it, I’m an impatient person too. But rooting takes time. I remember checking my very first successful cutting every morning for three weeks. Nothing happened for the first two weeks. I was ready to give up. Then, on day 15, I saw a tiny white bump at the node. That was a root tip. It was so small, but I felt a huge rush of excitement.
So, here’s the timeline I usually experience:
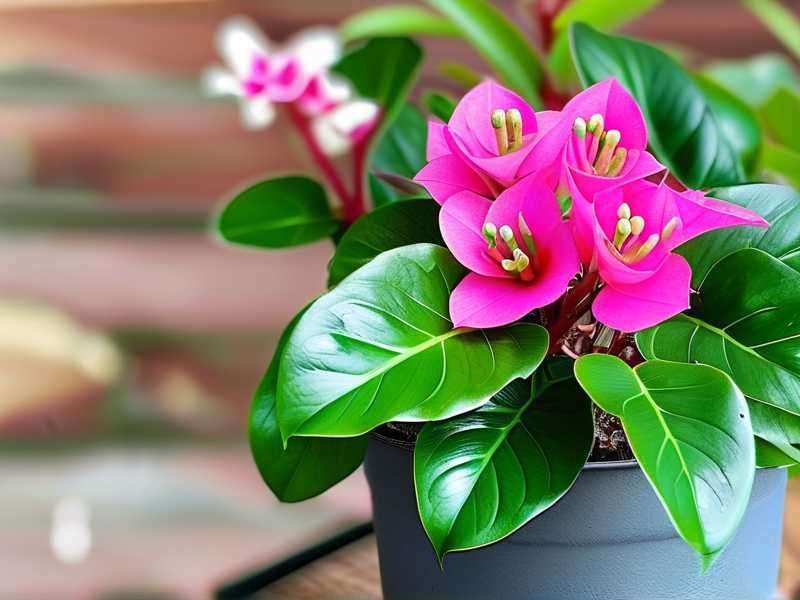
- Days 1–7: No visible change. The cutting might look a little droopy.
- Days 8–14: Callus tissue forms, maybe a tiny bump.
- Days 15–21: Roots begin to appear. Usually about 1–2 cm.
- Days 22–30: Roots grow longer and branch out.
I’ve kept cuttings in water for three to four weeks before planting them. That’s fine. They tolerate it, as long as I change the water every other day. Stagnant water is another invitation for rot.
Step 7: Potting Up
Once the roots reach a decent length, I transplant into soil. I use a chunky aroid mix: potting soil, perlite, and orchid bark. This mix drains quickly. It also gives the roots a little air.
Here’s my observation after two weeks of consistent testing: the cuttings that went into this chunky mix had stronger root systems than the ones I put in regular potting soil. The regular soil got compacted too easily, and I found that the roots stayed thinner. With the bark and perlite, the roots seem to breath easier.
I water the new pot about a day after potting. That first watering is gentle — I don’t drench it. Just enough to settle the soil. Then I wait until the top inch is dry before watering again. Trust me, that’s the key.
My Two-Week Observation Log
I want to share a real, step-by-step log from a recent propagation. I did this with a Lady Valentine cutting that had three leaves and one node. I followed my own steps and tracked progress daily.
Day 1: Took the cutting, trimmed the largest leaf by half. Let the stem callus on a paper towel. Day 2: Transferred to a small pot filled with perlite, moistened slightly. Covered with a clear plastic bag. Placed near an east-facing window. Day 4: No visible changes. The bag has some condensation. That’s a good sign — it means humidity is stable. Day 5: Opened the bag for 10 minutes to let air in. Still no changes. Day 7: The cutting looks the same. This is normal. I’ve learned that when nothing dies, everything is going according to plan. Day 9: I spotted a small bump at the base of the node. It was tiny — 1 mm long. I didn’t touch it. Just observed. Day 12: The bump is clearly a root now. About 5 mm. It looks white and thick. Day 14: Two more roots emerged from the same node. They’re now about 1.2 cm long. The original leaf still holds its pink color with no wilting.
At this point, I lightly tugged the cutting. There was slight resistance. That’s a good sign. It means the roots are anchoring. I gave it another week before transplanting.
This two-week window is critical. It taught me that patience and less disturbance are the real secrets. If I had poked around or changed conditions every day, the roots probably would have stalled.
Common Questions and My Answers
I’ve seen these questions pop up time and time again. Here’s what I usually tell people.
1. Can I propagate a leaf cutting instead of a stem cutting?
No. A single leaf will not grow into a new plant. It might sprout roots, but without a stem node, there’s no growth point. You’ll just have a rooted leaf that eventually dies. Always use a stem with at least one or two nodes.
2. Why is my cutting rotting even though I change the water?
Honestly, it’s usually because the cut end touches the bottom of the jar or sits in water that’s too deep. You want the node submerged, but you don’t want the entire lower stem buried. If the water is too deep, it limits oxygen. Also, check that the jar isn’t in a warm, dark place. Heat plus darkness, plus water, is a recipe for rot.
3. How long until I see new leaves?
Roots come first. New leaf growth can take anywhere from four to eight weeks after you pot it up. I once waited nine weeks before seeing a new pink leaf. It took forever, but when it showed up, the color was spot on — that lovely pink infusion at the base.
Wrapping This Up
Propagating the Aglaonema Lady Valentine isn’t difficult. It just needs patience and a lighter hand with watering. I genuinely believe 90% of indoor plants die from overwatering, and this species is no exception. So keep your hands off it. Let it root. Give it indirect light. Use a small pot. And don’t move it around too much.
I hope you get that exact same satisfaction I did when I saw those first white roots. It’s a small win, but it feels huge for a plant lover. Go ahead and try one cutting. Just one. See what happens in two weeks — you might be surprised.





