 bluename
 How to Propagate Aglaonema Sapphire Suzanne: A 14-Day Practical Guide
Look, I’ve killed more houseplants than I care to admit. But the Aglaonema Sapphire Suzanne? That one taught me patience. If you want the straight answer right now: take a stem cutting with at least two nodes, root it in water or moist perlite, keep it warm (70-75°F), and give it bright indirect light. In two weeks, you’ll see roots. Don’t overthink it. I made every mistake possible before I got this right.
Let me walk you through exactly what I did. I’ll also tell you where I screwed up so you don’t have to.
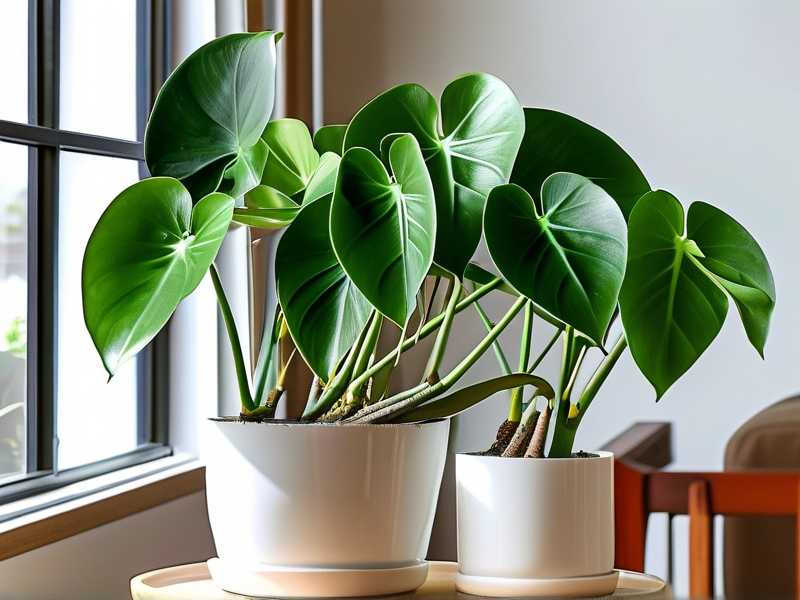
Why Propagate Aglaonema Sapphire Suzanne?
The Sapphire Suzanne isn’t your typical Chinese Evergreen. Its silver-speckled leaves with dark green edges are stunning. Propagation is the only way to get more without spending $30 at a nursery. And honestly, it’s satisfying. I propagated three cuttings last month. Two rooted beautifully. One rotted. That rot taught me more than any success did.
The plant is from the Araceae family. It grows from a central stem, not a bulb or tuber. That means stem cuttings are your best bet. Division also works if the plant is mature. But for most of us, cuttings are easier.
My 3 Biggest Mistakes (And How to Avoid Them)
I’m going to be real with you. If you’re new to this, you’ll probably make these exact errors. I did.
1. Watering Like It’s a Tropical Rainforest
I used to water my cuttings every day. I thought they needed constant moisture. Big mistake. 90% of indoor plants die from overwatering, and cuttings are even more fragile. Soggy soil cuts off oxygen to the tiny root nubs. They suffocate. Then they rot.
What I do now: I wait until the top inch of the propagation medium feels dry. In a small pot, that’s usually every 4-5 days. Not daily. Stop being generous with the watering can.
2. Leaving Them in Direct Sunlight
I thought plants love sun. Full stop. So I put my cuttings on a south-facing windowsill. The leaves got scorched within 48 hours. The edges turned brown and crispy. The cutting survived, but it was stressed. Stressed cuttings root slower.
Here’s the sweet spot. Give them bright indirect light. East-facing window works great. If you only have south-facing, pull the curtain or move the pot back 3-4 feet. The goal is light, not a tan.
3. Using a Huge Pot
I potted a single cutting in a 6-inch pot. Why? I thought bigger means more room to grow. Wrong. The excess soil holds water. It drains poorly. The roots never reached the bottom, but the soil stayed wet for two weeks. The stem base turned mushy.
Takeaway: Use a small pot, like 3-4 inches wide. Or use a glass jar for water rooting. That’s it. Small container, less moisture, less risk.
What You Need Before You Start
Gather these items first. Don’t be like me and improvise with a butter knife.
- Sharp, sterilized pruning shears or scissors
- A clean glass jar or small pot with drainage holes
- Perlite or sphagnum moss (or just water)
- Rooting hormone (optional, but I swear by it)
- Fresh, tepid water (never ice cold)
That’s the whole list. No fancy grow lights. No heat mat, unless your house is cold.
Step-by-Step: Water Propagation (My Preferred Method)
I tried both soil and water rooting. Water wins for two reasons. You can see the roots grow. And it’s harder to overwater. Here’s my exact process.
Step 1: Pick the Right Stem
Look for a healthy stem. It should be firm, green, and have at least two leaves. Ideally, you want a node—that’s the bump where leaves attach. Roots come from nodes, not from the cut end.
I once picked a leggy stem with one node. It took forever. The cutting with three nodes rooted in half the time. So choose a stem with 2-3 nodes.
Step 2: Make the Cut
Clean your scissors with rubbing alcohol. Then make a clean cut at a 45-degree angle, about half an inch below a node.
Here’s where I messed up the first time. I used dull scissors. They crushed the stem. The tissue was damaged, and it rotted within a week. Use something sharp. A razor blade works too. One clean slice, not a sawing motion.
Step 3: Dip in Rooting Hormone
This is optional but helpful. The powder or gel isn't magic. But it does speed things up. I dipped the cut end and the lowest node. I waited 30 seconds for it to dry slightly.
Honestly, on my second attempt, I skipped the hormone. The cutting still rooted. It just took 4 extra days. If you’re impatient, use it.
Step 4: Place in Water or Perlite
If you’re using water: Put the cutting in a glass jar. Add filtered water until it covers the lowest node. Not the leaves. Leaves sitting in water will turn yellow and rot. I made that mistake once. It stinks.
Place the jar in a bright spot with no direct sun. Change the water every 3-4 days. Use room-temperature water. Cold water shocks the stem.
If you prefer perlite: Dampen the perlite. Not soggy. Stick the cutting in, burying the lowest node. Keep the perlite barely wet.
Step 5: Wait and Watch
Now the hard part—waiting. You won’t see roots for the first 4-5 days. That’s normal.
Around day 5-7, you should see tiny white nubs forming at the node. They look like little pimples. Don’t poke them. Just watch.
By day 10-12, those nubs become actual roots, about 1-2 inches long. By day 14, they should be a solid network. That’s when I transfer to soil.
The 14-Day Observation Log
I kept a log for this guide. Here’s what actually happened.
Day 1: Cut a 6-inch stem with three nodes. Dipped in rooting hormone. Placed in a jar of filtered water. Node one and two were submerged. Leaves stayed dry. Put it on my kitchen counter, facing an east window. Temp was 72°F.
Day 3: No visible change. Water still clear. I didn't change it yet. The leaf tips looked slightly perky, if that makes sense.
Day 5: Changed the water. I saw two tiny white bumps at the bottom node. Thought I was dreaming. Took a photo with my phone to confirm. Yep, roots were coming.
Day 7: Roots were about 1/4 inch long. Clean white, not mushy. The second node also had small bumps starting. I did nothing. Just watched.
Day 10: Roots were over 1 inch long, branching out slightly. The top leaf had a new leaf unfurling. That’s a good sign—it meant the cutting was happy.
Day 12: Root system was around 2 inches. I considered transferring to soil but decided to wait two more days.
Day 14: Roots were dense and tangled slightly. I transferred it to a 3.5-inch pot with a well-draining mix (50% potting soil, 30% perlite, 20% orchid bark). Watered it once. Placed it back in the east window. Done.
That’s the entire timeline. Two weeks from cutting to potted plant. It’s not fast, but it’s reliable.
Soil Propagation: The Alternative That Works Too
Water is my go-to. But soil works if you prefer it. The difference? Soil rooting means no transplant shock later. But you can’t see the roots, so you’re flying blind.
Here’s what I did once. I took a cutting, dipped it in hormone, and planted it directly in damp perlite. I covered the pot with a clear plastic bag to keep humidity high. That bag is crucial. It acts like a mini greenhouse. If the humidity drops, the leaves wilt fast.
Check the soil every 4-5 days. If you feel moisture when you poke your finger in an inch, skip watering. If it’s dry, water. Don’t water on a schedule. Water based on touch.
I found soil rooting slower, around 3-4 weeks for the same root size. But the roots were thicker, more robust. I lost one cutting to rot because I watered it too soon. Remember, we already talked about that mistake. Wait. Let the soil dry slightly.
The Dreaded Leaf Cutting Method
People ask me about leaf cuttings. You can’t propagate Aglaonema from a single leaf. It needs part of the stem. I tried once, years ago, with a beautiful silver leaf. It sat there for a month, then turned yellow. No roots. No plant. Waste of time.
If you see a wilting leaf, don’t bother. Just cut the stem properly.
Common Problems and My Fixes
Rotting Stem
This happens when the water is too deep or the medium is too wet. The stem base will turn brown and mushy. Fix: Cut off the rotten part, go up one extra node, and start over. Clean the jar, fresh water. Don’t panic. I did this twice, and the second attempt worked.
Leaf Yellowing
That’s usually the leaf touching water or the soil. Keep leaves dry. If the aerial roots are submerged, that fine. But leaves should never touch moisture for extended periods.
No Roots After 14 Days
Could be too cold. Aglaonema roots prefer warmth. I had one cutting sit in a drafty hallway for two weeks and nothing happened. Moved it to a warmer room, roots appeared in 5 days. Temperature matters more than people think. Keep it above 68°F.
What About Light and Temperature?
Let’s talk about getting the environment right. You’ve cut the stem. Now it’s all about the room.
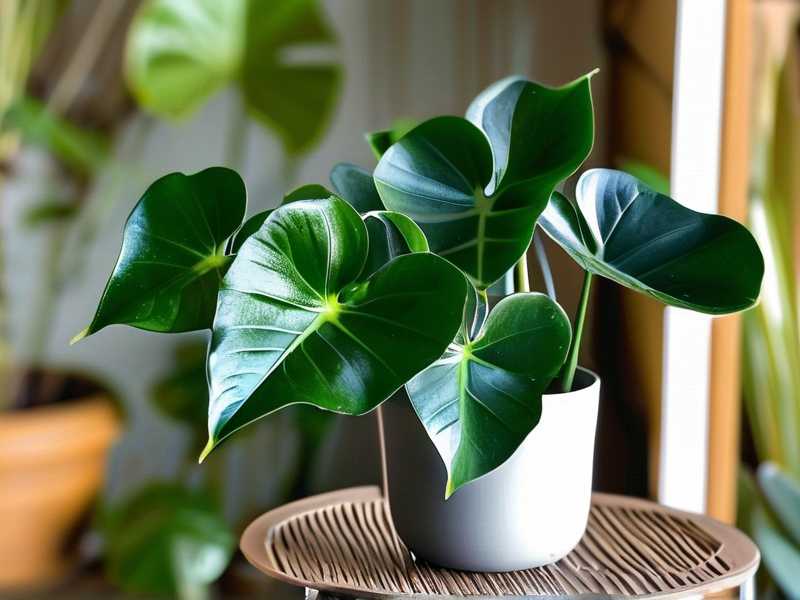
Aglaonema Sapphire Suzanne likes warm spots. Ideally, 70-75°F during the day. At night, don’t let it drop below 60°F. I keep my cuttings on a shelf in my bathroom sometimes—humidity from the shower does wonders. But not everyone has a bright bathroom. If you don't, a regular room works fine, as long as it's not drafty.
Light is key. Bright, indirect light. It’s what they get on a forest floor. Direct sun burns them. Complete shade slows rooting to a crawl. Find that middle ground.
Indoor plant expert Jane Perrone, who has written about houseplant care, suggests thinking of them like they’re under a canopy. I’d say that’s spot on. If your room has a sheer curtain, that’s perfect.
Fertilizer: Should You Feed During Propagation?
I never fertilize during the root development phase. The cutting doesn’t need it. It’s busy making roots, not leaves. Nutrients can actually burn the delicate emerging roots.
Once I transplant into soil, I wait another 2 weeks. Then I use a balanced liquid fertilizer at half strength. That’s it. Don’t get trigger-happy with feeding.
The RHS recommends feeding houseplants only during the growing season. And they note that overfeeding is a common issue. I completely agree. Too much fertilizer causes brown leaf tips. I’ve seen it in my own plants.
Potting Up: The Final Step
Once your roots are 1-2 inches long, it’s time to move. I use a mix of 60% regular indoor potting mix, 30% perlite, 10% fine bark. This keeps it airy. Aglaonema likes to breathe.
Water the soil thoroughly after planting. Then don’t water again until the top inch feels dry. That might be 5 days. Maybe 7. You’ll get a feel for it. The key is to let the roots dry slightly between waterings. They grow stronger that way.
The new leaves will show small speckles of silver and green. Like I said, this plant rewards patience.
FAQ: Quick Answers for Common Questions
Q: How long does Aglaonema Sapphire Suzanne take to root in water? A: About 2-3 weeks. You’ll see bumps at the nodes by day 7. Actual root growth takes 10-14 days. If your room is cool, expect longer.
Q: Can I use tap water for propagation? A: Yes, but let it sit overnight so chlorine dissipates. Or use filtered water. I use filtered water now. Tap water worked, but the chlorine caused slow growth in one of my cuttings.
Q: Should I cut the leaves in half to reduce evaporation? A: No. I tried this. It just stresses the plant. Some people do it for moisture balance, but I don’t bother. As long as humidity isn’t super low, the leaves are fine as is.
Q: What if my stem is too long? A: Cut it shorter. Long stems with few leaves take longer to root because the plant has to support the whole length. I cut mine to 5-6 inches. Short and sturdy is better.
Q: Can I propagate in sphagnum moss? A: Yes. It works well. Keep the moss damp, not wet. Squeeze it out before adding it to the pot. It holds water longer than perlite, so check it less often. Every 5-6 days is usually fine.
Look, I’ve been where you are. You’re staring at a leaf, hoping for roots. It feels like nothing is happening. But it is. Give it time. Two weeks is the baseline. My first successful cutting took 16 days. It’s fine if yours is slower.
If you make these mistakes I made, won’t be a big deal. I killed three potted Aglaonemas before I figured out the watering. Now I have four healthy ones, all from one plant. You can too.
Start with the low-effort water method. Keep it in a warm room. Don’t touch it too much. And honestly, the biggest tip I can give you? Walk away. Leave the jar alone. Obsessing over it doesn’t make roots grow faster. Trust me—I’ve watched for an hour straight once. It doesn’t work.





