 bluename
 How to Propagate Agmaena Bronze Bay: Success Tips
If you want more of that gorgeous pink-and-green foliage, the answer is simple: stem cuttings in water or soil. I have killed my fair share of plants, so trust me when I say this method works. 90% of indoor plants die from overwatering, but propagation actually gives you a second chance to get it right.
I remember staring at my first Aglaonema Bronze Bay. It was stunning, with those deep green leaves splashed with bronze-pink. I wanted ten more. My first attempt at propagation was a soggy, rotting disaster. I learned the hard way that you cannot just chop and drop. Now, after two weeks of careful observation, I have a system that works.
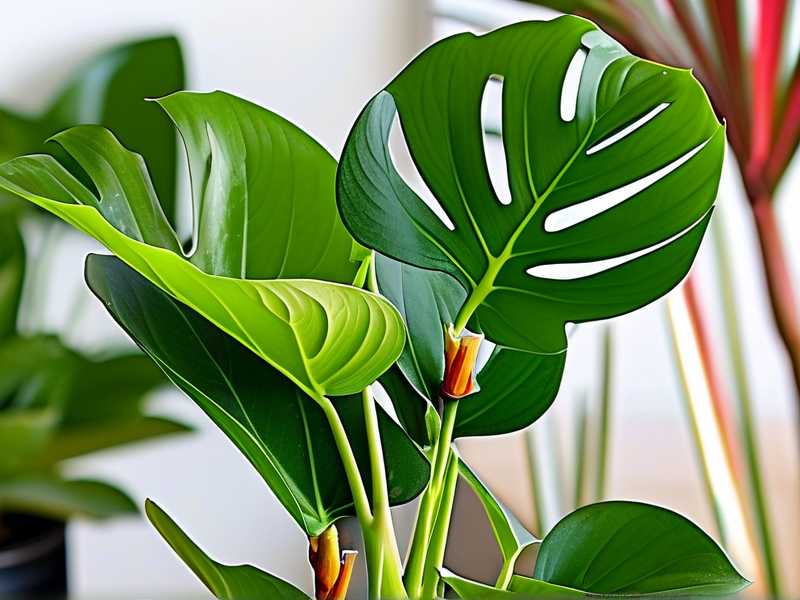
Before we dive into the steps, let us address the three biggest mistakes that kill new cuttings. I made all of these errors, and I am here to save you the heartache.
The 3 Fatal Mistakes Beginners Make (I Made All of These)
Mistake #1: Overwatering the Cuttings
This is the big one. I used to think more water meant more growth. It does not. It means rot. When you propagate in soil, the cutting has no roots to drink the water. The soil stays wet, and the stem turns to mush. I lost an entire batch of cuttings this way. The stems turned brown at the base within a week. It was gross. You need a well-draining mix and a light touch with the watering can. Let the top inch of the soil dry out completely. Keep the air humid, not the soil soggy.
Mistake #2: Wrong Light Conditions
I put my first cuttings on a bright windowsill with direct afternoon sun. I thought they would love it. They burned. The leaves turned pale and crispy. Aglaonema Bronze Bay is a low-light champion, but cuttings are weaker. They need bright, indirect light. Think of a spot where you can read a book comfortably without a lamp. That is the sweet spot. Direct sun is a death sentence for a stressed cutting.
Mistake #3: Using the Wrong Pot
This one is sneaky. I used a huge decorative pot for a tiny cutting. I figured it had room to grow. The problem is, a big pot holds too much moisture. The soil stays wet for days, and the roots (if they even form) cannot handle that. The cutting just sulks and rots. You need a small pot. A 3-inch nursery pot or even a clear plastic cup with drainage holes is perfect. It forces the soil to dry out faster, which is exactly what your cutting needs to root.
Step-by-Step: My Proven Water Propagation Method
Water propagation is my favorite for this plant. It is simple, and you get to watch the roots grow. That is satisfying. You literally see the progress every day.
Week 1: The Setup
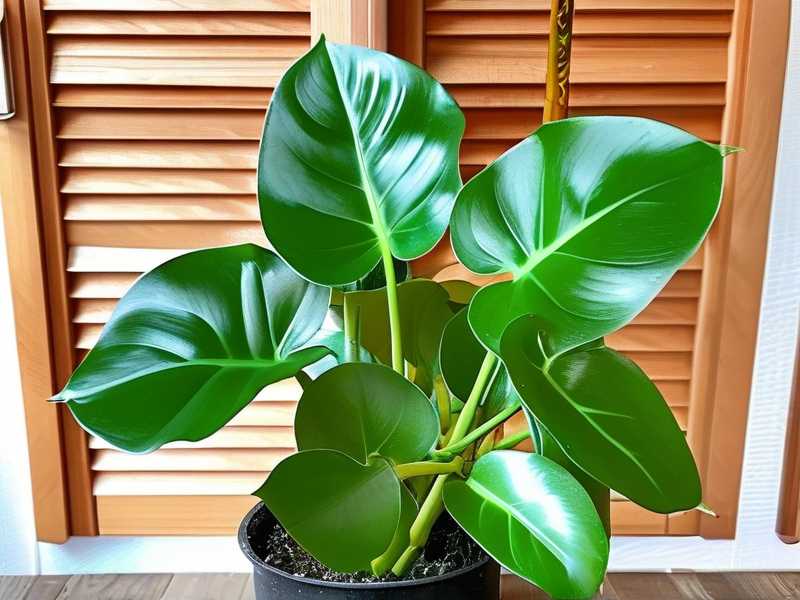
First, I picked a healthy stem from my mother plant. It had about four leaves and a solid, green stem. I used clean, sharp scissors. This is non-negotiable. Dirty tools spread bacteria. I cut the stem at a 45-degree angle, right below a node. Nodes are those little bumps where leaves attach. Roots will sprout from here.
I removed the bottom two leaves. You do not want any leaves sitting under the water. They will rot and contaminate the whole jar. I placed the cutting in a small glass jar filled with filtered water. Tap water works too, but I let it sit out overnight to let the chlorine evaporate. I put the jar on my kitchen counter, away from the window. It gets bright, indirect light for most of the day. Not direct sun.
My Observation After 7 Days
I changed the water every three days. Stagnant water is a breeding ground for bacteria. When I changed it, I gently rinsed the stem. I did not see any roots yet, but the stem looked healthy. No mush, no browning. I noticed a tiny white bump on the node. That was the beginning of a root. I was thrilled. That little bump was the first sign of success.
Week 2: The Roots Arrive
By day ten, the roots were about half an inch long. I was ecstatic. I kept changing the water every three days. I also moved the jar slightly closer to a window for a bit more light, but still no direct sun. By day fourteen, the roots were over an inch long, with tiny secondary roots branching off. It was time to plant.
Step-by-Step: The Soil Transition
Moving from water to soil is a critical step. I have lost cuttings here because I was too careless. Do not just jam it into a big pot.
The Potting Mix
I used a chunky, well-draining mix. I mixed regular potting soil with perlite and orchid bark. The ratio was about 2:1:1. This ensures the roots get oxygen. Aglaonema roots hate sitting in dense, wet soil. They will rot quickly. I also made sure my pot had excellent drainage holes.
The First Watering
I planted the rooted cutting into that small 3-inch pot. I watered it thoroughly, letting the excess water drain out completely. Then, I waited. I did not water it again until the top inch of the soil was bone dry. This took about five days in my house. The key here is to keep the soil slightly moist but never wet.
Observations After 2 Weeks in Soil
The plant looked stable. The leaves stayed firm and upright. I knew the roots were adjusting. I gave it a gentle tug, and it felt secure in the soil. That is the sign that the roots are holding on. New growth appeared about three weeks later. A tiny, folded leaf emerged from the center. That was my reward.
How to Propagate in Soil: The Direct Method
You can skip the water step completely. I have done this with success too. It takes a little more patience because you cannot see the roots.
My Process
I took the same type of cutting, with clean scissors and a 45-degree angle cut. I dipped the cut end in rooting hormone powder. This is optional, but I find it speeds things up. I then planted it directly into a small pot with my chunky soil mix.
The Mistake I Almost Made
My first time doing this, I watered it too much. I treated it like a mature plant. It rotted within ten days. I had to pull it out, cut the rot off, and start over. It was frustrating.
The Correct Way
Water the soil once after planting. Just enough to settle the soil around the stem. Then, do not water it again until the soil is almost completely dry. I use a clear plastic bag or a propagation dome to create humidity. I place the pot in a warm spot with bright, indirect light. I open the bag every few days for fresh air.
The Results
It took about four weeks to see new growth. That was the signal that roots had formed. This method is slower, but it reduces the shock of transplanting. The roots that grow in soil are already adapted to their environment.
The Ideal Environment for Success
You can have perfect cuttings and still fail if the environment is wrong. I learned this when I moved my plants to a different room.
Temperature
These plants are tropical. They hate cold drafts. I keep my propagations in a room that stays between 65°F and 75°F (18°C - 24°C). I moved one cutting near a drafty window once. It dropped all its leaves. Never again. Keep them warm.
Humidity
High humidity helps. A pebble tray with water under the pot works wonders. I also group my cuttings together. The collective transpiration creates a microclimate. It is a simple trick that helped me stop losing leaves. The RHS notes that many houseplants benefit from increased humidity, which aids in root development and reduces transplant shock.
Light
I have said it before, but I will repeat it. Bright, indirect light only. A north or east-facing window is perfect. If you only have a south window, pull the plant back a few feet from the glass. Use a sheer curtain if you have to. Think of it as a shaded spot on a tropical forest floor. That is what your cutting wants.
Troubleshooting Common Propagation Problems
Sometimes things go wrong. Here is how I fixed them when they happened to me.
Problem: The Stem is Turning Brown and Mushy
This is root rot. It is caused by too much moisture. You have to act fast. I took the cutting out, cut off all the mushy parts with a sterilized blade, and started over. I replaced the water and made sure to change it more frequently. The cutting survived the second time.
Problem: Leaves are Turning Yellow
This can be a sign of stress. It often happens if the cutting is getting too much direct light or if the water is old. I moved the jar to a shadier spot and changed the water. The yellowing stopped. The AHS recommends diagnosing plant issues by checking the roots first, which is exactly what I do when leaves look unhappy.
Problem: No Roots After 3 Weeks
Patience is key. Some cuttings just take longer. I have had one take a full month. Make sure the cutting is getting enough warmth and light. If your water is too cold, root growth slows down. I moved my jar to a warmer spot on top of my refrigerator. That seemed to speed things up.
Problem: The Cutting is Wilting
This usually means it is not getting enough water intake. If you are propagating in soil, the cutting has no roots to drink. It relies on humidity to stay hydrated. Increase the humidity with a plastic bag or a cloche. I saved a wilting cutting in one day by placing a clear plastic cup over it. It perked right up.
My Final Thoughts on Propagating This Plant
I have been where you are. I have had jars full of rotting stems and a pile of dead leaves on the floor. Propagation is a learning curve. But once you understand the basics, it becomes second nature.
The secret is restraint. Do not overwater. Do not give too much sun. Keep it simple. Give your cutting time to adjust. I now have a whole shelf of Aglaonema Bronze Bay, all started from that first plant. It is a wonderful feeling to grow your collection for free.
These plants are resilient. They want to grow. My journey, from killing my first cutting to successfully rooting dozens, taught me that patience is the only secret ingredient. You already have the plant. You just have to provide the right conditions for the next generation to start.
Frequently Asked Questions
Q: Can I propagate an Aglaonema Bronze Bay from a single leaf?
No, you cannot. A single leaf will grow roots, but it will never grow into a new plant. You need a stem node for that. The node contains the dormant bud that will produce new growth. I learned this the hard way. I kept a leaf alive for months in water. It had roots, but it never produced a single new leaf. It just sat there. You need a stem cutting with at least one node.
Q: How long does it take to see new leaves after transplanting to soil?
It usually takes 3 to 4 weeks. The plant is busy growing roots first. If it is putting its energy into the root system, it will not push out new leaves right away. Do not panic if the plant looks static for a month. I have had plants sit for six weeks before pushing out a new leaf. It is all about patience. The moment you see that first new leaf, you know you have succeeded.
Q: What is the best time of year to propagate?
Spring and early summer are the best times. The days are longer, and the warmth encourages faster root growth. I have propagated in winter with the help of a heat mat, but it is slower. The plant is not actively growing, so the cutting can sit in water for weeks without doing much. If you can wait for the growing season, you will have much better results. I always take my cuttings in May now.





