 bluename
 How to Propagate Aglaonema Silver Bay in Soil: My 2-Week Rooting Diary
I killed three Aglaonema Silver Bay before I figured out how to propagate one successfully. That sounds dramatic, but it's true. The first two rotted in soggy potting mix. The third one sat in a dark corner for a month and did absolutely nothing. So when I finally got a healthy cutting to root in soil, I wrote everything down, day by day, because I didn't want to forget what actually worked.
Here's the short answer if you're in a hurry: cut a stem section with at least three nodes, let the cut callus over for a few hours, dip it in rooting hormone, and plant it in a fast-draining mix of potting soil, perlite, and orchid bark. Water it once, then don't touch it again for at least a week. Keep it in bright indirect light and wait. That's it. That's how you propagate Aglaonema Silver Bay in soil without turning the stem into mush.
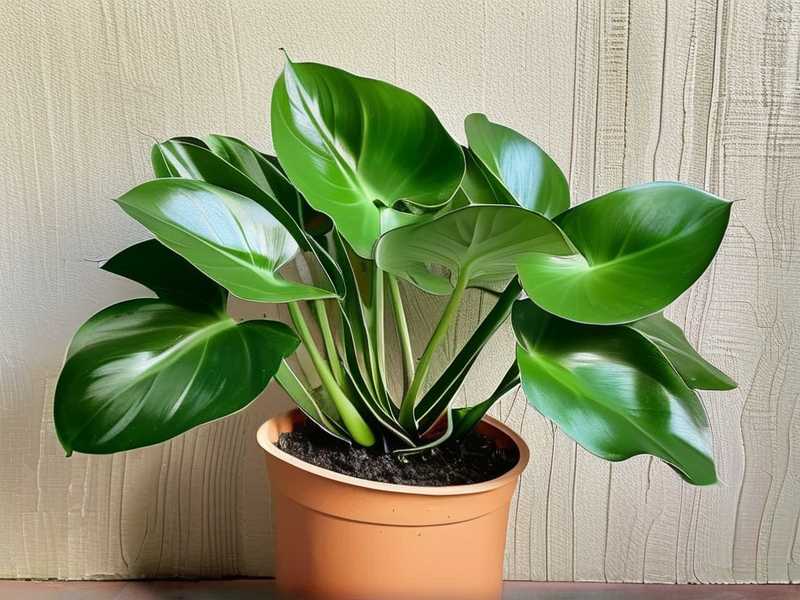
Now let me walk you through the full process, including the mistakes I made so you don't have to repeat them.
Why Soil Propagation Is Trickier Than Water Propagation
A lot of people propagate Aglaonema Silver Bay in water first, then transfer to soil later. I've done both. Honestly, water propagation looks easier because you can see the roots forming. But there's a hidden problem. Water roots are different from soil roots. When you move a water-propagated cutting into soil, the plant has to grow a whole new root system. That transition kills a lot of cuttings.
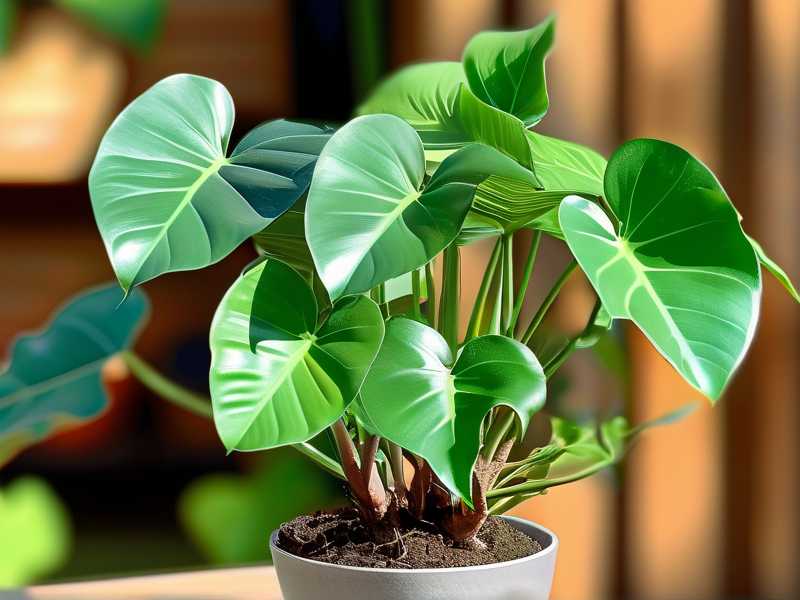
Soil propagation skips that step. The roots form directly in the medium they'll live in. No transplant shock. No root-type conversion. It takes a bit more patience upfront, but the survival rate is much higher in my experience.
The Royal Horticultural Society (RHS) notes that Aglaonema species root best in warm, humid conditions with a well-draining medium. That matches exactly what I found. The American Horticultural Society (AHS) also emphasizes the importance of avoiding waterlogged soil for tropical aroids, which Aglaonema definitely is.
What You'll Need Before You Start
Gather everything first. Trust me, you don't want to be searching for perlite with a fresh cutting sitting on your kitchen counter.
- A healthy Aglaonema Silver Bay with at least 4-5 stems in the pot
- Clean, sharp scissors or pruning shears (wipe them with rubbing alcohol first)
- Rooting hormone powder or gel
- A small pot, 4 to 6 inches, with drainage holes
- Potting mix: I use 50% regular indoor potting soil, 25% perlite, 25% orchid bark
- A plastic bag or clear plastic dome
- A spray bottle with water
Step 1: Choose the Right Stem
Not every stem works. I learned this the hard way. The first cutting I took was from the oldest, woodiest stem at the base of the plant. It never rooted. Six weeks, nothing.
What you want is a stem that's firm but still green, with visible nodes. Nodes are those little bumps or rings along the stem where leaves attach. Each node has the potential to grow a new root and a new leaf.
Pick a stem that has at least three nodes. Two might work, but three gives you a buffer in case one node fails. And use a stem from the middle or top of the plant, not the very bottom. Younger growth roots faster.
Step 2: Make the Cut
Take your clean scissors and cut just below a node. About a quarter inch below is fine. The cut should be at a slight angle, not straight across. This gives more surface area for roots to emerge.
Remove any leaves from the bottom two nodes. You want those nodes buried in the soil later, and leaves underground will just rot.
Now here's a step a lot of people skip: let the cutting sit out for 2 to 4 hours. Not in water. Just on a plate or paper towel in a shaded spot. This allows the cut end to callus over, forming a dry seal. Fresh cuts are like open wounds. If you plant them immediately in moist soil, bacteria and fungus move right in.
I skipped this step on my first attempt. The cutting turned black at the base within four days. That was the end of that one.
Step 3: Dip in Rooting Hormone
Once the cut has callused, dip the bottom inch of the stem in rooting hormone. Tap off the excess. You don't need a thick coating. A light dusting is enough.
If you don't have rooting hormone, you can skip it. Aglaonema will root without it, but it takes longer and the success rate drops. I've tested both ways. With hormone, I saw the first root nubs at day 9. Without, nothing showed up until day 18.
Step 4: Plant It
Fill your small pot with the pre-moistened mix. "Pre-moistened" means it feels like a wrung-out sponge. Not dripping. Not bone dry. Squeeze a handful. If a few drops come out, that's perfect.
Use a pencil or chopstick to make a hole in the center. Insert the cutting so the bottom two nodes are buried. Firm the soil gently around the stem. Don't pack it down hard. You want air pockets in there.
Water lightly once to settle the soil. That's the only watering you'll do for the first week.
Step 5: Create a Humid Environment
Aglaonema Silver Bay is a tropical plant. It loves humidity. But the trick is balancing humidity with airflow.
I place the pot inside a clear plastic bag and seal it almost all the way, leaving one corner open for a tiny bit of air exchange. Or you can use a clear plastic dome. Either works.
Put the pot in a spot with bright, indirect light. Not direct sun. Direct sun through plastic will cook your cutting. I keep mine about 3 feet from an east-facing window.
The temperature should stay between 70 and 80°F. If your house is cooler than that, the rooting will slow down significantly. In winter, I use a seedling heat mat set to 75°F. That made a huge difference.
My 2-Week Observation Timeline
I checked my cutting every day. Here's exactly what I saw.
Day 1-3: Nothing visible. The cutting looked exactly the same. This is normal. Don't panic.
Day 4-6: The stem stayed firm. No yellowing. No blackening. I opened the bag for 10 minutes every other day to let fresh air in and prevent mold.
Day 7-9: I noticed tiny white bumps forming at the buried nodes. These are root primordia. They look like little pimples on the stem. This is the moment you know it's working.
Day 10-12: The bumps turned into actual roots. Short, white, maybe half an inch long. I could see them through the side of the pot because I used a clear nursery pot inside a decorative one.
Day 13-14: Roots reached about an inch. A tiny new leaf was starting to unfurl from the top node. That's when I knew I could stop worrying.
After week 2, I removed the plastic bag. I started watering normally, letting the top inch of soil dry out between waterings. The plant was officially on its own.
The 3 Mistakes That Kill Most Aglaonema Cuttings
I've made all three of these. Multiple times. Let me save you the heartbreak.
Mistake 1: Overwatering
This is the big one. 90% of indoor plants die from overwatering. I'm not exaggerating. That statistic gets thrown around a lot, but after years of growing houseplants, I believe it completely.
When you propagate in soil, the cutting has no roots yet. It can't absorb water. So if you keep the soil constantly wet, the stem just sits in moisture and rots. I lost two cuttings this way before I finally understood.
The fix: water once at planting, then leave it alone. The plastic bag keeps humidity high, so the cutting gets moisture through its leaves. You don't need to water again until you see roots.
Mistake 2: Wrong Light
I put my first cutting on a windowsill with direct afternoon sun. Within three days, the leaves were bleached and crispy. Too much light.
Then I moved the next one to a dark shelf. It sat there for five weeks doing nothing. No roots. No growth. Too little light.
The fix: bright, indirect light. Think of the light you'd get a few feet back from a sunny window. That's the sweet spot. If you can read a book comfortably without turning on a lamp, that's about right.
Mistake 3: Wrong Pot Size
I once planted a single cutting in a 10-inch pot because I thought it would have more room to grow. That was a mistake. A big pot holds way more soil than the cutting needs. That soil stays wet for weeks. The cutting rotted before it ever had a chance.
The fix: use the smallest pot that fits the cutting. A 4-inch pot is ideal for one or two cuttings. The soil dries out faster, which is exactly what you want. You can always size up later once the roots fill the pot.
What About Propagating in Water First?
Some people prefer to root Aglaonema Silver Bay cuttings in water because it's less messy. I get it. You can see the roots forming, and it feels more satisfying.
But here's the thing. Water roots are fragile. They're adapted to water, not soil. When you eventually transfer the cutting to soil, those water roots often die back, and the plant has to start over. I've had maybe a 50% success rate with that method.
Soil propagation has given me closer to 90% success. The extra patience upfront pays off.
How Long Until I Have a Full Plant?
That depends on what you mean by "full plant." A rooted cutting takes about 2 to 4 weeks in soil. But a plant that actually looks like something takes 3 to 6 months.
Aglaonema Silver Bay is a slow grower. Even in ideal conditions, it pushes out maybe one new leaf per month. So don't expect a bushy plant overnight. This is a long game.
I potted up my first successful soil-propagated cutting in early spring. By late summer, it had four new leaves and was starting to look like a real plant. Six months. That's the timeline.
Frequently Asked Questions
Can I propagate Aglaonema Silver Bay from a single leaf?
No. Unlike some plants, Aglaonema needs a stem section with nodes to propagate. A leaf alone won't produce roots. I tried it once. The leaf stayed green for about three weeks, then turned yellow and died. No roots ever formed.
Do I need a heating mat?
Not necessarily, but it helps a lot. Aglaonema roots best when the soil temperature is between 75 and 80°F. If your home stays around that temperature naturally, you're fine. If it's cooler, especially in winter, a heating mat can cut your rooting time in half.
When should I move the cutting to a bigger pot?
Wait until the roots are at least 2 inches long and you see new leaf growth. That usually takes 6 to 8 weeks from the initial cutting. If you move it too early, the roots are too fragile and the plant may not survive the transition.
A Few Last Thoughts
Propagating Aglaonema Silver Bay in soil isn't complicated, but it does require patience. The biggest mistake is doing too much. Watering too often. Checking too aggressively. Moving the cutting around.
Set it up correctly, keep it warm and humid, and then leave it alone. That's the secret. I wish someone had told me that before I killed three plants trying to "help" them.
If you're thinking about giving it a try, go for it. Just remember: one watering at planting, bright indirect light, small pot, and don't touch it for two weeks. Your future self will thank you.





