 bluename
 How to Propagate Aglaonema Silver Bay in Water: An Honest Guide From Someone Who Killed Three Before Getting It Right
I'll be straight with you: propagating Aglaonema Silver Bay in water is one of the most satisfying plant projects you can do at home. You just need a healthy stem cutting, a clean glass jar, and about two weeks of patience. That's it. No rooting hormone, no fancy setup, no grow tent.
But here's the part nobody tells you upfront. The first time I tried this, I rotted the cutting in four days. The second time, I left it in direct sun and watched the leaves curl into sad little tacos. The third time? I used a pot that was way too big for the water method and the whole thing just… sat there and did nothing.
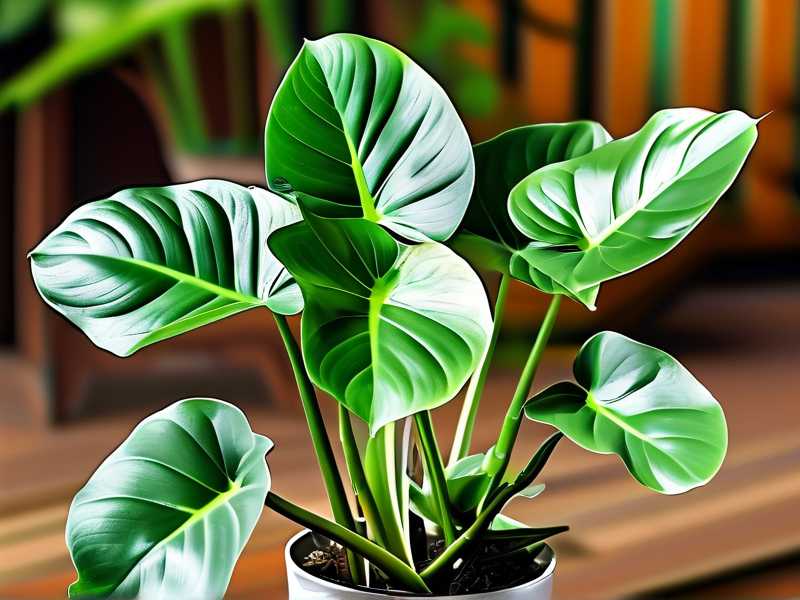
So if you're here because you want to multiply your Silver Bay without buying a new plant, you're in the right place. I've done this successfully more times than I can count now, and I'm going to walk you through exactly what worked, what didn't, and the mistakes that cost me three healthy cuttings before I figured it out.
Why Water Propagation Works So Well for Silver Bay
Aglaonema Silver Bay is a tough, forgiving plant. It's one of those varieties that just keeps going even when you forget about it for a week. That resilience makes it a great candidate for water propagation.
The stems are thick and fleshy. They store moisture, which means they can survive the transition from soil to water without immediately going into shock.
I've tried propagating other plants in water — pothos, philodendron, even a monstera cutting once — and Silver Bay is honestly one of the easiest. The roots show up fast if you get the basics right. We're talking visible nubs within 7 to 10 days in most cases.
But "easy" doesn't mean "foolproof." I learned that the hard way.
The 2-Week Timeline: What I Actually Saw
Let me give you a real timeline from my most recent propagation. I started on a Sunday afternoon with a stem cutting from a mature Silver Bay that had gotten a little leggy.
Day 1-3: Nothing visible. The cutting looked exactly the same. I checked it about fifteen times a day like a nervous parent.
Day 4-6: I noticed tiny white bumps forming along the submerged part of the stem. These are the root primordia — basically the starting points for new roots. This is the moment you know it's working.
Day 7-10: Actual roots started pushing out. Thin, white, and delicate. Maybe half an inch long. I resisted the urge to touch them.
Day 11-14: Roots doubled in length. Some secondary roots started branching off. The cutting was clearly happy.
By week three, I had a root system that was ready for soil. But those first two weeks are the critical window. If something goes wrong, it goes wrong fast.
The 3 Mistakes That Killed My First Cuttings
Mistake #1: Overwatering (Yes, Even in Water)
This sounds ridiculous. How do you overwater something that's sitting in water?
Here's the thing. When you submerge too much of the stem, you're asking for trouble. The cutting can't breathe. Bacteria build up. The stem turns mushy and brown.
I made this mistake with my very first cutting. I dropped the entire stem into a tall glass of water. Within four days, the bottom was slimy and smelled like a swamp. Game over.
The fix: Only submerge the bottom 1 to 2 inches of the stem. No more. The nodes — those little bumps where leaves used to attach — need to be underwater, but the rest of the stem should stay dry.
Also, change the water every 3 to 4 days. I know it's annoying. Do it anyway. Stale water is a breeding ground for the bacteria that rot your cutting.
And here's a stat that stuck with me: 90% of indoor plants die from overwatering. That's not just about soil. It applies to water propagation too. Too much of a good thing is still too much.
Mistake #2: Putting It in the Wrong Light
My second cutting died because I put it on a south-facing windowsill. I thought more sun equals faster roots. Nope.
Direct sunlight heats up the water. Warm water grows bacteria faster. The leaves on the cutting started to yellow and curl within five days. I moved it too late.
What actually works: bright, indirect light. A spot a few feet back from a window. Or a north-facing windowsill. Somewhere that gets good ambient light but never direct sun.
The RHS recommends keeping Aglaonema out of direct sunlight year-round, and that goes double for delicate cuttings. They just can't handle the intensity.
If your home is dark, a simple LED desk lamp placed a foot or two away works fine. Just don't put the cutting directly under it.
Mistake #3: Using the Wrong Container
I used a narrow-necked bottle for my third attempt. Big mistake.
The opening was too small to comfortably fit the stem without crushing the leaves. And when roots started forming, I couldn't get the cutting out without damaging them.
What I use now: a clear glass jar with a wide mouth. Something like a mason jar or an old salsa jar works perfectly. The wide opening makes it easy to insert the cutting and easy to remove it later.
Clear glass matters because you can see what's happening. You'll spot root growth, algae, or cloudy water without having to guess.
Avoid colored glass or opaque containers. You're flying blind with those.
How to Take the Cutting the Right Way
Let me walk you through my exact process.
Step 1: Pick the right stem. Look for a stem that's at least 4 to 6 inches long with 2 to 3 nodes. Nodes are the slightly raised rings where leaves grow. That's where roots will emerge.
Step 2: Make a clean cut. Use sharp, clean scissors or pruning shears. Cut just below a node at a slight angle. A angled cut gives more surface area for roots to form.
Step 3: Remove the lower leaves. Strip off any leaves that would sit below the water line. If they stay submerged, they'll rot and foul the water.
Step 4: Let it callus. This is a step I skipped for years and it made a huge difference. Let the cutting sit out for 2 to 4 hours. The cut end will dry and form a protective callus. This dramatically reduces the chance of rot.
Step 5: Place in water. Put the cutting in your jar with just the bottom 1-2 inches submerged. Use room-temperature water. Cold water shocks the cutting.
Step 6: Find the right spot. Bright, indirect light. No direct sun. No cold drafts.
Step 7: Wait and watch. Change the water every 3-4 days. Check for roots. Be patient.
What Healthy Roots Look Like vs. What Rot Looks Like
This is where a lot of people get confused.
Healthy roots are white or cream-colored. They're firm. They branch out over time. The water stays mostly clear.
Rotting stems are brown or black. They're mushy. The water gets cloudy and smells bad. If you see this, act fast.
Cut the rotting section off with sterilized scissors. Cut until you see clean, healthy tissue. Then start over with fresh water and a clean jar.
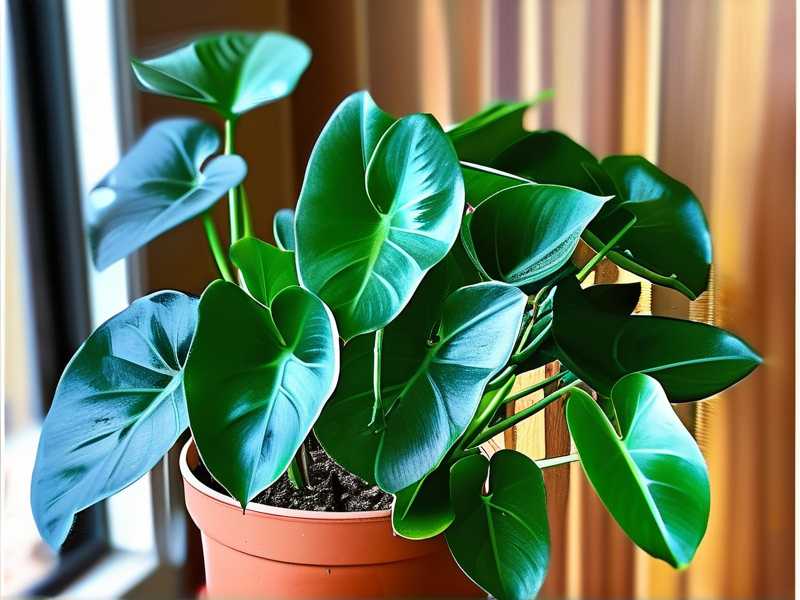
I've saved cuttings this way. It's not always too late.
When to Move Your Cutting to Soil
You'll know it's time when the roots are 2 to 3 inches long. That usually takes 3 to 5 weeks, depending on conditions.
Don't wait too long. Roots that stay in water indefinitely get weak and brittle. They're not built for soil life.
Use a well-draining potting mix. I mix regular potting soil with extra perlite — about 70/30. Plant the cutting so the roots are covered but the stem isn't buried too deep.
Water it thoroughly once. Then let the soil dry out a bit before watering again. This is where most people mess up the transition. They keep the soil constantly wet because they're used to seeing the cutting in water. Don't do that.
The AHS has a good general rule: water when the top inch of soil feels dry. That works for Silver Bay too.
A Few Extra Things I've Learned
Silver Bay propagates faster in warmer months. Spring and early summer are ideal. If you're doing this in winter, expect slower results.
Don't fertilize your cutting while it's in water. It doesn't need it and it can actually encourage algae growth.
If you see algae forming on the jar, just rinse it out and replace the water. It's not harmful to the cutting but it looks gross and can block light.
You can propagate multiple cuttings in the same jar if the stems don't touch. I've done three at once in a wide mason jar. Just make sure there's enough room.
FAQ
Can I propagate Aglaonema Silver Bay in water without nodes?
No. Nodes are where roots form. If your cutting doesn't have at least one node, it won't root. You'll just have a piece of stem that slowly rots.
How long does it take to see roots?
In my experience, you'll see tiny root nubs within 7 to 10 days. Visible roots take about 2 weeks. Full roots ready for soil take 3 to 5 weeks.
Do I need to change the water?
Yes. Every 3 to 4 days. This keeps the water oxygenated and prevents bacteria from building up. It's the single most important maintenance step.
Final Thoughts
Propagating Aglaonema Silver Bay in water isn't complicated. But it does require you to pay attention.
Don't submerge too much of the stem. Don't put it in direct sun. Don't use a narrow container. And for the love of all things green, change the water.
I killed three cuttings before I figured this out. You don't have to. Follow the steps, watch for the signs, and you'll have a new Silver Bay before you know it.





