 bluename
 How to Propagate Aglaonema After Pruning Cuttings
If you just pruned your Aglaonema and you're staring at those cut stems wondering whether you can turn them into new plants, the short answer is yes, and it's honestly one of the most forgiving propagations you'll ever try. I've rooted dozens of these cuttings over the past few years, and most of them showed visible root nubs within two weeks when I kept things simple and warm. The trick isn't some secret rooting hormone or fancy setup. It's avoiding the three mistakes that kill almost every attempt: overwatering, putting the cutting in the wrong light, and using a pot that's way too big. Get those right, and you'll have baby Aglaonemas before you know it.
I killed my first three Aglaonema cuttings before I figured this out. Two rotted in soggy soil, and one just sat there for a month doing absolutely nothing because I'd parked it in a dark corner. So if you're new to this, don't feel bad. It's a learning curve, and these plants are tough enough to forgive you once you know what you're doing.
Why Aglaonema Cuttings Are Worth Propagating
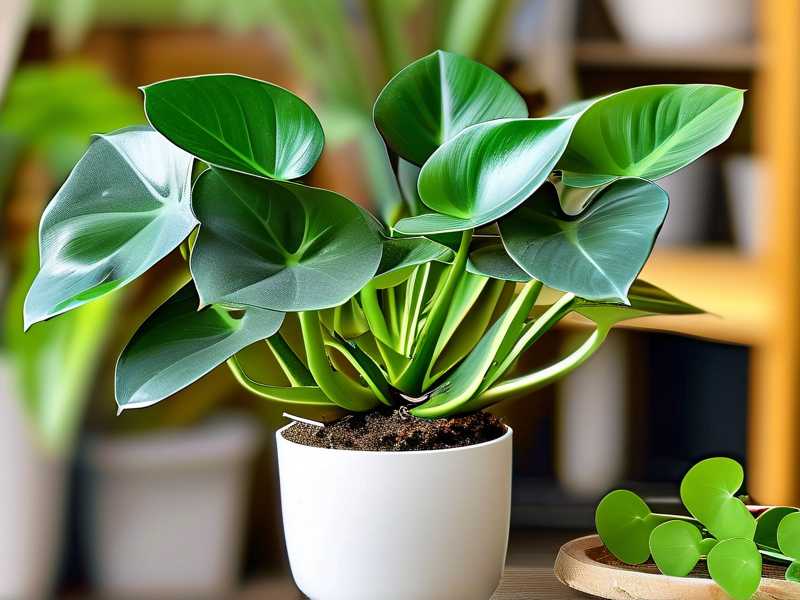
Aglaonema, often sold as Chinese Evergreen, is one of those houseplants that keeps giving. When you prune a leggy stem or trim back an overgrown plant, you're left with perfectly good cuttings that can become full new plants. It feels wasteful to toss them. Plus, propagated plants make great gifts, and they're basically free once you've got the technique down.
The RHS notes that many tropical aroids root readily from stem cuttings in warm, humid conditions, and Aglaonema fits that description perfectly. You don't need a greenhouse. A plastic bag and a warm shelf will do.
There's also something satisfying about watching a bare stem push out roots. I still get a little thrill every time I tug gently on a cutting and feel resistance, which means roots have taken hold.
What You'll Need Before You Start
Honestly, you probably already have most of this stuff at home. Here's what I keep on hand:
- Sharp, clean pruning shears or a knife
- A small pot, 3 to 4 inches across, with drainage holes
- Light, airy potting mix (I use a blend of peat, perlite, and a little orchid bark)
- A plastic bag or clear container to trap humidity
- Optional: rooting hormone powder
That's it. No heat mat required unless your house runs cold. No special fertilizer. In fact, skip fertilizer entirely until roots are established, because it'll just burn the cutting.
One thing I'd say: don't overthink the supplies. I've rooted Aglaonema cuttings in a rinsed yogurt cup with holes poked in the bottom. It worked fine. The plant cares way more about moisture balance and warmth than about your pot's aesthetic.
Step 1: Take the Right Cutting
After pruning, look at what you've got. You want stem sections that have at least one node, which is the little bump or ring where leaves and roots emerge. A node is where new roots will form, so a cutting without one is basically a dead stick.
I usually cut stems into 4 to 6 inch sections, making sure each piece has one or two nodes. If there's a leaf attached, I'll leave one or two leaves on top but strip any leaves from the lower half. Those buried leaves just rot.
Make your cut just below a node with clean shears. A ragged cut invites rot. I learned that the hard way after using dull kitchen scissors on my first attempt. The stem turned to mush within days.
If you're working with a cutting that already has aerial roots, you're ahead of the game. Those roots will adapt to soil quickly.
Step 2: Let the Cut Callus
This is the step most people skip, and it matters. After cutting, let the stem ends air-dry for a few hours, or even overnight. The cut surface forms a callus, which is a protective layer that helps prevent rot when the cutting hits moisture.
I used to plant immediately because I was impatient. Bad idea. The cuttings that went straight into wet soil were the ones that rotted. Now I just leave them on a plate on the counter while I do other things.
Step 3: Root in Water or Soil
You've got two main options here, and both work.
Water rooting is the easiest to watch. Put the cutting in a small jar with just the bottom inch submerged. Change the water every few days. Roots usually appear in one to three weeks.
Soil rooting is my preference because you skip the transplant shock. Dip the callused end in rooting hormone if you like, then tuck it into your light mix so the node is just below the surface. Water once, then leave it alone.
Here's the key point: 90% of indoor plants die from overwatering. That statistic sounds dramatic, but it's true, and cuttings are even more vulnerable than established plants. Soggy soil suffocates the stem and rot sets in fast. You want the mix barely moist, like a wrung-out sponge, not wet.
Step 4: Create a Humid Little Bubble
Aglaonema cuttings love humidity. I cover my pots with a clear plastic bag or a cut-off soda bottle to trap moisture. Just make sure the plastic doesn't touch the leaves, or you'll get rot where it sits.
Open the bag for a few minutes every couple of days to let fresh air in. That prevents mold and gives the cutting a breather.
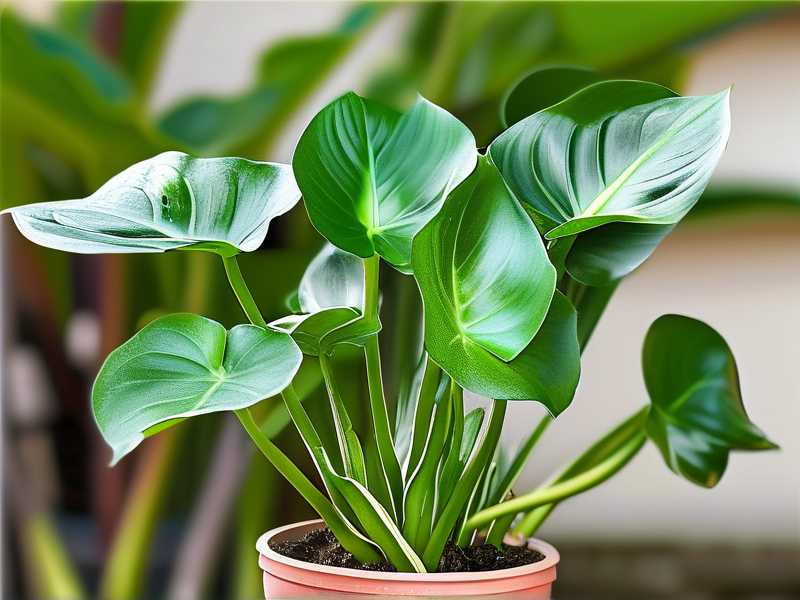
I tried skipping the humidity dome once because I thought it was fussy. The cutting survived, but it took almost twice as long to root. Lesson learned.
What I Observed Over Two Weeks
I kept notes on my last batch, mostly out of curiosity. Here's what actually happened:
Day 1 to 3: Nothing visible. The cuttings looked exactly the same. Don't panic here. Roots take time.
Day 5: I noticed tiny white bumps forming at the nodes on two of the four cuttings. These are root primordia, the first sign of action.
Day 8: One cutting in water had visible roots about half an inch long. The soil cuttings were slower but showed nubs when I gently dug around a node.
Day 12: Three of four cuttings had clear roots. The fourth was still stalled, and I later realized it had no node. My mistake.
Day 14: I had solid root systems on three cuttings, ready to be potted into slightly larger containers. The roots were white and firm, which is exactly what you want.
Two weeks isn't a guarantee for every cutting. Some take three or four. But under warm conditions with bright indirect light, two weeks is a realistic window for the first real progress.
The 3 Mistakes That Kill New Cuttings
Mistake 1: Overwatering
I've said it once and I'll say it again. Overwatering is the number one killer. Cuttings don't have roots yet, so they can't drink much. If the soil stays wet, the stem rots from the inside out. You'll know it's happening when the base turns brown and mushy and smells sour.
The fix: water sparingly, use a fast-draining mix, and make sure your pot has drainage holes. When in doubt, wait another day.
Mistake 2: Wrong Light
Aglaonema cuttings need bright, indirect light. Not direct sun, which scorches the leaves. Not deep shade either, which stalls root growth. A spot a few feet from a bright window is ideal.
I once put a tray of cuttings on a north-facing shelf that got almost no light. They sat there for a month without rooting. Moving them to a brighter spot fixed it within a week.
Mistake 3: Too-Big a Pot
This one surprises people. A big pot holds way more soil than a cutting needs, and that extra soil stays wet for ages. That's a recipe for rot.
Use the smallest pot that fits the cutting. I typically go with a 3-inch pot for single cuttings. You'll repot later once roots fill it out.
How to Tell Roots Have Formed
In water, it's obvious. You can see them. In soil, you have to check more carefully. Tug very gently on the cutting. If it resists, roots have anchored it. If it slides right out, give it more time.
You can also watch for new leaf growth. That's a strong signal that roots are working. But don't rely on it alone, because a cutting can push out a leaf using stored energy before roots develop.
Moving Your New Plant to Its Forever Home
Once roots are a couple of inches long, it's time to pot up. I move water-rooted cuttings into soil at this stage, and soil-rooted cuttings into a slightly larger pot.
Use the same airy mix. Water it in gently. Keep the plant in bright indirect light for a week or two while it adjusts. Skip fertilizer for the first month.
The AHS recommends acclimating newly rooted cuttings gradually rather than shocking them with a sudden change in conditions, and that's solid advice. Small steps, happy plant.
Keeping Your Aglaonema Cuttings Healthy Long-Term
Once your propagated Aglaonema is established, it's genuinely low-maintenance. Let the top inch or two of soil dry out between waterings. Feed lightly in spring and summer. Keep it out of direct sun.
I've found that Aglaonemas are more tolerant of low light than most tropicals, but they grow faster and look fuller with decent indirect light. Rotate the pot every couple of weeks so it grows evenly.
If you want a bushier plant, pinch back the growing tips. Those pinched tips become new cuttings, and the cycle continues. I'm currently on my fourth generation of cuttings from one original plant, which honestly feels like a small victory.
A Few Extra Tips From My Own Experience
- Warmth speeds things up. Cuttings root fastest at around 70 to 75°F. If your house is chilly, a spot near a radiator (not on it) helps.
- Don't fertilize cuttings. I made this mistake once and burned the tender new roots. Wait until you see active new growth.
- Patience beats fussing. Every time I've fussed over cuttings, moving them around and poking at them, they did worse. Leave them be.
- Label your cuttings if you're doing multiple varieties. I once mixed up a red Aglaonema with a green one and had no idea which was which until they grew out.
Common Questions About Propagating Aglaonema
Can I propagate Aglaonema cuttings in just water?
Yes, and it's a great way to start. Use a small jar, submerge only the bottom inch, and change the water every few days. Roots typically appear in one to three weeks. Just remember that water roots are weaker than soil roots, so transplant carefully.
How long does it take for Aglaonema cuttings to root?
In my experience, you'll see the first roots within one to two weeks in warm conditions. Full rooting takes about three to four weeks. Cooler temperatures slow everything down, so keep them warm if you can.
Why did my Aglaonema cutting rot?
Almost always, it's too much moisture. Either the soil stayed wet, the cutting went into soil before the cut callused, or the pot was too big. Cut away the rot, let the stem re-callus, and try again with a smaller pot and a lighter mix.
Final Thoughts
Propagating Aglaonema after pruning is one of the easiest wins in houseplant care. Take a stem section with a node, let it callus, root it in water or light soil, and keep it warm and humid. Two weeks is usually enough to see real progress.
The three things that'll trip you up are overwatering, bad light, and oversized pots. Avoid those, and you'll be swimming in new plants. I've gone from killing my first cuttings to filling windowsills with free Aglaonemas, and you can absolutely do the same. Just start with one cutting, keep it simple, and let the plant do its thing.





