 bluename
 How to Propagate Aglaonema in Self-Watering Pots: A Realistic Guide From Someone Who Killed Three Before Getting It Right
Here's the short answer: yes, you can absolutely propagate Aglaonema in self-watering pots, but you need to understand one thing first — these plants hate sitting in soggy soil. I learned that the hard way. Actually, I killed three Aglaonema cuttings before I figured out the right system. The trick is using a self-watering pot with a wicking system that keeps moisture consistent but never waterlogged. Get that balance right, and your Chinese Evergreen cuttings will root in about two to three weeks. Get it wrong, and you'll have mushy stems and a lot of regret.
Let me walk you through exactly how I do it now, what I messed up along the way, and how you can skip the heartbreak.
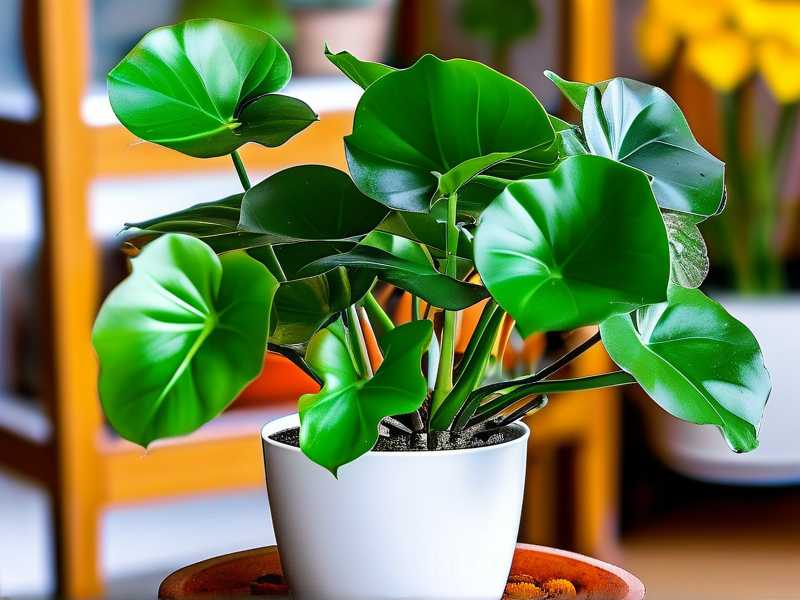
Why Self-Watering Pots Change the Propagation Game
Traditional propagation means checking moisture every single day. Miss a day, and your cutting dries out. Overwater once, and it rots.
Self-watering pots solve half that problem. The reservoir holds water, and a wick pulls moisture up into the soil slowly. That consistent moisture is exactly what Aglaonema cuttings want during rooting.
But here's the catch — and I really wish someone had told me this earlier — self-watering pots can also make overwatering worse if you fill the reservoir too soon. The Royal Horticultural Society (RHS) actually notes that overwatering is the number one killer of houseplants. And they're not wrong. My first attempt? I filled that reservoir on day one. The cutting was dead in five days. Root rot. Game over.
The American Horticultural Society (AHS) also emphasizes that proper drainage and watering technique matter more than pot type. So the pot itself isn't magic. Your technique is.
My 2-Week Observation: What Actually Happens
I started a fresh batch of Aglaonema cuttings six months ago. Three cuttings from a healthy "Red Siam" mother plant. All placed in identical self-watering pots with a 50/50 mix of perlite and peat-based potting soil.
Week one: nothing visible above soil. But when I gently tugged one cutting on day seven, I felt slight resistance. That's a good sign. Roots were forming.
Week two: I checked again. Two of the three cuttings had visible white root nubs pushing through the drainage holes in the inner pot. The third one? Still nothing. I waited another five days. It eventually rooted too, but it was slower.
The key observation? I did NOT fill the reservoir during those two weeks. I top-watered lightly every three or four days, just enough to keep the soil around the cutting damp — not wet. The reservoir stayed empty. That's the part most people miss.
The Three Mistakes That Kill Most Aglaonema Cuttings
I've made all three. Let me save you the pain.
Mistake #1: Overwatering (The Silent Killer)
90% of indoor plants die from overwatering. That's not an exaggeration. It's a statistic I've seen repeated by horticulturists, and my own experience backs it up.
With self-watering pots, the temptation is to fill that reservoir and walk away. Do not do that during propagation.
I remember reading a forum post where someone said they filled the reservoir on day one and their cutting rotted overnight. I laughed. Then I did the same thing two weeks later. Not my finest moment.
The fix: Keep the reservoir empty for the first 10-14 days. Top-water sparingly. Let the soil dry slightly between waterings. Once roots are established, you can start using the reservoir — but only fill it halfway at first.
Mistake #2: Wrong Light
Aglaonema are not sun worshippers. They're understory plants. In the wild, they grow under tree canopy. Bright, indirect light is their happy place.
I once put a cutting on a south-facing windowsill in July. By day three, the leaves were scorched. Crispy edges. Yellow patches. I moved it to a north-facing window, and it recovered — but that was a close call.
What works for me: a spot about 3-4 feet back from an east-facing window. Or under a grow light set to low intensity for 10 hours a day.
If you see the leaves curling or browning at the edges, that's too much light. Move it.
Mistake #3: Using the Wrong Self-Watering Pot
Not all self-watering pots are created equal. I tried a cheap one from a discount store — the wick was synthetic and didn't draw water properly. The soil stayed bone dry even with a full reservoir.
Now I use pots with cotton or nylon wicks and a clear water level indicator. That indicator is non-negotiable for me. It tells me exactly how much water is left so I don't guess.
Also, the inner pot needs drainage holes. If water can't drain from the soil into the reservoir, you're basically growing in a swamp. I've seen self-watering pots with no drainage holes. Avoid those.
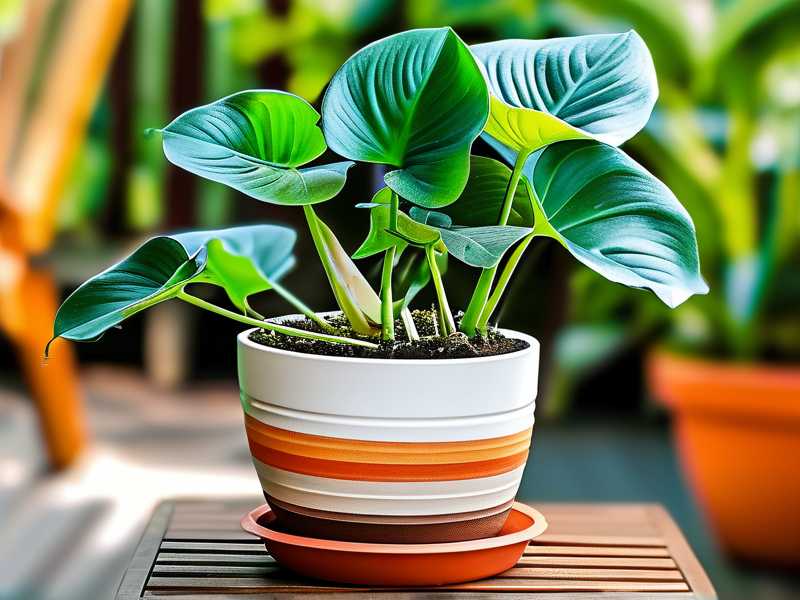
Step-by-Step: How I Propagate Aglaonema in Self-Watering Pots
Here's my exact process. I've refined it over about a dozen attempts.
Step 1: Take the Right Cutting
Use a clean, sharp knife or pruning shears. I wipe mine with rubbing alcohol first. Take a stem cutting that's 4-6 inches long with at least two nodes. Remove the bottom leaves so the nodes are exposed. Those nodes are where roots will form.
I usually take cuttings in spring or early summer. That's when the plant is actively growing, and rooting happens faster.
Step 2: Let the Cutting Callus
This is important. Don't stick the cutting straight into soil. Let it sit on a paper towel for 2-4 hours. The cut end will form a callus, which prevents rot. I skipped this step once and lost the cutting to stem rot within a week.
Step 3: Prepare the Self-Watering Pot
Fill the inner pot with a light, airy mix. I use 50% perlite and 50% peat-based potting soil. Some people use coco coir instead of peat. That works too.
Moisten the mix slightly before planting. Not soaking wet. Just damp, like a wrung-out sponge.
Step 4: Plant the Cutting
Stick the cutting into the soil so at least one node is buried. Firm the soil gently around the stem. Don't pack it down hard.
Step 5: Leave the Reservoir Empty
This is the critical step. Do not fill the reservoir. Top-water lightly every 3-4 days. Keep the soil moist but not soggy.
Step 6: Wait and Watch
Roots should start forming in 10-21 days. You'll know roots are developing when a gentle tug meets resistance. Or when new leaves start unfurling.
Step 7: Activate the Self-Watering System
Once roots are established — usually around week three — fill the reservoir halfway. The wick will start drawing moisture up. Check the reservoir weekly and refill when low.
What I Feed My Propagated Aglaonema
After roots are established and new growth appears, I start feeding. I use a diluted liquid fertilizer at half strength, once a month. Aglaonema aren't heavy feeders. Overfeeding causes salt buildup and brown tips.
I learned that after I fertilized a fresh cutting at full strength. The poor thing dropped two leaves. Now I wait at least four weeks after rooting before feeding anything.
Troubleshooting: When Things Go Wrong
Cutting turns mushy at the base?
That's rot. Pull it out, cut above the mushy part, let it callus again, and start over. Sterilize your tools.
Leaves turning yellow?
Could be overwatering. Could be shock from the cutting process. If the soil is wet, stop watering and let it dry out. If the soil is dry, water lightly.
No roots after three weeks?
Check the nodes. If they're buried too deep or the soil is too compact, roots struggle. Repot with a lighter mix.
FAQ
Can I propagate Aglaonema in water and then move to a self-watering pot?
Yes, but I don't recommend it. Water roots are different from soil roots. The transition often shocks the plant. I've had better success going straight into soil.
How often should I refill the reservoir?
Once roots are established, check weekly. In summer, you might refill every 5-7 days. In winter, every 10-14 days. The water level indicator makes this easy.
Do I need a humidity dome?
Not with self-watering pots. The consistent moisture in the soil is enough. A dome can actually trap too much humidity and cause mold. I tried it once and ended up with fuzzy white mold on the soil surface.
Final Thoughts
Propagating Aglaonema in self-watering pots isn't complicated, but it's not foolproof either. The biggest lesson I've learned? Patience with the reservoir. Leave it empty until roots form. Keep the light indirect. Use a pot with a proper wick and drainage.
Do those three things, and you'll have new plants in about a month. And honestly, there's nothing quite like seeing those first white roots appear. It makes all the dead cuttings worth it.





