 bluename
 How to Propagate Aglaonema in Large Pots: Multiple Cuttings
I'll be honest with you: the first time I tried to propagate an aglaonema, I killed it. Not the mother plant—the cuttings. Every single one rotted within ten days. I had stuffed seven stem pieces into one oversized ceramic pot, watered it like I would a mature plant, and parked it in a dark corner because I'd read that aglaonema tolerates low light. Tolerance and thriving are two very different things.
That was five years and roughly thirty aglaonema propagations ago. Now I fill large pots with multiple cuttings on purpose, and it works beautifully—once you understand a few things that most care guides gloss over.
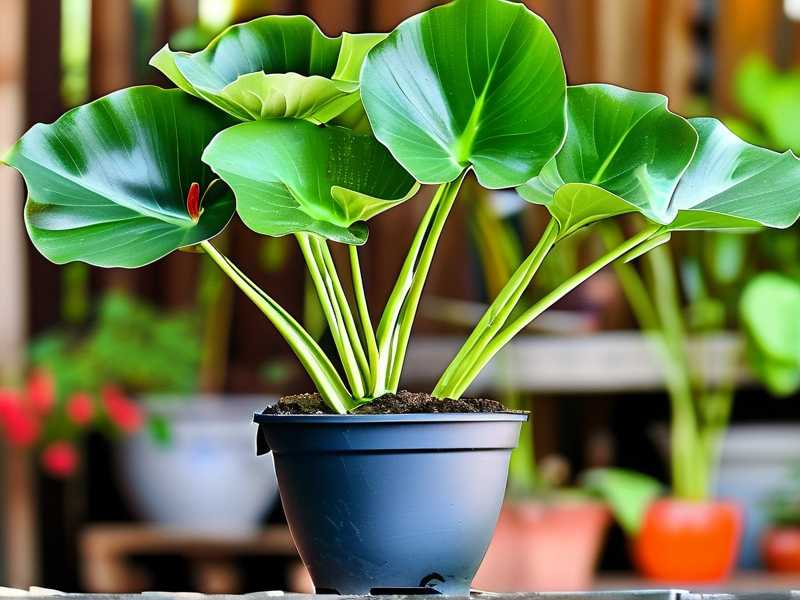
Quick answer before we go deeper: To propagate aglaonema in large pots with multiple cuttings, take 4–7 stem cuttings with at least two nodes each, let them callus for 24 hours, plant them 2–3 inches apart in a well-draining mix, keep the soil barely moist, and place the pot in bright indirect light. Roots form in 3–5 weeks. The big pot isn't the problem—the watering habits it encourages are.
Why a Large Pot Changes Everything
Most propagation guides assume you're rooting one or two cuttings in a tiny nursery pot. Fair enough. But a lot of us want the opposite: a full, bushy aglaonema right from the start, without waiting two years for a single stem to branch.
That's why I plant multiple cuttings in one large pot. You skip the awkward "sparse teenager" phase entirely.
But here's the catch. A large pot holds a large volume of soil. That soil stays wet far longer than the little four-inch pot your grandma used for her pothos cuttings. According to the RHS, poor drainage and excess moisture are among the leading causes of failure when rooting stem cuttings indoors. And I can confirm that from personal experience—painfully.
There's a number that should be taped to every plant parent's fridge:
90% of indoor plants die from overwatering.
Not underwatering. Not pests. Overwatering. And propagation is when this risk peaks, because cuttings have no established root system to drink up the excess.
The Pot Size Sweet Spot Nobody Talks About
I used to think bigger was better. Then I planted six aglaonema cuttings in a 14-inch pot. The soil at the bottom stayed soggy for nearly three weeks. Four cuttings turned to mush.
Now I follow a rough ratio: one cutting per 2–3 inches of pot diameter. So a 10-inch pot gets 4–5 cuttings. A 12-inch pot gets 5–6. That gives each cutting enough root space without drowning it in wet soil.
Also—drainage holes are non-negotiable. I don't care how pretty the cachepot is.
Step-by-Step: How I Actually Do It
Step 1: Take the Cuttings
I use a clean, sharp pair of pruning shears. Dull blades crush the stem, and crushed stems rot faster. I cut just below a node, making each cutting 4–6 inches long with at least two nodes. The lower node goes underground, the upper one stays above.
I remove the bottom leaves so the stem is bare where it'll sit in soil. Leaving those leaves buried is basically inviting fungal rot to dinner.
Step 2: Let Them Callus
This is the step most people skip. Fresh aglaonema cuttings ooze sap. If you plant them immediately, that wound is an open door for bacteria. I lay them on a paper towel in a shaded spot for 24 hours. The cut end dries and seals over.
I learned this one the hard way—my first batch went straight into wet soil, and every single cutting developed soft black stems within a week.
Step 3: Mix the Right Medium
I use a blend of three parts potting mix, one part perlite, and one part orchid bark. It sounds fussy, but it drains fast while still holding enough moisture. If you skip the perlite, you'll probably overwater without even realizing it. The AHS also recommends amending standard potting soil with coarse material for cuttings, which backs up what I've found through trial and error.
Step 4: Plant in the Large Pot
I fill the pot about two-thirds full, arrange the cuttings in a loose circle with 2–3 inches between them, then backfill gently. I don't press the soil down hard. Tamping it compresses the mix and kills the air pockets roots need.
Step 5: Water Once and Wait
Here's where people ruin everything. I water thoroughly once after planting, then I don't water again until the top inch of soil feels dry. In a large pot, that might take 10–14 days. That's normal. Don't panic-water.
I also don't fertilize for the first six weeks. Cuttings can't absorb nutrients properly yet, and fertilizer salts can burn emerging roots.
What I Observed Over Two Weeks
I kept notes on my most recent batch—six cuttings in a 12-inch terracotta pot.
Week 1: No visible change above the soil. The cuttings looked slightly wilted on day two, which scared me. I resisted the urge to water. By day five, they had perked up. That's the stem adjusting, not dying.
Week 2: Still no new leaves. But I gently tugged one cutting, and there was slight resistance. That means tiny roots were forming. I didn't dig around to check—that's another beginner mistake. Patience beats poking.
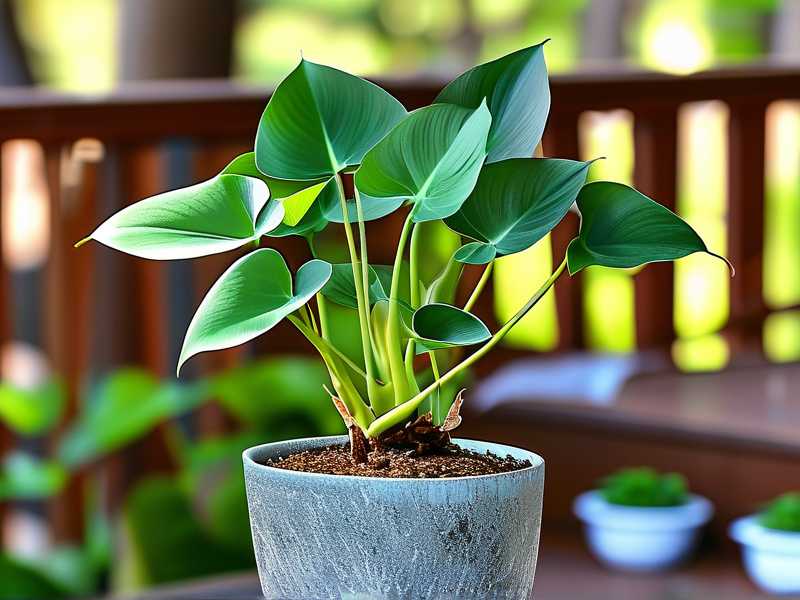
By week four, I saw the first new leaf unfurling on two of the six cuttings. The others followed within ten days.
Three Mistakes That Kill Most Propagations
1. Overwatering
I've already hammered this point, but it deserves repeating. Overwatering is the number one killer. In a large pot, the problem gets worse because there's more soil to hold moisture. Water less than you think you should.
2. Wrong Light
Aglaonema tolerates low light, yes. But cuttings need energy to produce roots. I place my propagation pots in bright, indirect light—near an east or north window works well. Direct afternoon sun scorches the leaves. Full shade stalls root development.
I once tried rooting cuttings in a windowless bathroom because it "looked nice." Three weeks later, nothing had happened. No roots, no growth, just sad stems.
3. Using the Wrong Pot
Terracotta breathes. Plastic doesn't. Glazed ceramic is somewhere in between. For propagation, I prefer unglazed terracotta because it wicks away excess moisture. If you use plastic, be extra careful with watering.
And never use a pot without drainage holes. I don't care what Pinterest says about decorative planters. Drill a hole or use a liner pot inside.
Frequently Asked Questions
Can I root aglaonema cuttings in water instead of soil?
Yes, you can. I've done it. But the transition from water to soil shocks the roots, and I've lost cuttings during that switch. If you go the water route, change the water every five days and plant in soil as soon as roots reach two inches. Honestly, I prefer starting in soil—less transplant drama.
How long before the pot looks full?
With 5–6 cuttings in a 12-inch pot, expect a reasonably full appearance in about three to four months during the growing season. In winter, everything slows down. I've had pots take six months to fill out when I propagated in November. Be patient.
Do I need a humidity dome?
Not necessarily. Aglaonema isn't as humidity-dependent as, say, calathea. But if your home is very dry—below 40% humidity—a loose plastic bag over the pot for the first two weeks can help. Just open it daily for airflow so you don't grow mold.
A Few Last Things I Wish Someone Had Told Me
The big pot isn't the enemy. Bad watering habits are. Multiple cuttings in one pot can work beautifully if you give them space, drainage, and patience.
Don't tug on your cuttings every day. Don't water on a schedule. Don't assume something is wrong just because nothing happens in week one.
I've killed plenty of plants getting to this point. The aglaonema is forgiving once it's established, but the propagation stage demands a bit of restraint. Give it that, and you'll end up with a lush, full pot that looks like it came from a nursery—except you made it yourself, from cuttings you probably snipped off a friend's plant or your own overgrown mother specimen. That feeling never gets old.





