 bluename
 How to Propagate Aglaonema in Small Pots: Grow Mini Plants That Actually Thrive
Here's the short answer: cut a stem just below a node, let it callus for a few hours, stick it in a tiny pot with chunky, airy mix, keep it warm and barely moist, and you'll see new roots in about two weeks. That's it. That's the whole game with Aglaonema propagation in small pots.
I've killed more Aglaonema cuttings than I'd like to admit. My first attempt drowned in a 6-inch pot of soggy peat. My second rotted on a windowsill that got direct afternoon sun. The third one finally worked, and it taught me everything I wish someone had told me upfront.
So if you want mini Aglaonema plants growing on your shelf, not in your compost bin, keep reading. I'll walk you through exactly what I do, what went wrong, and what I'd tell any friend who asked.
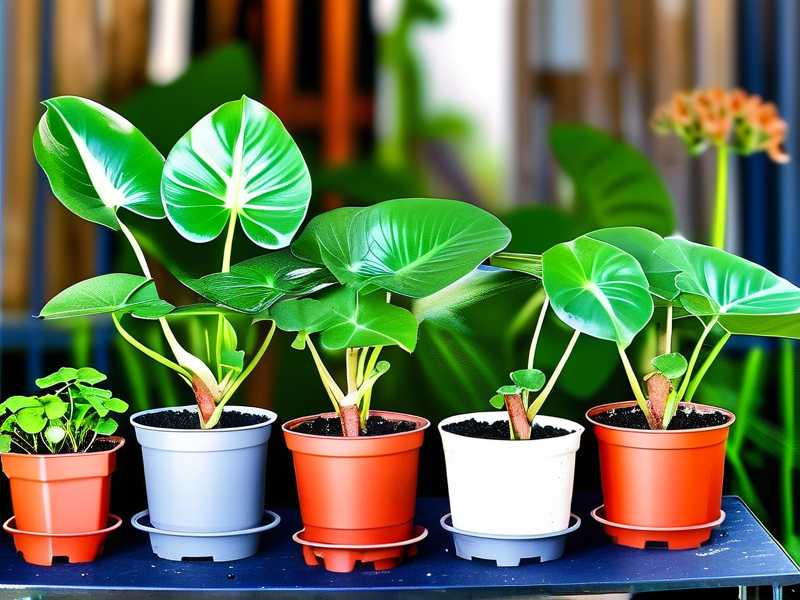
Why Small Pots Change Everything
Most people propagate Aglaonema in water or big pots. I get it. Water propagation looks pretty on Instagram. But small pots give you something water can't: real root development in actual soil.
When roots form in water, they're built for water. The moment you move them to soil, the plant has to grow a whole new root system. That's a shock, and a lot of cuttings don't survive it.
Small pots skip that drama.
A 2 to 3 inch pot holds just enough moisture without staying wet for weeks. And that matters because, honestly, 90% of indoor plants die from overwatering. I'm not exaggerating. I've watched it happen to my own plants more times than I care to count.
The RHS has said for years that poor drainage and excess moisture are among the top killers of houseplants. Small pots basically force good drainage habits on you whether you like it or not.
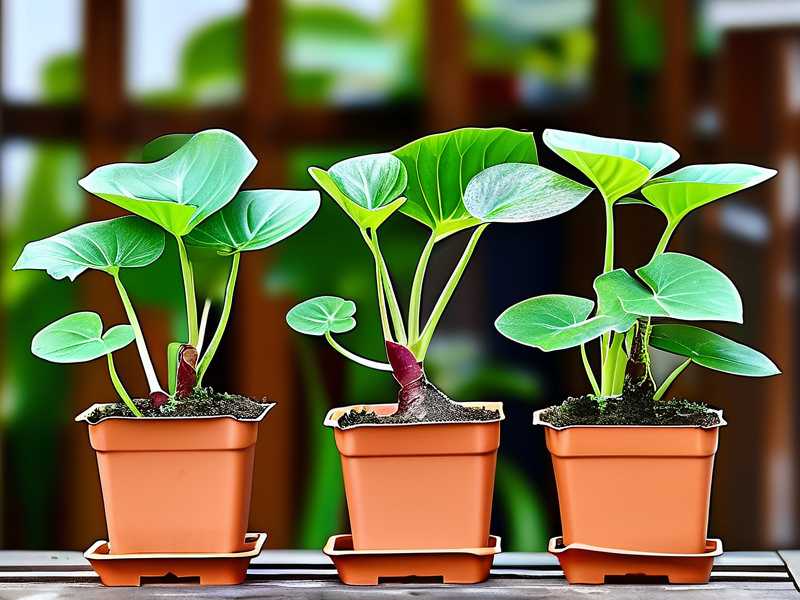
What You'll Need Before You Start
Nothing fancy. Here's my actual setup:
- A healthy Aglaonema with at least a few stems
- Clean scissors or pruning shears (wipe them with rubbing alcohol first)
- Small pots, 2 to 3 inches wide, with drainage holes
- A chunky potting mix: I use 50% peat or coco coir, 30% perlite, 20% orchid bark
- A warm spot with bright, indirect light
- A plastic bag or clear container for humidity (optional but helpful)
Skip the rooting hormone if you want. Aglaonema roots fine without it. I've tested both ways and honestly saw no real difference. Save your money.
Step-by-Step: How I Propagate Aglaonema in Small Pots
Step 1: Pick the Right Stem
Look for a stem that's healthy, has at least two or three leaves, and isn't brand new growth. Soft, fresh shoots rot faster. Slightly mature stems root better.
I made this mistake early on. I took a cutting from the newest, softest growth because it looked pretty. It turned to mush in four days.
Step 2: Make the Cut
Cut about half an inch below a node. The node is that little bump where leaves and roots emerge. That's where new roots come from, so don't skip past it.
Use one clean cut. Don't saw back and forth. Crushed stems invite rot.
Step 3: Let It Callus
This part feels weird if you're impatient. Just leave the cutting on a plate for 2 to 4 hours. The cut end dries and seals over.
I used to skip this step because I thought it didn't matter. Then I lost three cuttings in a row to stem rot. Now I always wait.
Step 4: Pot It Up
Fill your small pot with the chunky mix. Poke a hole with a pencil. Slide the cutting in so the node sits just below the soil surface.
Tamp the mix gently. Don't pack it down hard. Roots need air pockets.
Step 5: Water Once, Then Wait
Water lightly until it just drips from the bottom. Then stop. I mean it. Put the watering can down.
I check mine every few days, but I don't water again until the top inch of mix feels dry. In a 3-inch pot, that's usually every 7 to 10 days in normal home conditions.
My Two-Week Observation Log
I kept notes during my last propagation round. Here's what actually happened:
Day 1: Cutting potted. Placed in a bright spot with no direct sun. Temperature around 72°F.
Day 3: No visible change. Soil still slightly damp. Fought the urge to water.
Day 5: A tiny nub appeared at the node. I almost missed it.
Day 7: Soil was dry about an inch down. Watered lightly.
Day 10: Two small roots visible through the drainage hole. This is the moment it gets exciting.
Day 14: Roots clearly established. A new leaf bud forming at the top. I knew it had taken.
Two weeks. That's the timeline in good conditions. Cooler rooms slow it down. I tried a cutting in my 65°F bedroom once and it took almost four weeks.
The 3 Mistakes That Kill Most Cuttings
Mistake 1: Overwatering
This is the big one. I've done it. You'll probably do it too. Overwatered cuttings don't just look sad, they rot from the inside.
Here's the rule I follow now: if I'm not sure whether to water, I don't. Aglaonema cuttings would rather be a little dry than a little wet.
Mistake 2: Wrong Light
Direct sun burns the leaves and cooks the cutting. Deep shade stalls root growth entirely. I learned this the hard way after putting a fresh cutting on my south-facing windowsill in July.
Bright, indirect light is the sweet spot. A few feet back from a window, or behind a sheer curtain, works great.
The AHS recommends filtered light for most tropical houseplants, and Aglaonema is no exception. Think jungle floor, not desert.
Mistake 3: Using the Wrong Pot
Too big is worse than too small. A big pot holds a big volume of wet soil, and a tiny cutting can't drink it dry. That's how rot starts.
Stick with 2 to 3 inch pots for single cuttings. If you want a fuller mini plant, put two or three cuttings in a 4-inch pot, but no bigger.
I killed a whole batch once by using a 6-inch pot because I thought the plant would "have room to grow." It didn't grow. It rotted.
Small Pot Care After Roots Form
Once roots are established, you're not done. Mini Aglaonema plants in small pots need slightly different care than full-size ones.
Water more often, but still lightly. Small pots dry out faster. Check every 5 to 7 days.
Feed very diluted fertilizer, maybe once a month during growing season. I use half-strength liquid fertilizer. Full strength burns tiny root systems.
Repot when roots circle the pot. Usually that's 6 to 12 months out. Move up just one pot size, not two.
Long-Tail Tips That Made a Real Difference
Using a humidity dome: I place a clear plastic cup over the cutting for the first week. It keeps humidity high and speeds things up. Just open it for a few minutes every couple of days so mold doesn't set in.
Bottom heat: A seedling heat mat underneath the pot made my winter propagation much faster. Roots love warmth.
Patience with variegation: If you propagate a variegated Aglaonema, don't panic if new leaves come out mostly green at first. Give it time and good light.
Frequently Asked Questions
Can I propagate Aglaonema in water and then move it to a small pot?
Yes, but I don't recommend it. Water roots are fragile and often struggle when moved to soil. If you do go this route, wait until roots are 2 to 3 inches long, then pot in a very small container with chunky mix and keep it extra humid for the first week.
How do I know my cutting has rooted without pulling it out?
Look for new leaf growth. That's the clearest sign. You can also gently tug the stem. If it resists, roots are holding on. If it slides out easily, it hasn't rooted yet. I've pulled out way too many cuttings out of curiosity, and it always sets them back.
Why did my Aglaonema cutting turn yellow and mushy?
That's rot, almost every time. It comes from too much water, too cool temperatures, or a pot with no drainage. Cut your losses, toss the mushy stem, and start fresh with a clean cutting and a smaller pot.
Final Thoughts
Propagating Aglaonema in small pots isn't complicated. It's just unforgiving of the usual mistakes: too much water, wrong light, oversized pots.
Get those three things right and you'll have mini plants growing on your shelf in about two weeks. I've done it dozens of times now, and it still feels a little magic every time a new root pokes through the drainage hole.
Start small. Literally. Your future plant collection will thank you.





