 bluename
 How to Propagate Aglaonema for Maximum Variegation
If you want more of those gorgeous pink, red, or silver-splashed leaves without buying a new plant, you can absolutely propagate aglaonema at home. The trick to keeping that flashy variegation? Propagate from stem cuttings, not just division, and keep the cutting in bright, indirect light while it roots. I've done this with my own 'Lady Valentine' and 'Silver Bay' plants, and I'll walk you through exactly what worked, what flopped, and the dumb mistakes I made so you don't repeat them.
Why Variegation Fades (and How to Keep It)
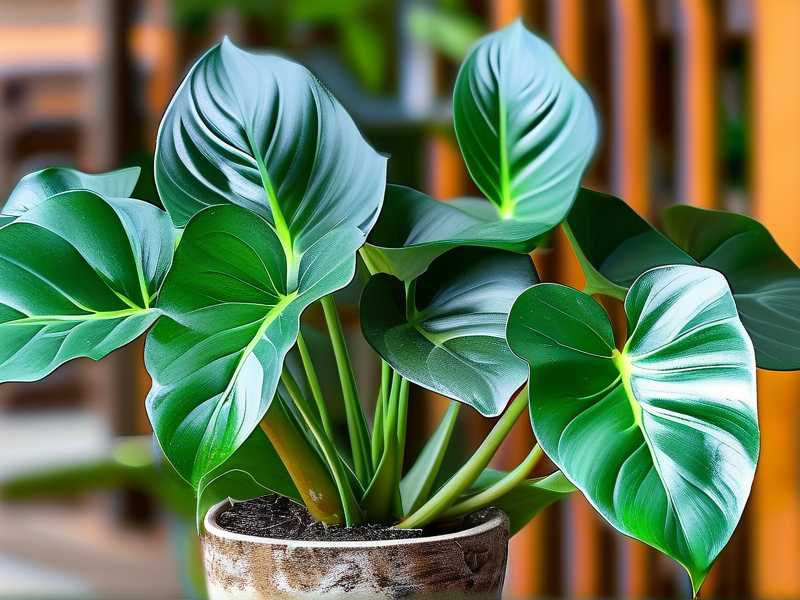
Variegation in aglaonema isn't just a cosmetic quirk—it's genetic, but it's also influenced by light. Those colorful patches are areas with less chlorophyll, so they need more light to photosynthesize. If you root a cutting in low light, the new growth often comes out mostly green. I learned this the hard way with my first propagation attempt.
Here's the short version: bright, indirect light keeps variegation strong. Direct sun burns the leaves. Too little light turns them green. Simple as that.
The RHS notes that variegated plants generally need more light than their solid-green counterparts because they have less chlorophyll to work with. That matches what I've seen. My north-facing window gave me weak, washed-out pink. My east-facing window with a sheer curtain? That's the sweet spot.
The Best Method: Stem Cuttings in Water or Moss
Division works, but it's slow and you get maybe one or two new plants. Stem cuttings are faster, and you can take multiple cuttings from one leggy plant.
Here's my step-by-step, based on what actually worked after killing three propagations.
Step 1: Pick the Right Time
Late spring to early summer is ideal. The plant is actively growing, so roots form faster. I tried in winter once—waited six weeks and got nothing but a mushy stem. Not worth it.
Step 2: Take the Cutting
Use clean, sharp scissors or pruners. I wipe mine with rubbing alcohol first. You want a stem section with at least two nodes—those little bumps where leaves attach. Cut just below a node. Remove the bottom leaf so the node is exposed.
Aim for a cutting that's 4 to 6 inches long. If the stem is thick and woody, that's fine. Aglaonema stems are sturdy.
Step 3: Root in Water or Sphagnum Moss
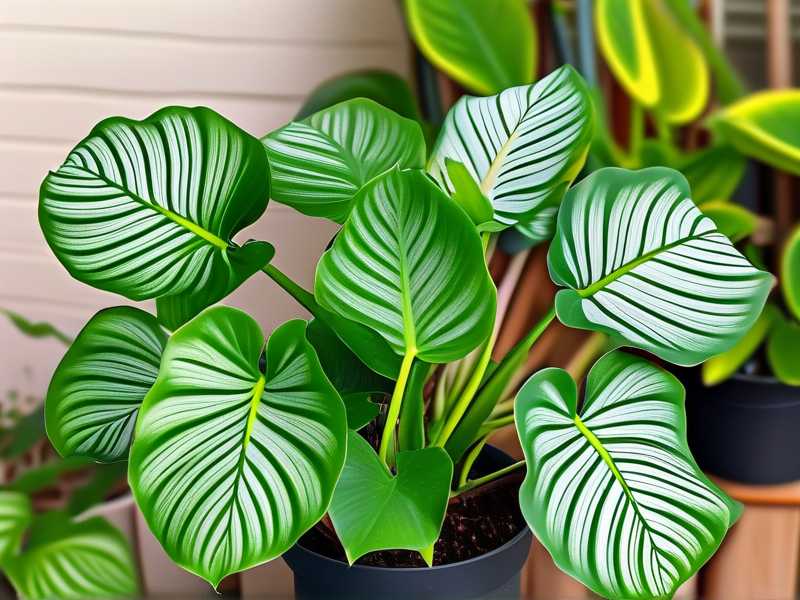
I've tried both. Water is easier to monitor, but moss gives stronger roots.
For water: use a clean glass or jar. Room-temperature water. Change it every three to four days. I forgot once and got algae and rot. Don't be me.
For moss: squeeze excess water from sphagnum moss, put it in a small container, and stick the cutting in. Keep it consistently moist, not soggy.
Step 4: Provide Bright, Indirect Light
This is the variegation secret. Put the cutting near an east or west window with a sheer curtain. Or use a grow light for 10 to 12 hours a day. I use a cheap LED grow light on a timer, about 12 inches above the cutting.
After two weeks, you should see tiny white root nubs forming. That's your sign it's working. If the stem turns brown and soft, you've got rot. Toss it and start over with a cleaner cut.
Step 5: Wait for Roots, Then Pot Up
Roots take three to six weeks in water, sometimes longer in moss. Wait until roots are at least 2 inches long before potting. I potted one too early and it never took off. Patience pays.
Use a small pot—2 to 3 inches—with drainage holes. More on that below.
The Three Mistakes That Kill Most Propagations
I've made all of these. Every single one.
Mistake 1: Overwatering
You've heard it before, but it's worth repeating: 90% of indoor plants die from overwatering. That includes propagations. In water, this means changing the water too infrequently or letting the stem sit in stagnant, murky water. In moss or soil, it means keeping things perpetually wet.
The fix: let the medium dry slightly between waterings. For moss, squeeze it out well before using. For soil, water only when the top inch is dry. Roots need oxygen. Soggy roots suffocate and rot.
Mistake 2: Wrong Light
I put my first cutting on a shelf in a dark corner because I thought "low light plants" meant no light. It rooted, but the new leaves were solid green. All that beautiful pink was gone.
The fix: bright, indirect light. Not direct sun. Not deep shade. Think of a spot that's bright enough to read a book comfortably.
Mistake 3: Wrong Pot Size
After roots form, new growers often pot into a giant container "so it has room to grow." Bad idea. A big pot holds too much moisture around tiny roots. That leads to rot.
The fix: use the smallest pot that fits the root system. A 2-inch pot for a single cutting is fine. Upgrade as it grows.
My Two-Week Observation Journal
I started three cuttings from my 'Silver Bay' on a Tuesday. Here's what I saw.
Day 1: Cuttings in water, placed under a grow light. Stems looked healthy.
Day 3: No change. Water still clear.
Day 5: One cutting's stem turned slightly yellow at the bottom. I trimmed it and changed the water. The other two looked fine.
Day 7: Tiny white bumps appeared on two cuttings. Node area. This is the beginning of root formation.
Day 10: Roots are about half an inch long. The yellow one? Still nothing. I tossed it.
Day 14: Two cuttings have roots about an inch long. Leaves are still perky. Variegation looks unchanged so far.
By week four, those two cuttings had strong roots and I potted them into 2-inch pots with a mix of potting soil and perlite. Six months later, the new leaves show strong silver and green patterns—identical to the mother plant.
Soil vs. Water vs. Moss: Which Gives Maximum Variegation?
Honestly? Light matters more than rooting medium. But moss gave me slightly faster root development, and water was easiest to monitor. I use water for small cuttings and moss for thicker stems.
The AHS recommends starting cuttings in a sterile medium to reduce disease risk. That's solid advice. I now use fresh sphagnum moss every time.
Long-Term Care for Variegated Aglaonema
Once potted, treat your new plant like the parent. Water when the top inch of soil is dry. Fertilize monthly in spring and summer with a balanced liquid fertilizer at half strength. Wipe leaves with a damp cloth to keep them dust-free—dust blocks light and reduces variegation over time.
Rotate the pot weekly so all sides get even light. I skipped this once and ended up with a lopsided plant. Not a big deal, but easy to avoid.
A Quick Note on Genetic vs. Environmental Variegation
Some aglaonema varieties are stable—their variegation is consistent. Others are chimeras, meaning the pattern can shift. If your cutting comes from a mostly green section of a variegated plant, it may stay green. Always take cuttings from the most colorful stems you can find.
FAQ
Can I propagate aglaonema from a single leaf?
No. Leaf cuttings don't work for aglaonema. You need a stem section with at least one node. A leaf alone will root but won't produce new growth.
How long until I see new variegated leaves?
Usually six to eight weeks after potting. The first few leaves might be smaller and less colorful. As the plant matures under good light, variegation strengthens.
Do I need a rooting hormone?
Not required, but it can speed things up. I use a gel rooting hormone on thicker cuttings. For soft green stems, plain water works fine.
Final Thoughts
Propagating aglaonema for maximum variegation comes down to three things: start with a colorful cutting, give it bright indirect light, and don't drown it. I've killed my share of cuttings, but once I stopped overwatering and moved them into better light, everything changed. You don't need fancy equipment. A jar, some moss, and a windowsill will do. Give it two weeks. You'll see roots starting. Then just be patient. The payoff—more of those stunning leaves—is worth it.





