 bluename
 How to Avoid Common Aglaonema Care Mistakes and Keep Your Chinese Evergreen Thriving
I’ve killed my fair share of plants. There, I said it. For years, I thought I had a black thumb, especially when it came to the supposedly “indestructible” Aglaonema, or Chinese Evergreen. I’d bring home a gorgeous, variegated beauty, only to watch it succumb to yellow leaves, drooping stems, or worse, a silent, mushy demise. It was frustrating and expensive. I was making all the classic Aglaonema care mistakes, and I didn’t even know it.
It wasn’t until I decided to treat plant care like a proper experiment—observing, adjusting, and learning from failures—that everything changed. This guide is the result of that journey. Over the next sections, I’ll walk you through the most common pitfalls I’ve personally encountered and, more importantly, the practical, tested solutions that transformed my Aglaonemas from struggling survivors into lush, vibrant showpieces. My goal is to help you avoid common Aglaonema care mistakes right from the start.
The Foundation: Understanding What Your Aglaonema Really Wants
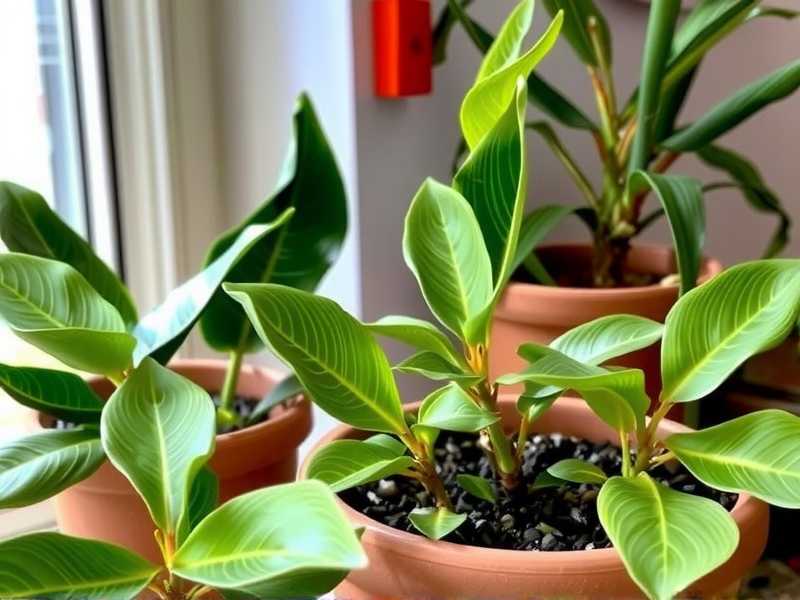
Before we dive into the specific errors, it’s crucial to understand the native habitat of Aglaonemas. According to the Royal Horticultural Society (RHS), these plants are understory dwellers in tropical forests of Asia. This means they are adapted to dappled light, consistent warmth, high humidity, and soil that drains well yet retains some moisture. Most of our care mistakes stem from deviating too far from these core conditions.
Mistake #1: The Love-Hate Relationship with Water (Overwatering vs. Underwatering)
This is, without a doubt, the number one killer of houseplants, and Aglaonemas are prime victims. I used to water on a strict schedule—every Sunday, come rain or shine. Big mistake.
My 2-Week Observation & Fix: I took two identical Aglaonema ‘Silver Bay’ plants. For one, I stuck to my weekly watering schedule. For the other, I adopted the “finger test” method. I inserted my finger about 2 inches into the soil. If it felt dry, I watered thoroughly until it ran out the drainage hole. If it was still damp, I walked away.
- Week 1: The schedule-watered plant showed no change. The finger-test plant was also fine.
- Week 2: The schedule-watered plant developed one slightly yellowing lower leaf. The soil at the bottom was still soggy. The finger-test plant pushed out a shiny new leaf.
The problem with a schedule is it ignores variables like light, temperature, and humidity, which all affect how quickly soil dries. Overwatering suffocates roots, leading to root rot—a silent, fast-acting killer. Underwatering, while less immediately fatal, causes crispy brown leaf edges and stunted growth.
The Solution: Ditch the Calendar.
- Tool: Use your finger or a wooden chopstick as a moisture meter.
- Technique: Water deeply only when the top 1-2 inches of soil are dry. Ensure all excess water can drain freely. Never let the plant sit in a saucer of water.
- Pro Tip: In winter or low-light conditions, your plant may need water only once every 3-4 weeks. Always check first.
Mistake #2: Assuming “Low Light” Means “No Light”
Aglaonemas are praised for their tolerance for low light conditions, but this label is misleading. I used to tuck them into dark corners where nothing else would grow, wondering why their vibrant variegation faded and growth completely halted.
My 2-Week Observation & Fix: I moved a fading Aglaonema ‘Red Valentine’ from a dark north-facing hallway to a spot about 6 feet back from a bright, east-facing window (no direct sun). I monitored it closely.
- Week 1: No negative reaction. No scorching. The existing leaves seemed to perk up slightly.
- Week 2: The rich red and pink hues in the leaves became noticeably more intense. The plant overall looked “happier” and less stretched.
The American Horticultural Society (AHS) notes that while Aglaonemas survive in low light, they truly thrive in bright, indirect light. Direct afternoon sun will scorch their leaves, but a complete lack of light starves them. Variegated varieties, in particular, need brighter light to maintain their stunning colors.
The Solution: Find the Sweet Spot.
- Ideal Location: An east-facing window is perfect. A north-facing window can work if it’s bright. A south or west window is fine if filtered by a sheer curtain or placed well back from the direct rays.
- Signs to Watch: Leggy growth, small new leaves, and loss of variegation mean more light is needed. Brown, crispy patches on leaves mean too much direct sun.
Mistake #3: Ignoring the Humidity Factor
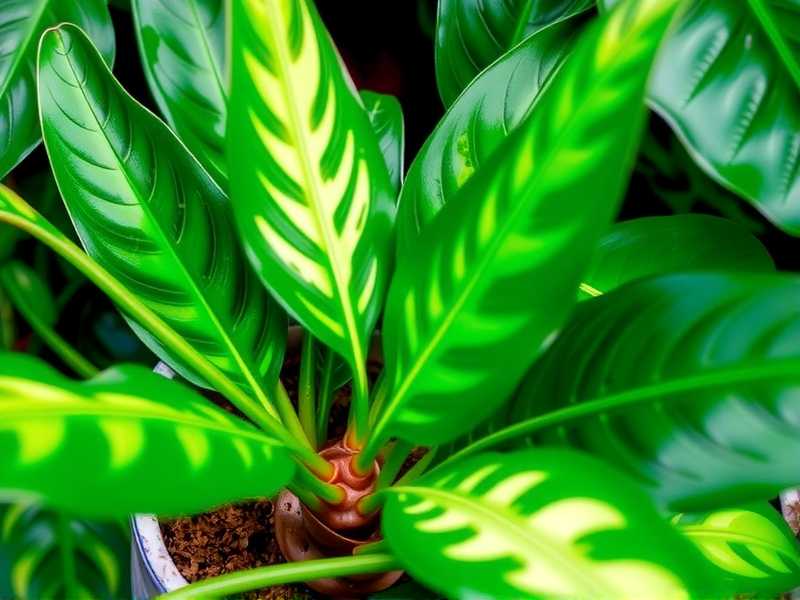
Our homes, especially with heating or air conditioning, are often much drier than the tropical forests Aglaonemas love. I ignored humidity for years, blaming other factors for the persistent brown, crispy leaf tips on my plants.
My 2-Week Humidity Experiment: I placed a humidity tray (a shallow tray filled with pebbles and water) under my Aglaonema ‘Maria’. The pot sat on the pebbles, above the water line (to avoid root rot). I also grouped it with a few other plants.
- Week 1: The existing brown tips remained, but no new ones appeared.
- Week 2: The new leaf that unfurled was perfect—no browning at all. The older leaves looked healthier, less dry at the edges.
While Aglaonemas won’t immediately die from low humidity, they express their discomfort clearly. Consistent low humidity stresses the plant, making it more susceptible to pests like spider mites.
The Solution: Boost Moisture in the Air.
- Simple Methods: Group plants together, use a pebble tray, or regularly mist around (not directly on) the plant.
- Best Investment: For a collection of tropical plants, a small humidifier is a game-changer for maintaining optimal Aglaonema humidity levels.
- Location: Avoid placing your plant directly in the path of heating or cooling vents, which blast dry air.
Mistake #4: “Planting and Forgetting” – Soil and Potting
I used to repot into whatever potting mix was cheapest and often chose pots that were way too large, thinking I was giving the roots room to grow. This is a classic error in Aglaonema maintenance.
The Pitfall of Bad Soil and Big Pots: Oversized pots hold excess moisture around a small root ball, creating a perfect environment for root rot. Heavy, dense soil does the same. Aglaonemas need a loose, airy, and well-draining mix.
My Fix & The Right Way to Repot:
- Pot Size: Only go up 1-2 inches in diameter when repotting. Ensure it has drainage holes.
- Soil Mix: I now use a high-quality, well-draining potting mix. A great recipe is 2 parts regular potting soil, 1 part perlite, and 1 part orchid bark for aeration. This mimics the loose, organic matter of a forest floor.
- Repotting Technique: Gently loosen the root ball. Place it in the new pot with fresh mix at the bottom and around the sides. Water thoroughly to settle the soil.
Nurturing Your Plant: Beyond the Basics
Once you’ve corrected the fundamental mistakes, a little targeted care will supercharge your plant’s health.
Feeding Without Burning: Less is more. During the active growing season (spring and summer), feed monthly with a balanced, water-soluble fertilizer diluted to half strength. I made the mistake of full-strength feeding in winter once and saw fertilizer salt burn on the leaf edges. In fall and winter, stop feeding entirely.
Pruning for Beauty and Health: Don’t be afraid to prune! Use clean, sharp scissors to remove any yellow or damaged leaves at the stem base. To encourage a bushier plant, you can snip off the very top of a leggy stem. The plant will often respond by pushing out new growth from lower nodes.
Pest Patrol: A stressed plant is a magnet for pests. Keep an eye out for mealybugs (look like tiny cotton balls) and spider mites (fine webbing). My first line of defense is to wipe leaves regularly with a damp cloth. For infestations, I use insecticidal soap or neem oil, applied weekly until the problem is gone. Prevention through proper care is the best strategy.
Frequently Asked Questions by Fellow Plant Lovers
My Aglaonema’s leaves are turning yellow. What’s wrong? The most common cause is overwatering. Check your soil moisture immediately. If it’s wet, let it dry out significantly before watering again and ensure your pot drains. Yellow leaves can also signal a need for more light or, less commonly, a need for fertilizer.
Can I propagate my Aglaonema? Absolutely! It’s very rewarding. The easiest method is division during repotting—gently separating a clump of stems with roots attached. You can also take stem cuttings. I placed a stem with a few nodes in water, changed the water weekly, and had robust roots in about 4-6 weeks before potting it up.
Is Aglaonema pet-friendly? No. This is important. The ASPCA lists Aglaonemas as toxic to cats and dogs due to calcium oxalate crystals. If ingested, it can cause oral irritation, pain, and vomiting. Please keep these beautiful plants in a location inaccessible to your furry friends.
Caring for an Aglaonema successfully isn’t about having a magical green thumb; it’s about understanding and replicating a slice of its natural world in your home. It’s about observation over routine, and consistency over guesswork. By avoiding these common pitfalls—overwatering, incorrect lighting, ignoring humidity, and using poor potting practices—you’re not just preventing problems. You’re creating the conditions for your Chinese Evergreen to truly flourish. Start with the finger test for water, find that bright indirect light spot, and give it a little humid love. Your resilient, stunning Aglaonema will reward you with years of vibrant, air-purifying beauty.





