 bluename
 How to Fix Aglaonema Soil Mold: Safe Removal and Prevention
I love my Aglaonema, or Chinese Evergreen. Its stunning, patterned leaves brought a vibrant calm to my living room corner. That’s why my heart sank when I noticed a fuzzy, white substance spreading across the soil surface. It wasn't just unsightly; it was a red flag. My beautiful plant was sitting in soil that was too wet, a perfect breeding ground for mold. If you're here, you've likely spotted the same unsettling sight. Don't panic. Over the next two weeks, I transformed my moldy situation into a healthy, thriving plant environment, and I'll guide you through every safe, effective step I took.
Understanding the enemy is the first step. This mold is typically a saprophytic fungus, meaning it feeds on decaying organic matter in consistently damp soil. According to the Royal Horticultural Society (RHS), while this mold itself isn't usually a direct pathogen to the plant, it's a clear symptom of excessive moisture and poor air circulation. This environment can lead to the real danger: root rot. The American Horticultural Society (AHS) emphasizes that soggy soil suffocates roots, preventing them from absorbing water and nutrients, which ultimately causes the plant to decline. My goal wasn't just to scrape off the mold; it was to fix the underlying conditions that caused it.
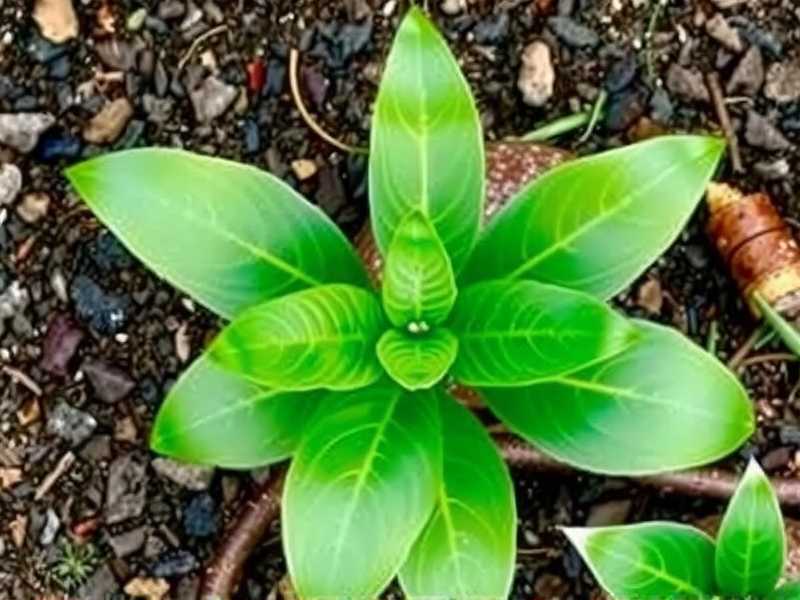
My Step-by-Step, Two-Week Recovery Plan
I approached this methodically. Rushing could stress the plant further. Here is the exact safe removal and recovery process I followed.
Immediate Action: The Safe Removal Protocol
The moment I confirmed it was mold (not mineral deposits, which are crusty and hard), I sprang into action. First, I moved my Aglaonema to an isolated area, like my kitchen counter, to prevent any potential spores from spreading to other houseplants. I put on gloves—a simple but important step for personal hygiene.
Next, I carefully scraped off the top inch of affected soil using a clean spoon. I placed this moldy soil directly into a sealed bag for disposal, not my compost bin. After removing the contaminated layer, I gently loosened the remaining surface soil with a fork to improve aeration immediately. For the visible mold on the pot's rim, I used a paper towel dipped in a diluted hydrogen peroxide solution (one part 3% peroxide to four parts water) to wipe it away safely. This initial cleanup took less than 30 minutes but set the stage for recovery.
Addressing the Root Cause: Repotting for Health
Surface cleaning was a temporary fix. I knew the problem was deeper. Two days later, when the plant was less stressed from the initial shock, I proceeded with a full repot. This is the most crucial step for long-term health.
I prepared a fresh, well-draining potting mix. I used a high-quality indoor plant soil and amended it with plenty of perlite and orchid bark—about a 2:1:1 ratio. This creates the chunky, airy structure Aglaonemas adore. I also selected a clean pot with ample drainage holes. My old pot was ceramic and, upon inspection, had a tiny crack that might have been trapping moisture. I chose a new, slightly smaller terracotta pot, as its porous nature helps wick away excess moisture.
Gently, I tipped the plant out. The roots told the story: they were damp and a few of the smaller feeder roots were dark and mushy—classic signs of the early stages of root rot. Using sterilized pruning shears, I snipped away these affected roots. I then lightly dusted the remaining healthy roots with cinnamon, a natural antifungal, before placing the plant in its new pot with fresh, dry mix. I watered it sparingly, just enough to settle the soil, and placed it in bright, indirect light.
The Two-Week Observation and Adjustment Period
The real work began after repotting. I committed to a strict observation routine.
- Week 1 Monitoring: I resisted the urge to water. I checked the plant daily, not for moisture on the surface, but by feeling the soil through the drainage hole or using a moisture meter. The top two inches of soil stayed dry for the entire week. The plant showed no signs of drooping, confirming it was accessing water from the damp soil deeper in the pot. No new mold appeared. This was a huge win.
- Week 2 and Watering Discipline: On day 8, my moisture meter read "dry" deep into the pot. This was my cue. I performed a thorough but careful watering: I took the pot to the sink, watered slowly until it ran freely from the bottom, and let it drain completely for 30 minutes before returning it to its decorative saucer, which I ensured was always dry. I also increased air circulation by running a ceiling fan on low for a few hours each day.
By the end of the second week, my Aglaonema wasn't just surviving; it was pushing out a new, tightly furled leaf. The soil surface was clean, dry, and smelled earthy and fresh. The transformation was complete.
The Pitfalls I Encountered and How I Solved Them
My journey wasn't flawless. I hit a couple of snags that taught me valuable lessons.
My first mistake was over-treating with hydrogen peroxide. In my initial panic, I considered drenching the soil with a peroxide mix. I'm glad I researched first. The RHS advises caution, as strong solutions can harm beneficial soil microbes and delicate roots. My gentle spot-cleaning approach was the correct, safer path. The lesson: more is not always better.
The second pitfall was misjudging light after repotting. I initially placed my recovering plant in a slightly shadier spot, thinking it needed less stress. However, lower light slows soil drying. After three days, I noticed the soil was staying moist for too long. I moved it back to its original bright, indirect light location, and the drying cycle normalized immediately. Recovery requires optimal conditions, not just "gentle" ones.
Preventing Future Mold Outbreaks
Consistency is key. Now, I water only when the top 50-75% of the soil is dry. I use a chopstick as a dipstick—if it comes out clean, it's time to water. I've made seasonal adjustments, watering far less in winter. I also top-dress the soil occasionally with a thin layer of horticultural sand or small pebbles to create a drier barrier on the surface. Most importantly, I give my plants the gift of good airflow, which is a powerful natural deterrent against fungal issues.
Frequently Asked Questions
Can I just scrape the mold off and not repot? You can for a very minor, first-time occurrence, but it's a gamble. Scraping only removes the symptom, not the wet environment causing it. In my experience, without improving drainage and aeration through repotting, the mold almost always returns. Repotting addresses the core problem.
Is the mold harmful to me or my pets? The common white soil mold is generally not hazardous to healthy humans or pets, though it can irritate allergies or asthma. However, it indicates damp conditions that could foster other harmful molds. It's best to remove it promptly, wear gloves during the process, and wash your hands afterward. Always keep houseplants out of reach of pets who might dig in the soil.
What's the difference between mold and beneficial mycelium? This is an excellent question. Mold is typically fluffy, white, green, or black and sits on the surface. Beneficial mycelium (often from a healthy potting mix with fungi) usually appears as thin, white, thread-like webs within the soil or on its underside, and it helps break down organic matter for the plant. Mold thrives in constant dampness; mycelium exists in healthy, moist-but-not-soggy soil. When in doubt, smell it. Healthy soil smells earthy; moldy soil often has a musty, sour odor.
Seeing mold on your beloved Aglaonema is alarming, but it's a fixable problem. It's your plant's way of asking for a change in its care. By focusing on safe removal, addressing the root cause through repotting with a well-draining mix, and committing to disciplined watering, you can not only eliminate the mold but also create a stronger foundation for your plant's future growth. My two-week journey brought my Chinese Evergreen back from the brink, and with these steps, yours can enjoy a healthier, mold-free life too.





