 bluename
 How to Care for Aglaonema in High Humidity: A Plant Lover’s 2-Week Experiment
If you live in a tropical climate or a home with naturally high humidity, you might think caring for an Aglaonema, or Chinese Evergreen, would be a breeze. After all, these plants are native to humid Asian forests. I thought so too, until my own collection started showing signs of distress—yellowing leaves, soft stems, and a general look of unhappiness. That’s when I realized that caring for Aglaonema in high humidity isn’t about just letting nature take its course. It requires a specific, adjusted approach to prevent root rot and fungal issues while letting the plant thrive. I decided to run a focused, two-week experiment to crack the code on perfect Aglaonema care in humid conditions. Here’s everything I learned, including the mistakes I made and how I fixed them.
Understanding Aglaonema’s Relationship with Moist Air
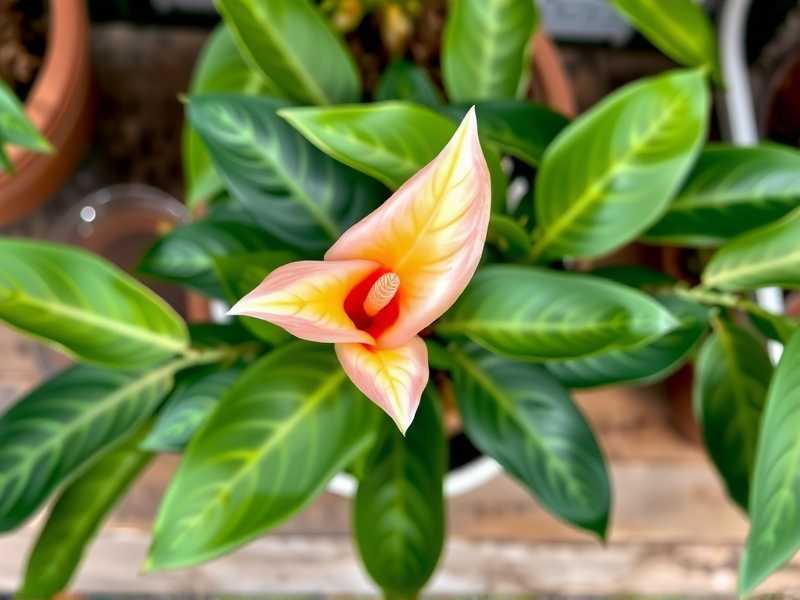
Before diving into the steps, it’s crucial to understand the balance. The American Horticultural Society (AHS) notes that while many tropical plants appreciate atmospheric moisture, “excessive soil moisture in conjunction with stagnant air is the primary catalyst for root disease.” This was my “aha!” moment. High humidity doesn’t eliminate the plant’s need for well-managed soil moisture. In fact, it intensifies it. My goal became not to lower the overall humidity (which is often beneficial), but to adjust everything else around it.
My Two-Week Adjustment Plan for High Humidity Environments
I selected three established Aglaonema ‘Silver Bay’ plants showing early signs of overwatering (slightly yellowing lower leaves) and placed them in my bathroom, which consistently maintains 70-80% humidity. I followed this revised care protocol.
Week 1: The Foundation – Soil and Watering Overhaul
The first week was all about setting up the right foundation. I knew my usual potting mix and watering schedule wouldn’t cut it.
- The Critical Switch to a Well-Draining Mix: I repotted all three plants. Out went the moisture-retentive, all-purpose potting soil. I created a new blend: 50% standard indoor potting mix, 30% perlite, and 20% orchid bark chunks. This mix, recommended by many commercial growers for aroid plants, promises rapid drainage and excellent aeration to the roots, counteracting the constant moist air.
- Mastering the “Soak and Dry” Method in Humidity: This was the biggest change. I abandoned watering on a calendar schedule. Instead, I used a simple moisture meter and the finger test. I only watered when the meter read “dry” or when the top 2-3 inches of soil were completely dry. In this humid environment, this meant watering only once during the entire first week, compared to my old habit of watering twice. I watered deeply until it ran from the drainage holes, ensuring even moisture, then let the pot drain thoroughly.
- Prioritizing Airflow: I placed a small, oscillating fan in the room, set on low and not pointing directly at the plants. The Royal Horticultural Society (RHS) emphasizes that “good air circulation is vital in humid conditions to reduce the risk of fungal diseases.” The gentle air movement helps water evaporate from the soil surface and leaf surfaces, mimicking a natural breeze.
Initial Observations and a Early Mistake
By Day 3, I noticed a pause in the further yellowing of leaves, which was encouraging. However, I made a classic error: I placed one of the three pots directly on a saucer without emptying the runoff water after watering. By Day 5, the leaves on that specific plant felt softer at the base.
- The Fix: I immediately emptied the saucer and elevated the pot within it using pebbles, creating a “pebble tray” that actually kept the pot out of standing water. This simple step is non-negotiable in high humidity.
Week 2: Fine-Tuning and Observing Recovery
The second week focused on monitoring and supporting the plant’s overall health.
- Leaf Care and Humidity Management: Even in high humidity, dust can clog pores. I gently wiped the leaves with a damp cloth, which also removed any potential pest hitchhikers and allowed the leaves to breathe and absorb light efficiently. I confirmed that misting was entirely unnecessary and could promote leaf fungus, so I stopped that old habit completely.
- The Light Factor: I ensured the plants received bright, indirect light. In dim conditions, coupled with damp soil, the plants would use water even more slowly, increasing rot risk. The right light helped them metabolize water effectively.
- Fertilizer Pause: I withheld any fertilizer. Stressed plants (from potential overwatering) should not be fertilized, as it can burn roots and add further stress.
The 2-Week Results: A Clear Turnaround
After 14 days, the results were visibly positive:
- The progressive yellowing of leaves had completely stopped on all three plants.
- The plant that had sat in water showed no further softening, and it began to firm up at the base.
- I observed two new leaves unfurling across the group—a sure sign of renewed health and growth.
- The soil dried out at a predictable, slower rate appropriate for the environment, confirming my new watering gauge was correct.
The experiment proved that managing Aglaonema in humid climates is less about fighting the humidity and more about intelligent compensation with drainage, watering restraint, and airflow.
Essential Long-Term Maintenance Tips
Based on my experience, here are your ongoing keys to success:
- Pot Choice Matters: Always use pots with multiple drainage holes. Terracotta pots are excellent for humid areas as they are porous and allow soil to dry more evenly.
- Seasonal Adjustments: In cooler months, when plant growth slows and evaporation decreases, I will extend the drying period even further, potentially watering only every 3-4 weeks.
- Regular Root Check: Every 6 months, I gently check the root ball. Healthy roots are firm and white or orange. Soft, brown, or mushy roots signal rot, requiring immediate repotting and trimming.
Addressing Your Aglaonema Humidity Concerns
Can Aglaonema get too much humidity? Yes, but it’s usually not the atmospheric humidity itself that’s the problem. The issue arises when high humidity is combined with overwatering, poor drainage, and lack of air circulation. This creates a perfect environment for root rot and pathogens like powdery mildew. Focus on managing the factors you can control: soil moisture and airflow.
What are the signs of an overwatered Aglaonema in a humid home? Watch for yellowing leaves, particularly starting at the lower leaves. Leaves may feel soft, limp, or mushy, not just dry and crispy. The stems may also feel soft near the soil line. A musty smell from the soil is a red flag for root rot.
Should I use a pebble tray for my Aglaonema if I already have high humidity? In a high-humidity environment, a pebble tray’s primary benefit is not to add moisture but to keep the pot elevated above any drainage water. If your air humidity is consistently above 60%, the tray’s evaporative effect is minimal. Its best use is as a tool to prevent the pot from sitting in water, which is critical.
Success with Aglaonema in high humidity is a testament to the principle that sometimes, less is more. By respecting the plant’s need for oxygen at its roots and providing a loose, chunky soil home, you allow it to leverage the ambient moisture without suffering the consequences of wet feet. My two-week journey transformed my approach from worried guesswork to confident, observation-based care. Your Aglaonema can absolutely flourish in a humid setting—it just asks for a more thoughtful partnership with its caregiver.





