 bluename
 How to Care for Aglaonema Red Edge: My 2-Week Journey from Struggle to Lush Growth
I used to think I had a black thumb. Every Aglaonema Red Edge I brought home would start beautifully, only to develop yellow leaves, brown tips, or just stop growing entirely within weeks. The frustration was real. If you’re here, you’ve probably faced the same silent struggle with this stunning but sometimes finicky plant. You love its dramatic, dark green leaves elegantly painted with vibrant red edges, but keeping it looking that perfect is the real challenge. After another disappointing experience, I decided to approach Aglaonema Red Edge care not as a casual hobbyist, but as a dedicated plant detective. I committed to a meticulous, two-week corrective care routine, documenting every step, every mistake, and every triumph. What I learned transformed not just my plant, but my entire understanding of what this beautiful foliage truly needs.
Understanding Your Aglaonema Red Edge: More Than Just a Pretty Leaf
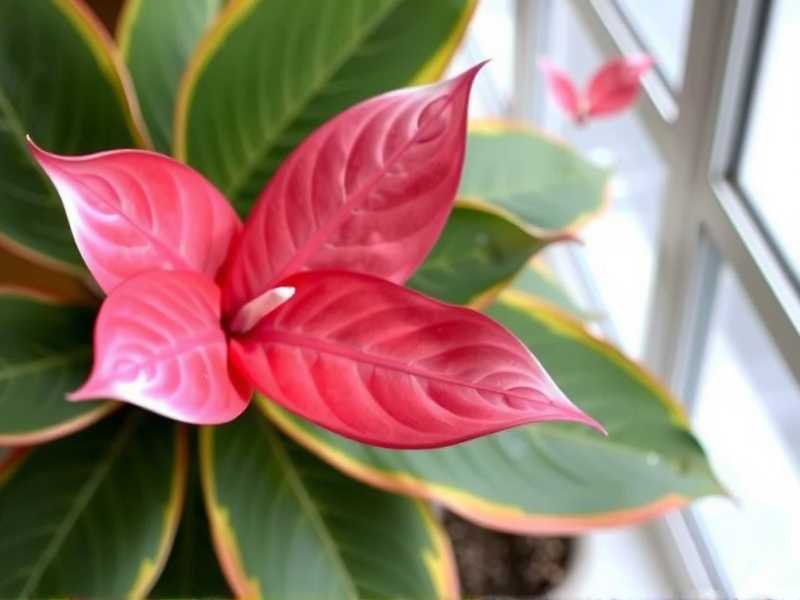
Before diving into my daily steps, it’s crucial to know why this plant acts the way it does. Native to the tropical forest floors of Southeast Asia, the Red Edge Aglaonema is adapted to dappled light, consistent warmth, and high humidity. It doesn’t crave the blazing sun of a desert cactus or the drought-like conditions of a succulent. The Royal Horticultural Society (RHS) categorizes Aglaonemas as excellent foliage plants for low-light interiors, but they emphasize that variegated types, like our Red Edge, benefit from brighter, indirect light to maintain their vivid coloration. This was my first “aha” moment. I had mine tucked in a dim corner, thinking I was doing it a favor, but I was actually starving it of the energy it needed to sustain those spectacular red margins.
My 2-Week Aglaonema Rescue Plan: A Step-by-Step Diary
I started with a plant that had two yellowing lower leaves and several leaves with crispy brown tips. New growth seemed stalled. Here was my actionable plan.
Week 1: Diagnosis and Corrective Foundations
Day 1-2: The Light Audit and Repositioning My plant was about 8 feet from a north-facing window. Using a simple light meter app, I confirmed it was receiving “low light,” barely enough for survival. Following the RHS guidance on bright, indirect light, I moved it to a spot 4 feet away from an east-facing window. Here, it gets gentle morning sun but is shielded from harsh afternoon rays. I observed no direct sunbeams touching the leaves at any point—this is non-negotiable to prevent scorching.
Day 3: The Watering Reckoning This was my biggest pitfall. I was watering on a strict weekly schedule. I stuck my finger two inches into the soil; it was still damp. Overwatering is the fastest way to kill an Aglaonema, leading to root rot. I skipped the scheduled watering. The new rule: water only when the top 1-2 inches of soil are completely dry. For my pot size, this ended up being about every 10-12 days. I used room-temperature water and watered thoroughly until it drained freely from the bottom, immediately emptying the saucer to avoid “wet feet.”
Day 4-5: Humidity Boost My home humidity hovered around 35%, too dry for a tropical plant. Brown leaf tips are a classic sign of low humidity. Instead of misting (which can invite fungal issues if overdone), I placed the pot on a wide pebble tray filled with water. As the water evaporates, it creates a localized humid microclimate. I also grouped it with a few other plants. The collective transpiration increases humidity around them, a trick often highlighted in horticultural best practices.
Day 6-7: Foliage Inspection and Cleaning I gently wiped every single leaf with a soft, damp cloth. This removed dust, allowing the plant to photosynthesize efficiently. During this process, I found the start of a small mealybug infestation—a common pest—in one leaf axil. I dabbed it immediately with a cotton swab dipped in 70% isopropyl alcohol. This hands-on inspection is critical for early pest detection.
Week 2: Observation, Adjustment, and Signs of Hope
Day 8-10: Stability and Monitoring No new yellowing appeared. The existing yellow leaves continued to decline, so I carefully pruned them off at the base with sterile scissors. This directs the plant’s energy to healthy growth. I continued to check soil moisture daily. The environment was now stable: consistent indirect light, no overwatering, and higher humidity.
Day 11-14: The First Signs of Success By day 11, I noticed the stems of the plant seemed just a bit more upright. The existing leaves looked glossier. Then, on day 13, I spotted it: a tiny, tightly rolled spear of new growth emerging from the center of the plant. It was unmistakable. This was the ultimate reward. The plant was no longer in survival mode; it was thriving. The care for Chinese Evergreen Red Edge had shifted from guesswork to a responsive, informed routine.
The Common Pitfalls I Encountered (And How to Fix Them)
My journey wasn’t without stumbles. Here’s where I went wrong and how you can avoid it:
- The “Set-It-and-Forget-It” Location: My initial low-light spot was a slow death sentence. Fix: Use a light meter app or your hand shadow test. A clear, soft shadow indicates good indirect light. A faint or blurry one means it’s too dark.
- Loving It to Death with Water: My weekly watering was a recipe for root rot. Fix: Ditch the calendar. Your finger is the best tool. If in doubt, wait another day or two. Consider a moisture meter for extra confidence.
- Ignoring the Air Around It: Dry air causes cosmetic damage and stress. Fix: The pebble tray is a game-changer. A humidifier is even better for a collection of tropical plants.
- Feeding a Struggling Plant: I used to fertilize on schedule, even when the plant looked sick. The American Horticultural Society (AHS) advises against fertilizing stressed plants. Fix: Only fertilize during active growth (spring/summer) with a balanced, diluted liquid fertilizer. During my two-week reset, I did not fertilize at all.
Sustaining the Success: Long-Term Maintenance Tips
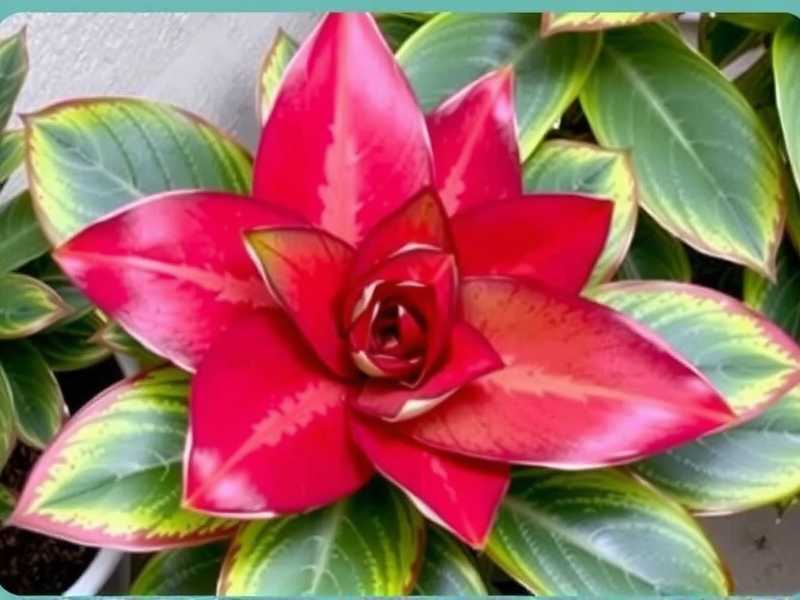
Now that the plant is on track, maintenance is simple. Rotate the pot a quarter turn weekly for even growth. Dust the leaves monthly. Repot only when roots circle the bottom of the pot or growth slows significantly, using a well-draining potting mix (I use an aroid mix with extra perlite). During spring and summer, I’ll feed it monthly at half strength.
Questions I Get Asked All the Time
Why are the leaves on my Red Edge Aglaonema turning yellow? Almost always, this is due to overwatering. Check your soil moisture habits first. Less commonly, it can be extreme low light or a need for fertilizer (if it’s been years). Yellow lower leaves that drop occasionally are normal aging.
Can this plant really survive in low light? It survives, but it won’t thrive. In very low light, growth will be extremely slow, the red pigmentation may fade to green, and the plant will be more susceptible to overwatering issues. Bright, indirect light is the sweet spot for vibrant health.
What’s the best way to propagate my plant? The most reliable method is division during repotting. Gently separate a clump of stems with attached roots and pot it up separately. You can also try stem cuttings in water or sphagnum moss, but division is faster and less risky.
Seeing that new shoot unfurl after two weeks of attentive, corrected care was profoundly satisfying. The Aglaonema Red Edge plant isn’t difficult; it simply asks for consistency and an understanding of its tropical nature. It needs a drink only when thirsty, a bright spot without the sunburn, and a bit of humid, tropical air. By listening to its signals—the brown tips, the yellow leaves, the stalled growth—and responding with these clear actions, you can move from a cycle of frustration to one of lush, rewarding growth. Your vibrant, red-edged companion will thank you for years to come.





