 bluename
 How to Care for Aglaonema in Sphagnum Moss: A Grower’s 2-Week Experiment
I’ve always loved the lush, painted leaves of Aglaonema, but I struggled with the balance of watering in traditional soil. Overwatering led to root rot, while underwatering left my plants stressed. I knew there had to be a better way. That’s when I decided to dive into the world of how to care for Aglaonema in sphagnum moss. This method, popular among advanced hobbyists for its excellent aeration and moisture control, promised a solution. For two weeks, I transferred one of my favorite Chinese Evergreens into pure moss to document every step, challenge, and result. Here’s my complete, firsthand account.
Why Sphagnum Moss Can Be a Game-Changer for Your Aglaonema
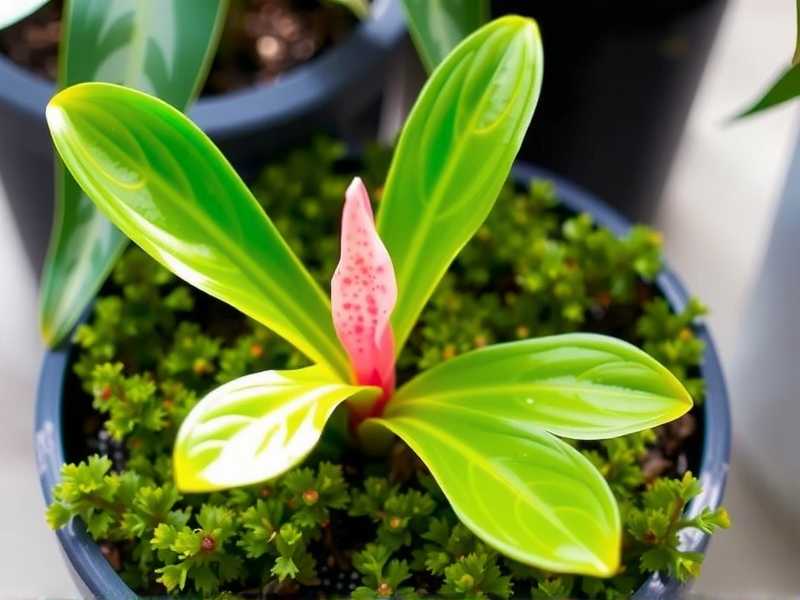
If you’re like me, constantly worrying about your plant’s roots, sphagnum moss offers a fascinating alternative. Unlike dense potting mix, moss provides a fluffy, airy structure. This environment encourages the tiny, fibrous roots Aglaonemas produce to explore freely without the risk of suffocation. According to the American Horticultural Society (AHS), a key to healthy roots is “oxygen availability,” and sphagnum moss excels at retaining both water and air within its strands.
However, this isn’t a set-it-and-forget-it solution. The Royal Horticultural Society (RHS) notes that while sphagnum is superb for propagation and certain growing setups, it requires a different care mindset. You’re moving from a soil-based to a medium-focused approach. My goal was to master this shift and see if my Aglaonema would thrive.
My Step-by-Step Transition to Sphagnum Moss
I chose a mature Aglaonema ‘Silver Bay’ that had been in a well-draining aroid mix. The transition process is critical.
Preparing the Moss and the Plant First, I soaked a high-quality, long-fiber sphagnum moss brick in lukewarm water for about 30 minutes. It’s essential to rehydrate it thoroughly. Once expanded, I squeezed out the excess water until the moss was moist but not dripping—think the dampness of a wrung-out sponge. This is the perfect hydration level for planting Aglaonema in moss.
Next, I gently removed my plant from its pot. I carefully teased away all the old soil from the root ball, rinsing the roots under a soft stream of tepid water to avoid damage. I inspected the roots, trimmed any that were brown or mushy, and let the plant air-dry for an hour.
The Repotting Process I took a clear plastic pot with ample drainage holes—transparency is helpful for monitoring root growth and moisture. I created a small mound of the prepared moss in the bottom. Placing the Aglaonema on top, I gently nestled its roots into the moss and then filled in around and over them with more moss, ensuring the base of the stems was supported but not buried too deeply. I gave the pot a gentle tap to settle everything without compacting it.
The First 48 Hours and Initial Setup I placed the repotted Aglaonema in bright, indirect light, away from direct sun which can dry the moss too quickly and stress the plant. I resisted the urge to water immediately because the moss was perfectly moist. This initial setup for Aglaonema sphagnum moss care is all about observation.
The 2-Week Observation Diary: Triumphs and Troubles
This is where the real learning happened. I monitored the plant daily, tracking moisture, root development, and overall plant health.
Days 1-5: The Adjustment Period The first few days were uneventful, which was a good sign. The leaves remained perky. By day 3, I checked moisture by sticking my finger deep into the moss near the roots. The top felt drier, but the core was still cool and damp. I did not water. A common pitfall here is mistaking surface dryness for the need to water. Overwatering in moss happens fast.
Days 6-8: First Watering and a Surprise On day 6, the core moss felt just slightly moist. I decided to water using the “soak and drain” method. I placed the entire pot in a bowl of water, letting the moss wick up moisture from the bottom for about 15 minutes, then let it drain completely. This ensures even hydration without disturbing the roots. Within two days, I noticed something exciting: tiny white nubs, the beginnings of new root growth, were visible against the clear pot wall. The moss was clearly stimulating root activity.
Days 9-12: Confronting a Fungus Gnat Issue Here was my major “pitfall.” I noticed tiny fungus gnats. Sphagnum moss, when kept consistently moist, can attract them. My solution was two-fold. First, I let the top layer of moss dry out more between waterings. Second, I applied a thin layer of horticultural sand on the surface, which breaks the gnats’ breeding cycle. This solved the problem within days. It was a reminder that growing Aglaonema in soilless mix requires proactive pest management.
Days 13-14: Assessing Health and Growth At the two-week mark, my Aglaonema wasn’t just surviving; it was pushing out a new, tightly furled leaf. The existing foliage showed no signs of yellowing or stress. The root nubs had developed into visible white roots. The plant had successfully adapted to its new medium.
Ongoing Care Regimen for Long-Term Success
Based on my experiment, here’s the sustainable care routine I’ve adopted.
Mastering the Watering Schedule Forget a calendar. Watering is entirely dictated by the moss’s feel. I lift the pot to feel its weight and probe the moss near the center. I only water when it’s mostly dry but retains a hint of moisture deep within. The soak-and-drain method remains my go-to. This prevents the center of the root ball from becoming bone dry, a risk in moss.
Light and Fertilization Needs Aglaonema in moss still prefers the same bright, indirect light. Direct sun will cook the roots in this medium. For feeding, I use a balanced, water-soluble fertilizer diluted to quarter-strength every 4-6 weeks during the growing season. Moss holds onto nutrients differently than soil, so less is more to avoid salt buildup that can damage the delicate new roots.
When and How to Remount or Refresh Moss breaks down over 12-18 months. You’ll need to refresh it. Signs include compaction, a sour smell, or the medium staying soggy for too long. Gently remove the plant, shake off the old moss, and repot with a fresh batch using the same initial steps. It’s also the perfect time to check root health.
Answering Your Top Questions
Can all types of Aglaonema grow in sphagnum moss? Most varieties adapt well, especially the common hybrids like ‘Silver Bay,’ ‘Maria,’ and ‘Red Siam.’ I’ve had the best success with established plants. Delicate, very young propagations might do better in a moss-perlite mix for extra drainage until they are stronger.
How do I know if I’m overwatering? The clearest sign is constantly soggy, wet moss that smells musty. The plant’s leaves may turn yellow rapidly, and stems may become mushy. If this happens, remove the plant immediately, trim any rotten roots, and repot into fresh, barely-moist moss. Adjust your watering habits by waiting longer between sessions.
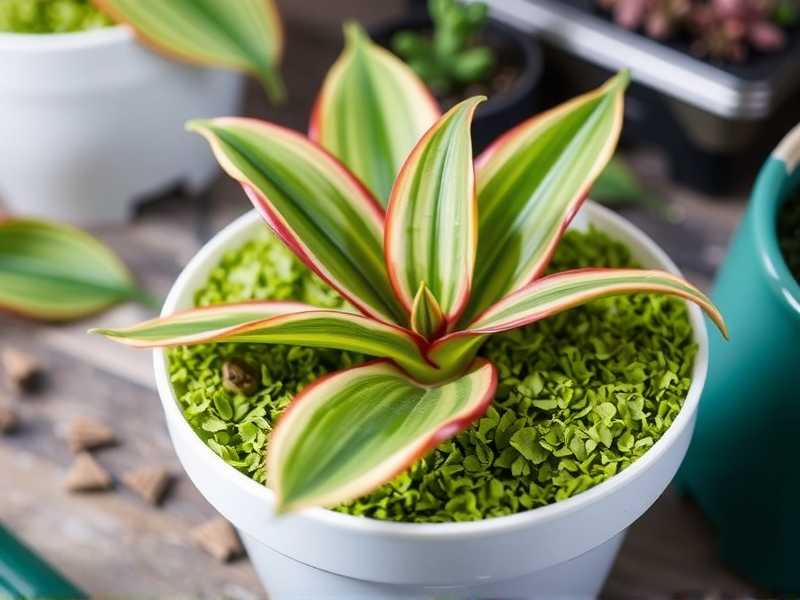
Is sphagnum moss better than soil for Aglaonema? “Better” depends on your environment and care style. Moss offers superior aeration and reduces overwatering risks, making it excellent for humidifiers or prone overwaterers. However, it requires more frequent monitoring and occasional refreshing. Soil mixes are more forgiving if you occasionally forget to water. For me, the control and visible root health in moss make it a rewarding choice.
My two-week journey into caring for Aglaonema in sphagnum moss was incredibly enlightening. It transformed my understanding of root health and moisture management. While it demands a more observant approach, the reward is a visibly active root system and a thriving plant. If you’ve battled with watering issues, this method offers a precise and effective path to success. Start with one plant, be patient during the transition, and enjoy the process of learning a new, intimate way of growing.





