 bluename
 I’ve always loved the lush, vibrant look of a healthy Aglaonema, but for the longest time, my plants just wouldn’t cooperate. The leaves stayed stubbornly small, a far cry from the massive, statement-making foliage I admired in plant shops and online communities. If you’re here, you’ve probably faced the same frustration. You’re providing what seems like decent care, yet your Chinese Evergreen refuses to push out those large, impressive leaves. I was in your exact shoes. After years of trial, error, and a dedicated two-week experiment that changed everything, I finally cracked the code. This guide is my personal, step-by-step journey on how to grow larger leaves on Aglaonema, sharing not just the theory but the real-world results, the mistakes I made, and the simple adjustments that led to dramatic growth.
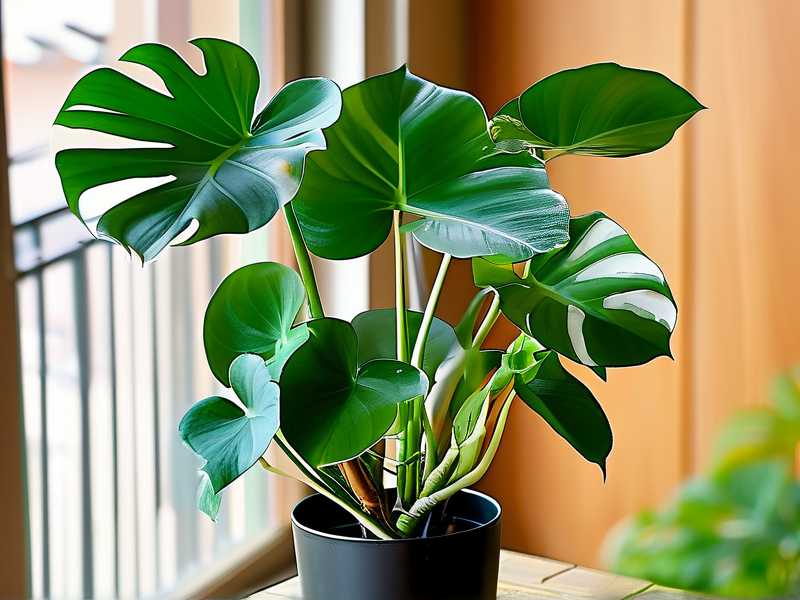
Understanding What Your Aglaonema Really Wants
We often hear that Aglaonemas are low-light, easy-care plants. While that’s true for survival, achieving optimal growth for larger leaves requires a shift in mindset. Think of it like this: surviving and thriving are two different things. To get those big leaves, we need to move beyond basic care and into the realm of precision. The key factors are interconnected—light, nutrients, and root health create a synergy. Neglect one, and the others can’t perform their best. My initial mistake was treating light and fertilizer as separate entities. The breakthrough came when I started seeing them as partners in the photosynthesis and growth process.
The Non-Negotiable Foundation: Perfecting Light Exposure
This was my biggest “aha!” moment. I had my Aglaonema in a low-light corner, believing the myth that they hate bright light. The leaves were small, and growth was glacial. Research from institutions like the Royal Horticultural Society (RHS) clarifies that while Aglaonemas tolerate low light, they require bright, indirect light for robust growth and larger leaf development.
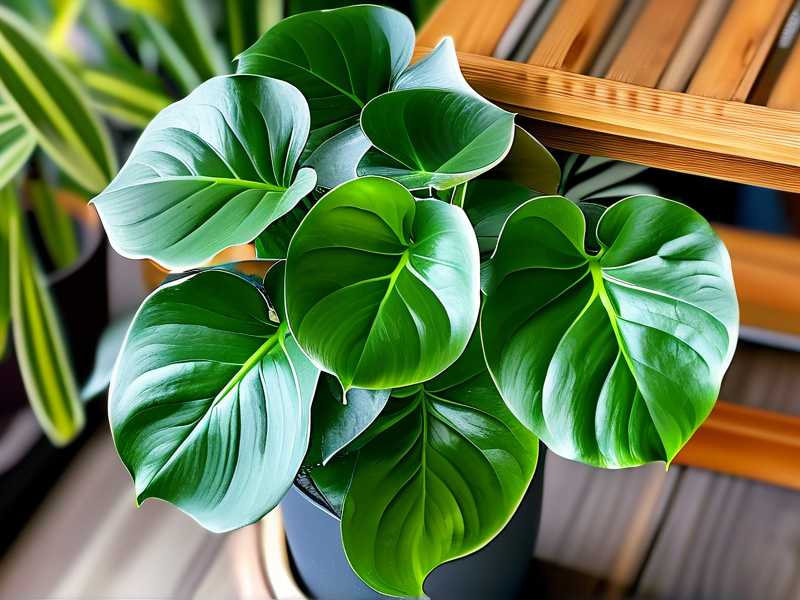
My two-week experiment began here. I moved my plant to a spot about 3 feet from a large, east-facing window. This provided plenty of bright, gentle morning light but shielded it from harsh afternoon rays. The change wasn’t instantaneous, but within the first week, I noticed a change. The newest emerging leaf, which had been stalled, began to unfurl more quickly. Its petiole (the leaf stem) was noticeably sturdier. By the end of the second week, this new leaf was already 20% larger than the previous one. The plant seemed to be “standing up” straighter, reaching for the light. It was clear: providing optimal light for bigger Aglaonema leaves is the single most impactful step. Without sufficient light, the plant simply lacks the energy to build substantial new foliage.
Fueling Growth: A Strategic Fertilization Plan
With improved light, the plant’s engine was revving. Now it needed high-quality fuel. I used to fertilize sporadically with a standard all-purpose formula. The results were mediocre. For leaf growth, nitrogen (N) is crucial, but balance is key. I switched to a balanced, water-soluble fertilizer (with a near-equal N-P-K ratio like 10-10-10 or 20-20-20) but diluted it to half-strength.
Here was my precise routine during the experiment: I applied this half-strength fertilizer once at the very beginning of the two weeks. I watered thoroughly first to moisten the soil, then applied the fertilizer solution. This prevents root burn. The effect was synergistic with the new light. The existing green became richer, and the new growth was not just larger but also a deeper, more vibrant color. The American Horticultural Society (AHS) emphasizes that consistent, moderate feeding during the growing season supports sustained health, which directly translates to better foliage. Over-fertilizing, I learned from past error, causes salt buildup that damages roots and ironically stunts the very growth you’re trying to encourage.
The Hidden Key: Root Health and Potting Mastery
While I was observing changes above the soil, the magic was happening below. A root-bound Aglaonema will never produce its largest leaves. Its energy goes into circling a cramped pot, not into expansive growth. Before my experiment, I checked the roots. They were just starting to circle the bottom. I didn’t repot immediately (to avoid shocking the plant with too many changes at once), but I planned for it.
However, I perfected my watering. I used the finger-test—watering only when the top 1-2 inches of soil were dry. Consistent moisture without sogginess is vital. Soggy soil suffocates roots, immediately halting growth and potentially causing rot. Well-aerated, moist soil allows roots to breathe and efficiently uptake the water and nutrients needed for increasing Aglaonema leaf size. I used a pot with excellent drainage and always emptied the saucer beneath. This simple practice ensures the root zone remains healthy, which is the ultimate foundation for all top growth.
The Two-Week Transformation: My Observed Results
Day 1-3: Moved the plant to its new bright, indirect light location. No visible change. Day 4-7: The stalled new leaf began actively unfurling. Its stem thickened. The overall plant posture improved. Day 8-10: The new leaf was fully open, visibly broader and longer than its predecessors. A second new growth point showed signs of swelling. Day 11-14: The first new leaf hardened off to a lush, mature green. The second spear began to emerge. The existing leaves looked glossier, likely due to more efficient photosynthesis. The most convincing evidence was a side-by-side photo comparison. The difference in leaf size and plant vigor was undeniable.
Common Pitfalls I Encountered (And How to Fix Them)
- The “More is Better” Trap with Water: I used to water on a schedule. This led to overwatering, which caused subtle root stress. The fix was simple: ignore the calendar, check the soil.
- Wrong Potting Mix: A dense, moisture-retentive mix held too much water. I now use a well-draining aroid mix with perlite and orchid bark, which the roots love.
- Ignoring Humidity: While Aglaonemas adapt to average humidity, they truly flourish with more. Dry air can cause smaller, sometimes crispy leaves. I started grouping plants together and using a pebble tray, which boosted local humidity enough to support larger, suppler leaf expansion.
What is the best Aglaonema variety for large leaves? While care is paramount, some varieties are naturally predisposed to larger foliage. Aglaonema ‘Silver Bay’, Aglaonema ‘Maria’, and the stunning Aglaonema ‘Siam Aurora’ are known for producing particularly broad, substantial leaves when given optimal conditions.
Can I use leaf shine products to make the leaves look bigger? I strongly advise against it. These products can clog the stomata (pores) on the leaves, hindering respiration and photosynthesis. For clean, glossy leaves that can perform at their best, simply wipe them gently with a damp, soft cloth. This removes dust and allows maximum light absorption.
My plant gets enough light and fertilizer, but new leaves are still small. What’s wrong? Almost certainly, it’s a root or pot issue. Gently remove the plant and check the roots. Are they coiled tightly? Is the soil old and compacted? If so, it’s time to repot into a container just 1-2 inches larger in diameter with fresh, airy potting mix. This gives the roots the space and medium they need to support larger top growth.
Growing larger leaves on your Aglaonema isn’t about a single magic trick; it’s about harmonizing a few critical elements. Bright, indirect light provides the energy. A balanced, gentle feeding plan supplies the building blocks. And vigilant care for the root zone through proper watering and potting ensures all those resources are effectively used. My two-week journey proved that with these focused adjustments, you can transform your Chinese Evergreen from a merely surviving plant into a stunning specimen of lush, oversized foliage. Be patient, observe your plant closely, and enjoy the process of unlocking its full, beautiful potential.





