 bluename
 How to Create a Perfect Aglaonema Watering Routine: A Plant Lover’s Journey to Thriving Chinese Evergreens
I used to think watering my Aglaonema, or Chinese Evergreen, was simple. Just give it a drink when the soil looked dry, right? Wrong. For months, I battled yellowing leaves, mysterious brown tips, and a general lack of that vibrant, perky growth these beautiful plants are known for. My haphazard approach was the root of the problem—literally. I was either loving it to death with too much water or stressing it out with drought. If you’ve ever wondered why your Aglaonema isn’t flourishing despite your care, the answer likely lies in its watering routine. Creating a perfect Aglaonema watering schedule isn’t about marking a calendar; it’s about learning to listen to your plant and its environment. After extensive trial, error, and a dedicated two-week observation period, I finally cracked the code. Let me walk you through the exact steps, the pitfalls I faced, and the simple system that transformed my struggling plant into a lush, happy centerpiece.
Understanding Your Aglaonema’s Thirst Cues
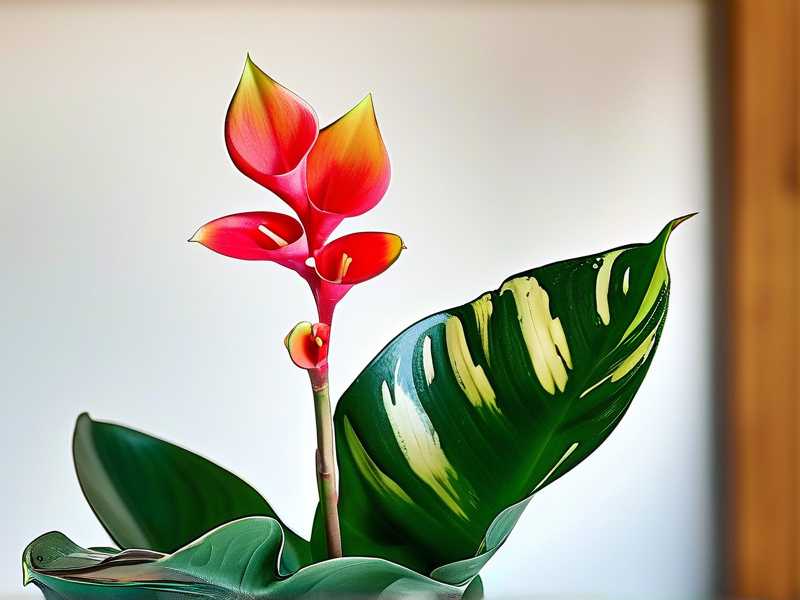
Before you pour a single drop of water, you need to understand what you’re working with. Aglaonemas are native to the tropical forest floors of Southeast Asia, which means they are accustomed to warm, humid environments with well-draining soil that never gets soggy. Their roots need moisture and air. The single most critical mistake, as noted by the Royal Horticultural Society (RHS), is overwatering, which leads to root rot—a fast killer. The goal is to mimic those natural conditions: consistent, moderate moisture without waterlogging.
The core principle is simple: Water deeply, then let the soil dry partially before watering again. But “partially dry” is the key phrase we need to define. For most Aglaonemas, the top 1-2 inches of soil should feel dry to the touch before you consider watering. For larger pots, you might wait until the top 25-30% of the soil volume is dry.
My Essential Tools for Success
I stopped guessing and started using tools. Here’s my kit:
- My Finger: The classic, always-available moisture meter. Push it into the soil up to your second knuckle. If it feels dry, it’s time to check more thoroughly.
- A Wooden Chopstick or Skewer: Insert it deep into the pot, leave it for a minute, then pull it out. If it comes out clean or with just a few dry particles, the soil is dry deep down. If it comes out with damp soil stuck to it, wait.
- A Moisture Meter (My Game-Changer): For about $10, this device took all the mystery away. I insert the probe near the root zone and get an instant reading. I aim for a reading on the “Dry” to “Borderline” scale before watering.
- A Pot with Drainage Holes: This is non-negotiable. Excess water must have an escape route.
- A Watering Can with a Long, Narrow Spout: This allows for targeted watering at the soil level, avoiding the leaves (which can lead to fungal issues).
The Two-Week Experiment: Building the Routine
I chose my most dramatic Aglaonema ‘Silver Bay’ as my test subject. It was in a 10-inch pot, in a bright, indirect light spot in my living room. The room temperature averaged 72°F (22°C) with moderate humidity.
Week 1: Assessment and Baseline Day 1: I checked the plant thoroughly. The moisture meter read “Moist” halfway down. I did not water. I noted the weight of the pot by lifting it—it felt heavy. Day 3: The top inch of soil was dry. The meter now read “Borderline” at the root level. The pot felt noticeably lighter. This was my signal.
- The Watering Act: I took the plant to the sink. I watered slowly and evenly around the entire soil surface until I saw water flowing freely out of the drainage holes. I let it drain completely in the sink for 20 minutes before returning it to its decorative cover pot. This ensures no standing water at the bottom, a prime cause of root rot. Day 5: Re-checked. Soil was still moist deep down. Pot was heavy. Day 7: Top 2 inches were dry. Meter read “Borderline” again. Pot was light. I repeated the deep watering process.
Week 2: Observation and Adjustment During the second week, I monitored not just the soil, but the plant itself. I was looking for signs of improvement or distress.
- The Good Signs: By Day 10, I noticed the newer leaves looked firmer and had a healthier sheen. The plant overall seemed more upright and less droopy.
- The Pitfall I Hit (And How I Fixed It): On Day 12, after watering on Day 10, one older leaf developed a soft, mushy yellow patch. I panicked—was it root rot? Upon investigation, I realized I had been too hurried during the last watering and had splashed water onto the base of that leaf stem, where it sat and caused a local rot. The fix: I carefully cut off the damaged leaf at the base with a sterilized blade. I learned to be more meticulous, watering only the soil and keeping the foliage and stem base dry. This aligns with the American Horticultural Society’s (AHS) advice on preventing bacterial and fungal diseases by avoiding wet foliage. Day 14: The plant had settled into a clear rhythm. The soil drying time was consistent: approximately 7-10 days between waterings in my home environment. The plant was visibly happier.
Factors That Change the Rhythm: It’s Not Just the Calendar
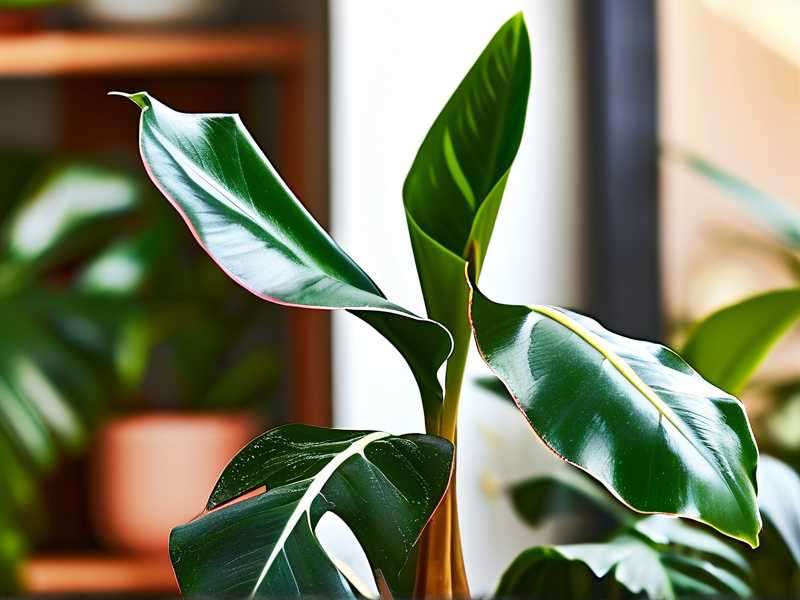
My two-week experiment gave me a baseline, but I learned this routine is dynamic. You must adjust for:
- Season: In spring and summer (growth season), my Aglaonema drinks more frequently. In fall and winter, growth slows and evaporation is slower, so I might stretch watering to every 14-21 days.
- Light: A plant in bright, indirect light will use water faster than one in low light. My test plant was in a bright spot, hence the 7-10 day schedule.
- Pot Size and Material: Plants in small pots dry out faster. Terracotta pots wick moisture away from the soil, requiring more frequent watering than plastic or ceramic pots.
- Humidity: My home is drier in winter. Lower air humidity causes soil to dry faster, potentially shortening the watering interval despite the season. I now group plants together or use a pebble tray to boost humidity, which actually lets me water a bit less frequently.
Signs You’re on the Wrong Track
- Overwatering Signs (The More Common Issue): Yellowing lower leaves, consistently wet soil, a musty smell from the soil, black/mushy stems, and leaves that are soft and droopy.
- Underwatering Signs: Crispy brown leaf tips and edges, overall drooping or curling leaves, dry and pulling-away-from-the-pot soil, and stunted growth.
The Perfect Routine Summarized
So, what is the perfect Aglaonema watering routine? It’s a cycle of observation and action.
- Check, Don’t Assume: Every 3-4 days, use your finger or moisture meter to assess the soil moisture at root level.
- The Lift Test: Get familiar with the weight of your pot after watering and when dry.
- Water Deeply: When the top 1-2 inches are dry, water thoroughly until it runs from the drainage holes.
- Drain Completely: Never let the plant sit in a saucer of water.
- Observe and Adapt: Factor in seasonal changes, light, and temperature. Your plant will tell you if the interval is right.
What type of water is best for Aglaonema? While tap water is often fine, these plants can be sensitive to fluoride and chlorine, which may contribute to brown leaf tips. If your tap water is hard or heavily treated, using filtered, distilled, or rainwater is ideal. I fill my watering can and let it sit overnight to allow some chemicals to dissipate, which has reduced tip-browning issues.
How do I know if my Aglaonema has root rot from overwatering? If the plant is wilting despite wet soil and has yellowing leaves, gently remove it from its pot. Healthy roots are firm and white or light brown. Rotten roots are dark brown/black, mushy, and may smell foul. If you find rot, cut away all affected roots with sterile scissors, repot in fresh, well-draining soil, and a clean pot, and water very sparingly until new growth appears.
Should I mist my Aglaonema to increase humidity? Misting provides only a temporary humidity boost and can promote leaf fungal diseases if water sits on the foliage. For consistent humidity for Aglaonema, a pebble tray with water placed under the pot or using a room humidifier is far more effective and safer. I use a small humidifier nearby during dry winter months, and my plants’ leaves have never looked better.
Creating the perfect watering routine is the cornerstone of Aglaonema plant care. It transformed my plant from a source of worry to a source of pride. It requires a shift from a scheduled, rigid approach to a responsive, observant one. By understanding the signs, using the right tools, and adjusting for your unique home environment, you can provide the ideal moisture for Chinese Evergreens. The reward is a stunning, resilient plant that thrives for years, proving that sometimes, the simplest shift in care makes all the difference.





