 bluename
 How to Care for Aglaonema in Winter Without Heat: A Plant Lover’s Survival Guide
Winter is coming, and my heater is broken. That was the stark reality I faced last December, staring at my collection of Chinese Evergreens, or Aglaonema, with a sense of dread. These tropical beauties thrive in warmth, and everything I read warned against temperatures below 60°F (15°C). My home was dipping into the 50s (10-15°C). The common advice was clear: provide heat. But what if you can’t? I embarked on a two-week experiment to learn how to care for Aglaonema in winter without heat. This is my firsthand account, filled with practical steps, close observations, the mistakes I made, and the solutions that saved my plants.
My goal wasn't just survival, but to help my Aglaonemas pass the winter months healthily, ready to burst back into growth when spring arrived. If you're in an old apartment, trying to save on energy bills, or simply without a reliable heat source, this guide is for you.
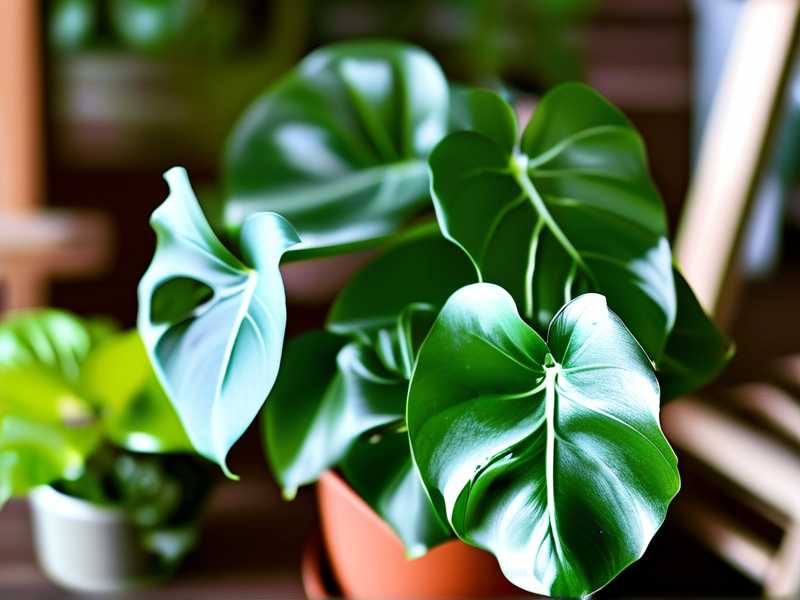
Understanding the Winter Challenge for Aglaonema
First, let’s understand what we’re up against. Aglaonemas are native to the warm, humid understories of tropical Asian forests. Winter, especially in colder climates, presents a triple threat: cold temperatures, dry air from indoor heating (or lack of it), and low light levels.
The Royal Horticultural Society (RHS) notes that most houseplants, including Aglaonema, enter a period of dormancy or slowed growth in winter. They aren’t actively growing, so their needs change dramatically. Pushing water or fertilizer as you would in summer can be fatal. The American Horticultural Society (AHS) emphasizes that cold drafts are a primary killer of indoor tropical plants, causing leaf drop and root stress.
My core strategy became not about fighting the cold directly, but about creating a protective microclimate and adjusting my care routine to match my plants’ dormant state.
My 5-Step Winter Care Protocol (Without a Heater)
Here is the exact protocol I developed and followed for two weeks, monitoring my Aglaonema ‘Silver Bay’ and ‘Red Siam’ daily.
Step 1: The Great Plant Migration – Finding the Right Spot
Light becomes your primary heat source. My first action was a complete rearrangement. I moved all my Aglaonemas away from cold window glass, which can be 10-15 degrees colder than the room air at night. Even a few inches can make a difference.
I identified the brightest spots in my home that never felt drafty: a shelf near an east-facing window (for gentle morning light) and a table about 4 feet back from a large south-facing window. I also grouped my plants closer together. Plants create their own slightly more humid microclimate through transpiration. Huddling them together was like giving them a buddy system for warmth.
The Mistake I Made: I initially placed one plant on a high shelf near what I thought was a sealed window. At 3 AM on the second night, I felt a noticeable cold sink of air. A hidden draft!
The Solution: I used a simple candle test (carefully!) to check for drafts. A flickering flame revealed airflow I couldn’t feel. I relocated that plant immediately and used weather stripping to seal the window edge.
Step 2: Watering: The Most Critical Adjustment
This is where most winter casualties occur. In cooler temperatures and lower light, soil takes much longer to dry out. Wet, cold roots are a death sentence, leading to root rot.
I abandoned my summer watering schedule completely. My new rule: Water only when the soil is dry 2-3 inches down. I used my finger as a probe. For one plant in a deep pot, I used a wooden chopstick, much like checking a cake for doneness. If it comes out with damp soil clinging to it, wait.
During my two-week observation, my Aglaonemas only needed water once. I used tepid water—never ice-cold from the tap, which can shock the roots. I watered thoroughly but ensured no water sat in the saucer. I even tilted the pot after 30 minutes to drain any excess.
The Mistake I Made: Out of habit, I lightly watered my ‘Silver Bay’ a week in because the surface looked dry. The chopstick test revealed the lower soil was still soggy. I stopped immediately and aerated the top soil gently with a fork to help it dry faster, preventing potential rot.
Step 3: Boosting Humidity Without a Humidifier
Winter air is desiccating. While Aglaonemas can tolerate average humidity, boosting it reduces stress and prevents crispy leaf tips. Without a humidifier, I got creative.
I employed the pebble tray method. I filled shallow trays with pebbles, added water just below the top of the stones, and placed the pots on top. The evaporating water increases humidity directly around the plant. I also did a gentle room-temperature misting of the air around the plants (not directly on the leaves, to avoid fungal issues) every other morning.
The most effective tactic? My kitchen and bathroom naturally became humidity havens during and after use. I gave my plants a “spa day” by letting them spend a few hours in these steamy rooms once a week.
Step 4: Holding Back on Food and Repotting
Fertilizer is off the menu. Feeding a dormant plant is like forcing a sleeping person to run a marathon—it stresses the system and leads to salt buildup in the soil. I hadn’t fertilized since early fall, and I committed to not starting again until I saw clear signs of new growth in late March or April.
Similarly, repotting is a spring and summer task. The shock of disturbance combined with cold soil makes recovery nearly impossible.
Step 5: Daily Monitoring and Pest Vigilance
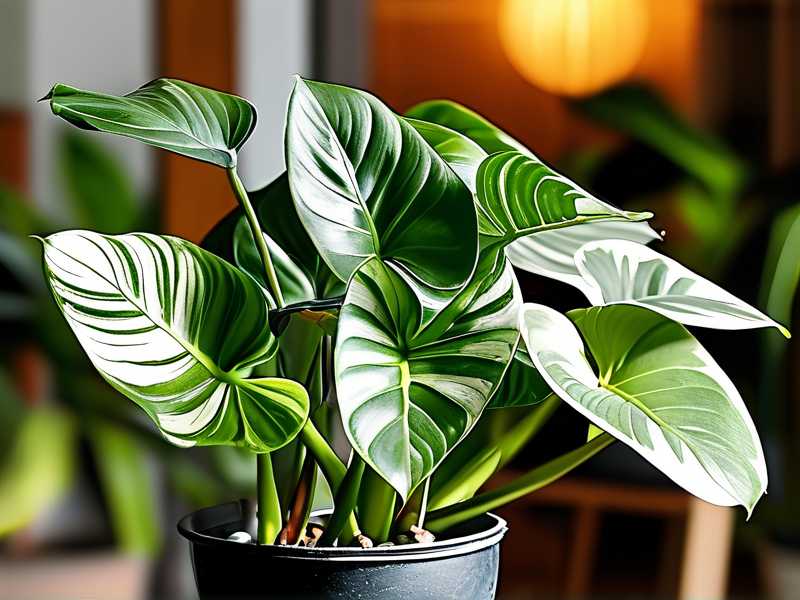
Stressed plants are more susceptible to pests. Spider mites love dry, indoor winter air. Every time I checked the soil moisture, I also inspected the undersides of leaves and stems.
One week in, I noticed a faint webbing on my ‘Red Siam’. Early detection is key. I immediately gave the plant a gentle shower with tepid water in my bathtub, washing away the mites. I followed up by wiping the leaves with a damp cloth and increased the humidity around it. This non-chemical approach solved the problem before it spread.
The Two-Week Observation: What Happened to My Aglaonemas?
After 14 days of this protocol, the results were promising:
- Growth: As expected, there was zero new growth. This was a good sign—they were resting, not dying.
- Leaves: No new yellowing or leaf drop occurred on the plants I had correctly positioned. The one that had been in the draft lost two older, lower leaves, but this stabilized after its relocation.
- Soil Moisture: The extended drying time was remarkable. Soil that would dry in 5-7 days in summer was still moist at the 12-day mark.
- Overall Health: The plants maintained firm, upright stems and vibrant leaf color. They looked stable, not thriving, but definitely surviving—which was the entire goal.
The experiment proved that caring for Aglaonema in a cold room is less about providing heat and more about providing stability and adjusting your care to a minimalist, observant approach.
Essential Winter Care Tips for Cold Rooms
Building on my experience, here are the non-negotiable tips:
- Drafts are the Enemy: Protect your plant from cold air more than from cool, stable temperatures.
- Water is a Tool, Not a Routine: Let the plant’s needs, not the calendar, dictate watering. When in doubt, wait it out.
- Light is Lifeline: Maximize every bit of available indirect light. Consider a grow light if your space is very dark; even a basic LED bulb for a few hours can provide beneficial light energy without significant heat.
- Clean Leaves, Healthy Plant: Gently dusting the leaves ensures they can absorb all available light efficiently.
Frequently Asked Questions
Can Aglaonema survive in 50-degree weather? Yes, but it’s at the extreme lower limit and requires perfect care. My home hovered in the mid-50s (12-14°C) at night during my experiment. The key is ensuring the plant is completely dry at the roots, protected from wind/drafts, and in as much light as possible. It won’t grow, but it can persist. Temperatures consistently below 50°F (10°C) risk severe damage.
Why are the leaves on my Aglaonema turning yellow in winter? Winter yellowing is almost always a watering issue. The most common cause is overwatering due to the slowed drying time. Check your soil immediately. The second cause could be a severe cold draft. Assess the plant’s location and your watering habits first.
Should I mist my Aglaonema every day in winter? I don’t recommend misting the leaves directly every day, as this can encourage fungal diseases on the foliage in cool, stagnant air. Instead, focus on raising ambient humidity through pebble trays, grouping plants, or misting the air around them. Keeping your Aglaonema’s leaves clean and dry is safer.
Caring for these resilient plants through a cold winter is a lesson in restraint and observation. By shifting your focus from promoting growth to ensuring stability—prioritizing the right light, mastering minimalist watering, and banishing drafts—you can successfully guide your Aglaonema through the dormant season. My two-week journey showed me that even without a heater, informed, attentive care creates a buffer against the cold. Come spring, when temperatures rise and light increases, your patient, well-preserved Aglaonema will reward you with a fresh burst of vibrant growth.





